Digilent X-Board User Manual
Page 3
Digilent
X-Board Reference Manual
www.digilentinc.com
Copyright Digilent, Inc.
Page 3/6
Doc: 502-107
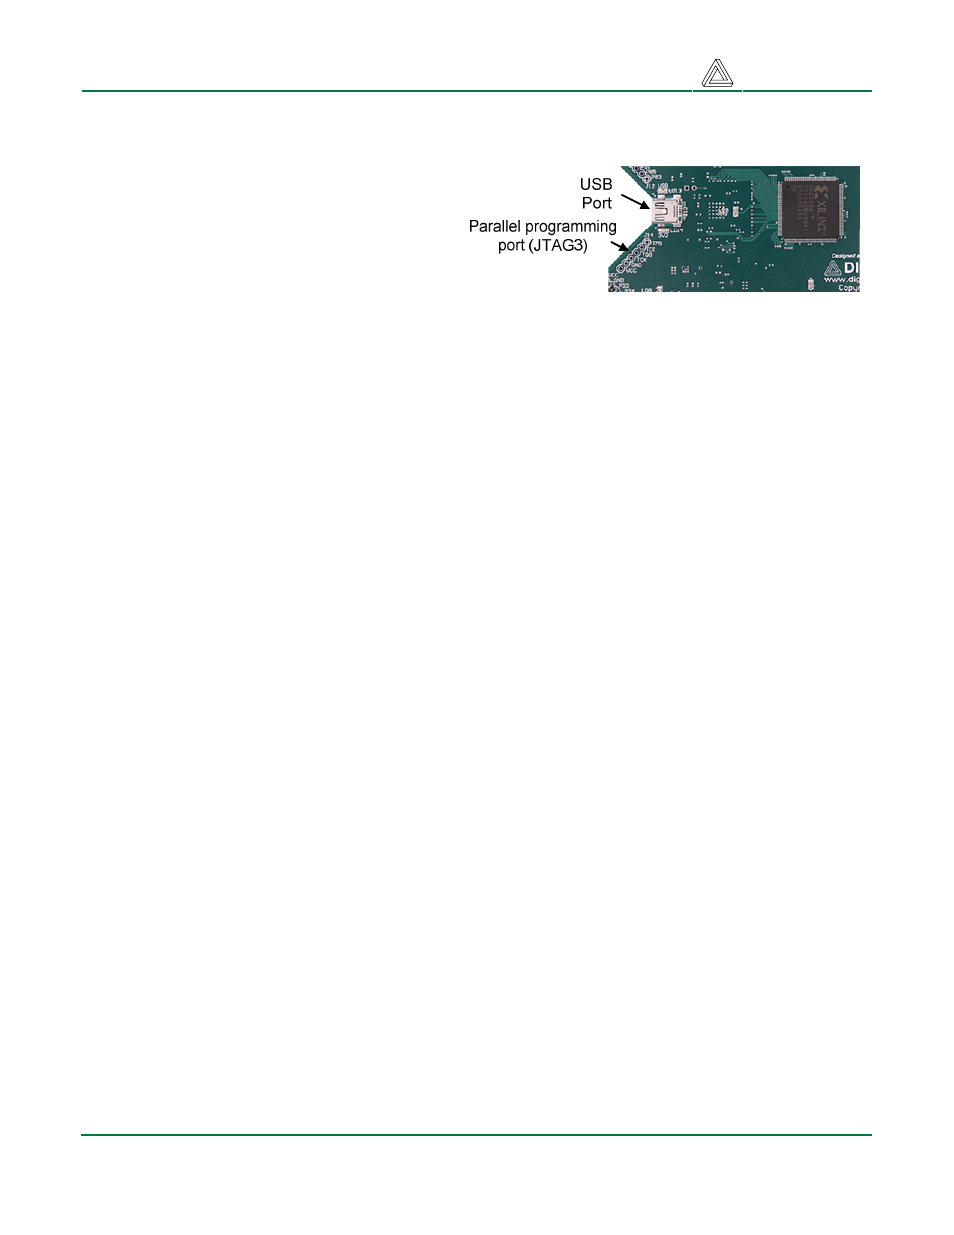
To configure the CPLD using Digilent’s Adept ExPort software, attach a USB cable to a host PC and
to the X-Board. Start Adept ExPort, and allow it to auto-detect the USB device on the X-Board by
clicking on “Initialize Chain.” When the CPLD
has been detected, you will see a graphic of
the CPLD and a pull-down text box where a
configuration file can be selected. Select the
desired .jed CPLD configuration file, and then
right-click on the graphic of the CPLD and
select “Program.”
X-Meter
The X-Board includes an on-board current meter that continuously measures CPLD core current. The
X-Meter is built around the Linear Technology LTC248016-bit sigma-delta converter. The LTC2480
uses an SPI port to send sample data to the PC, and the SPI port shares the same pins as the JTAG
programming port. Switch 1 (SW1) selects between the X-Meter and JTAG programming port.
The X-Meter is a PC-based current measurement application developed for the X-Board. The X-
Board, based on the CoolRunner-II CPLD, contains a Linear Technology LTC2480 A/D converter
specifically for measuring current and temperature. The X-Meter acquires data from the LTC2480
using the USB2 port on the X-Board, and displays the data on a PC.
To use the X-Meter, connect an X-Board to the PC, set SW1 to “Meter,” and ensure JP1 is set to
REG. Start the X-Meter application from the Windows Start menu, and click the “Start” button in X-
Meter.
The X-Meter will acquire one temperature and nine current samples every two seconds, and transfer
the samples to a data buffer on the PC via the USB cable. X-Meter plots the data in a waveform
graph, and shows the most recent, maximum, and minimum data obtained. To change the scale of
the plotted waveform, click the desired amperage/division radio button.
Temperature data is only displayed when the “enable” check box under “Temperature Measurement”
is checked. The Calibrate button is used to calibrate the temperature sensor to the proper value. This
only needs to be done once.
The “Stop” button causes the X-Meter to stop acquiring new data, and the ”Clear” button stops data
acquisition, purges the data buffers, and clears the waveform display.
To save the data values in the buffer to a CSV (Comma Separated Value) file, click the “Save Buffer
As...” button and specify a filename (note the temperature values will only be saved if the “Enable”
checkbox under “Temperature Measurement” is checked).
Power Supplies
The X-Board can be powered from its integral USB port, or from an external supply attached at
connector JP3. Jumper JP2 selects whether the board uses USB power or external power.
If USB power is used, jumper J2 should be set to “REG” and the USB-to-USB-mini cable should be
connected between your computer and the USB mini connector on the X-Board. If the X-Board is
receiving power from your computer, two amber LEDs on the sides of the mini connector will glow.