Clippasafe 114 Deluxe Extendable, Dual Fix, No-Trip Gate User Manual
Page 9
5
6
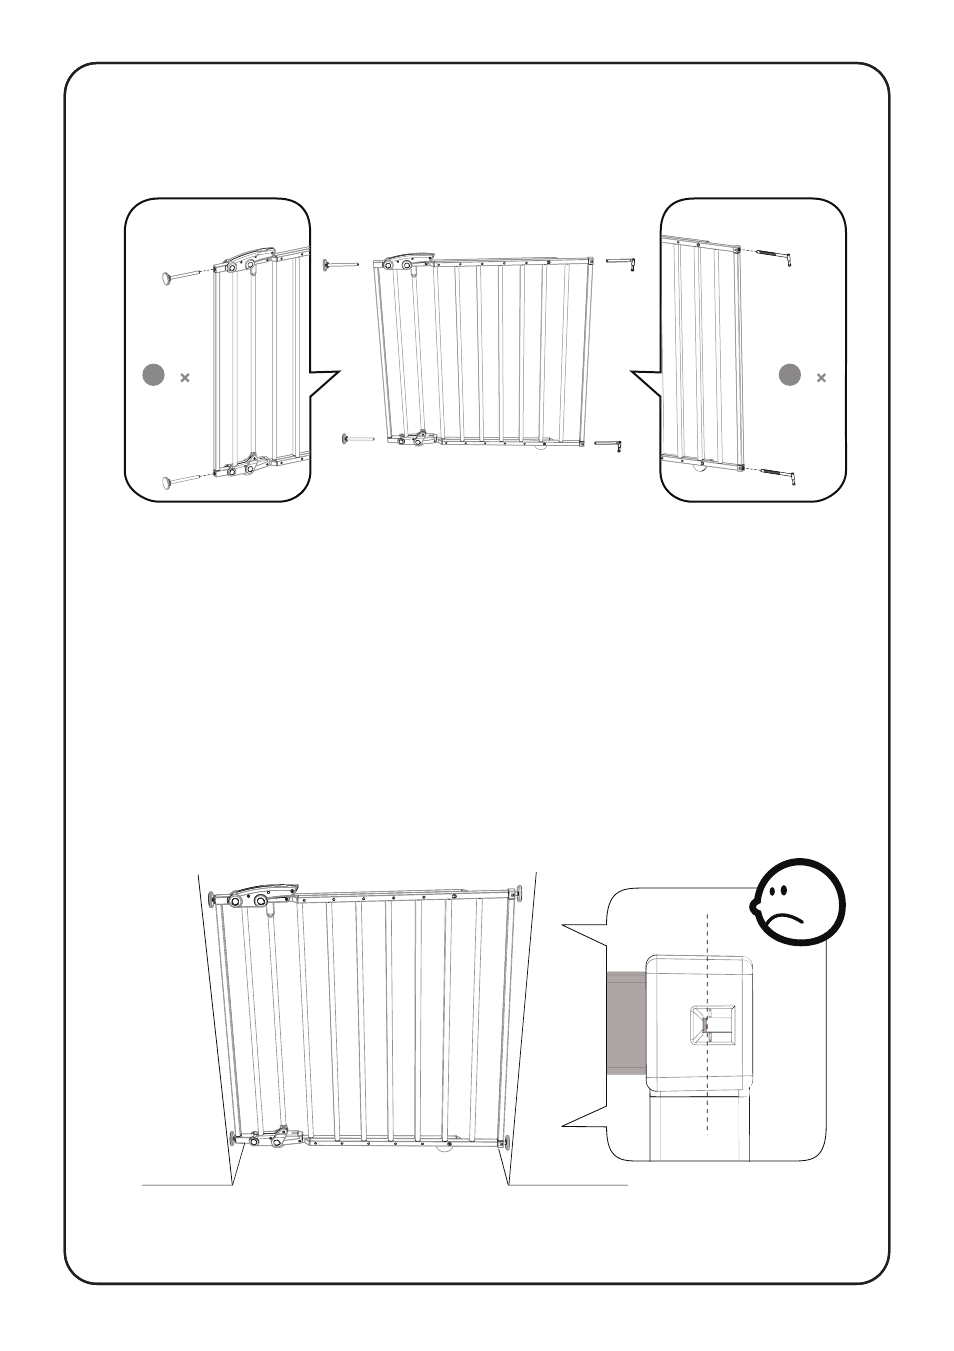
Screw the 2 screw adjusters ‘D’ into the holes on the latch side of the gate,
screw the hinge spindles ‘E’ into the holes on the opposite side of the gate.
Place the gate in the desired opening and push the latch downwards gently.
The screw adjusters will extend and the latch should ‘click’ into place
indicating that the gate is secure. If you feel a lot of resistance STOP and
screw the screw adjusters further into the frame. Check the pressure
indicators on the frame. When the gate is under no pressure, there should
be no metal visible in the viewer. When the gate is under pressure the
metal in the viewer should line up with the line on the frame indicating that
the gate is under enough pressure.
2
D
2
E