Carl Goldberg GBGA1053 User Manual
Page 28
Decal Installation
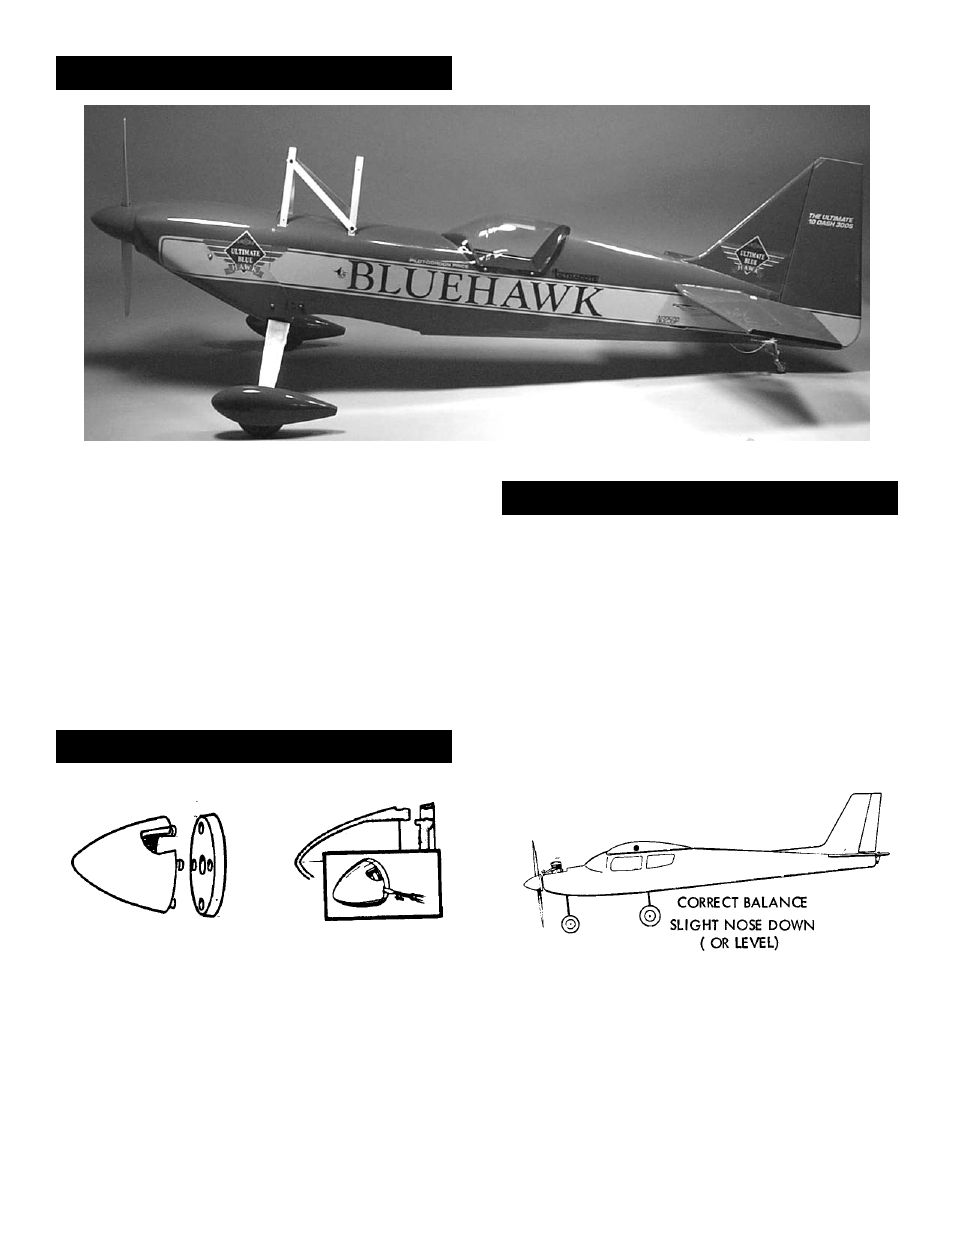
Spinner Assembly
1.
Clean model surfaces thoroughly before
applying decals.
2.
Cut decal sheets apart in sections, as need-
ed.
Fold decal in half, front to rear. Open at fold
and lay decal out straight. The protective
backing will bubble away from the decal at
the fold. Using a scissors, cut the backing
along the bubble, removing a strip of backing
about 1" wide. Carefully position the decal
on the model and stick in place. Then, work-
ing from the center, rub the decal down while
peeling off the backing.
28
A 3" CGP 4-Pin Snap-On Spinner is included with
your Ultimate ARF. It is a rugged precision molded
spinner that does not require any special mounting
nuts or screws. CAREFULLY READ THE SPINNER
INSTRUCTIONS AND WARNINGS INCLUDED
WITH THE SPINNER. Although a spinner helps
reduce the chance of injury from a rotating prop,
extreme caution always must be used when the
engine is running.
Balancing the Model
IMPORTANT: NEVER NEGLECT THIS STEP
WITH ANY AIRPLANE. If you try to fly a plane with
the balance point behind the recommended range,
you run the risk of having an unstable aircraft and
the strong likelihood of a crash. TAKE THE TIME
TO PROPERLY BALANCE YOUR MODEL!
To determine the Center of Gravity, measure back
on the fuselage 2-3/8” from the leading edge of
the bottom wing. The C.G. range for this aircraft
is 1-7/8” to 2-7/8”. It is recommended that you bal-
ance this model upside down. Add weight if neces-
sary to achieve the proper balance.