Radio layout, Installing cowl and prop – Carl Goldberg GBGA1040 User Manual
Page 9
9
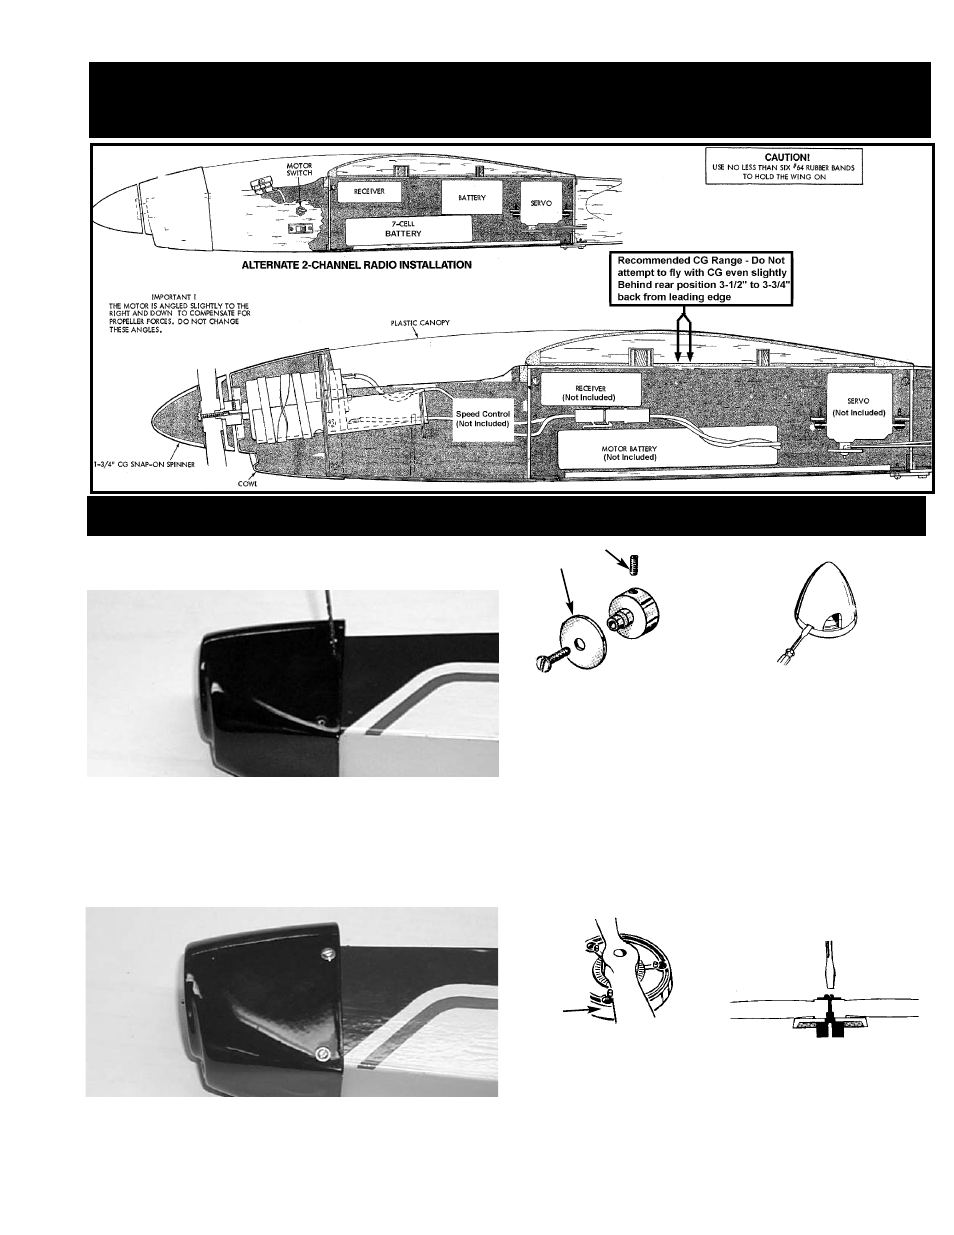
3.
Thread a #4 socket set screw in the prop
mount and turn a few times.
Open the spinner supplied by carefully insert-
ing a small screwdriver straight into each of the
slots. DO NOT TWIST! JUST PRY OPEN.
NOTE: Carefully read the instructions included with
your spinner.
When the spinner backplate has been
removed, place it on the propeller mount.
#4 SET SCREW
LARGE WASHER
Installing Cowl and Prop
1.
Place the cowl on the nose of the fuselage. Try
to keep the bottom of the cowl as close to the
bottom of the fuselage.
Using a 1/16” drill, make 2 holes on both sides
of the cowl. Try to drill into the side of the front
former.
2.
Using #2 x 3/8” screw, mount the cowl on the
fuselage.
4.
Place the propeller on top of the backplate so
that it lines up with the pin, as shown above.
Place a large washer on top of the prop and then
install, using a #4 x 1/2” machine screw. CAU-
TION: DO NOT OVER-TIGHTEN, as this may
cause the threads to strip out.
PIN
DO NOT OVER TIGHTEN
Radio Layout