Making longer display interface cables – Hardy HI 6300 Series User Manual
Page 21
Installation
13
•
•
•
•
•
•
Step 4. Secure display to panel using four 4mm nuts and washers on the screw rods.
Step 5. Tighten the four 4mm nuts enough to completely compress the gasket for IP65
compliance.
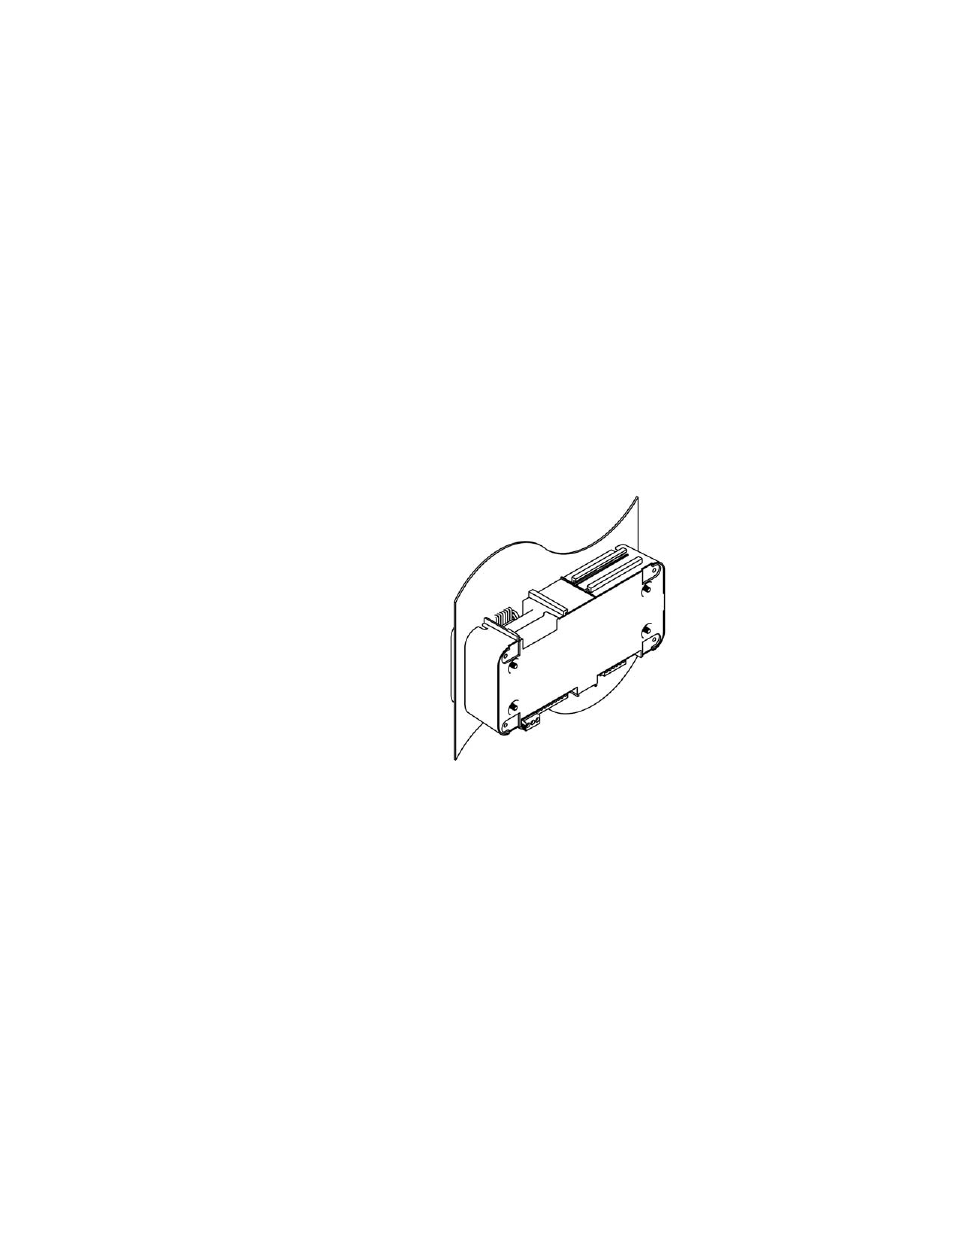
Step 6. Position the enclosure with the connectors pointing downwards
Step 7. Align the screw rods with the holes in the enclosure
Step 8. Connect the cable assembly
Step 9. Slide the enclosure onto the screw rods until flush with the panel
Step 10. Using the 4 mm x 12 mm keeper nuts supplied, secure the enclosure screw rods
CAUTION:
Do not over tighten the bracket screws or the mounting nuts as this may damage the
enclosure.
ATTENTION
Ne pas trop serrer les écrous de montage car cela pourrait endommager l'enceinte.
Finished Panel Mount Assembly – Option 2
Making Longer Display Interface Cables
If you need to install the front panel further away from the HI 6300 series than is possible
with the supplied cable then, you will need to make a display cable between the panel and
the instrument.
Wiring Specifications
•
Wire size: 20 AVG maximum / 26 AWG minimum
•
Maximum cable length: 100 ft. (30.48 meters)
•
Use three twisted pairs with a drain wires
•
Pair wires +12 and GND, D1 and D2, D3, and D4