Hangar 9 Piper Pawnee 40 ARF User Manual
Page 28
28
Required Parts
• Fuselage assembly
• Servo w/hardware (2)
• Receiver
• Receiver battery
• Switch harness
• Foam rubber
• Y-harness (2)
• Hook and loop strap
• Nylon clevis (3)
• Clevis retainer (3)
• Snap link (2)
• 5/32-inch wheel collar (2)
• 32-inch (813mm) pushrod
• 31
1
/
4
-inch (794mm) pushrod
• 32
1
/
2
-inch (825mm) pushrod
• 3mm x 8mm machine screw (2)
Required Tools and Adhesives
• Pin drill
• Thin CA
• Phillips screwdriver: #1, #2
• 30-minute epoxy
• Drill bit: 1/16-inch (1.5mm)
o
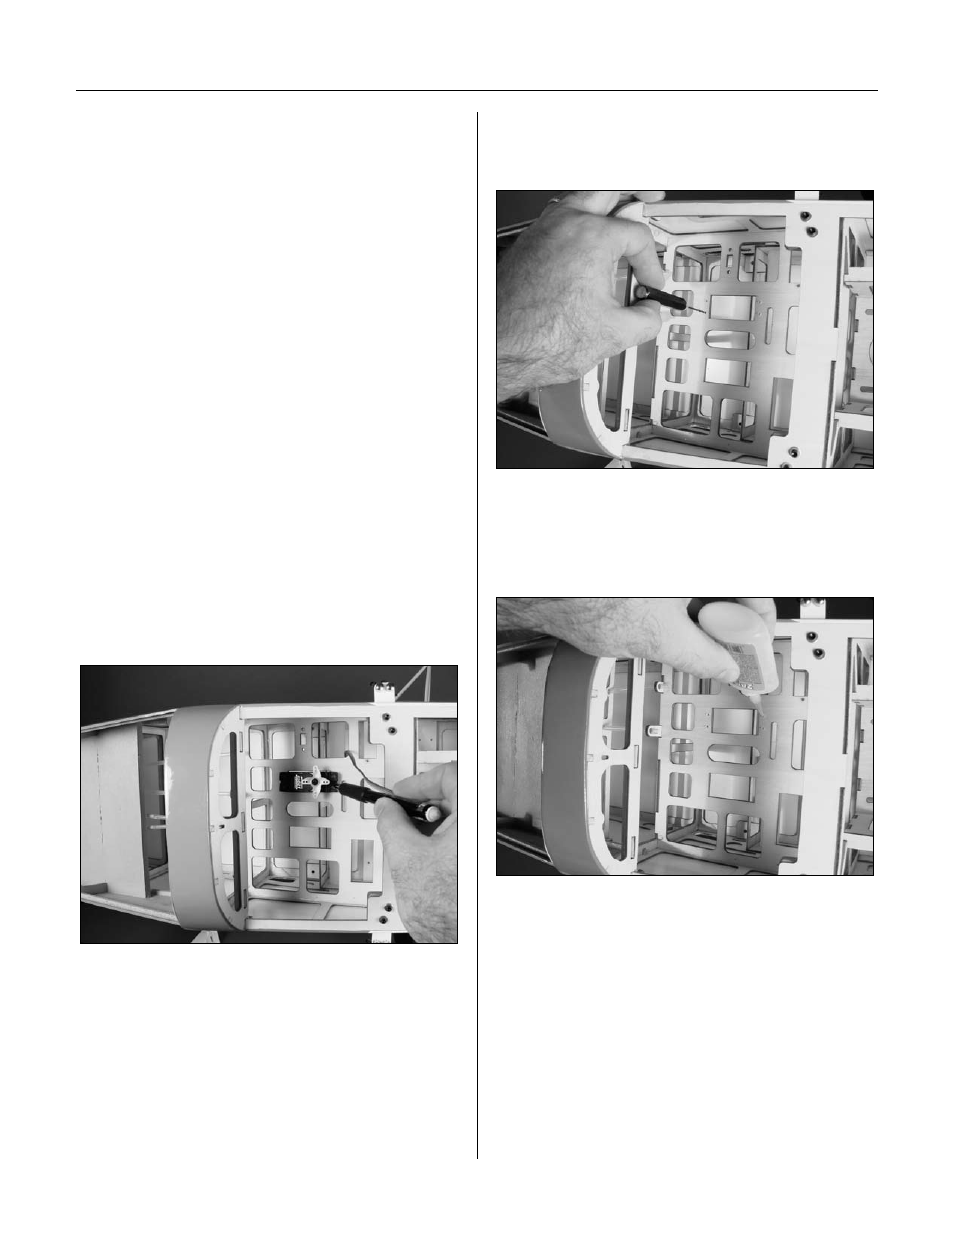
Step 1
Position the rudder servo into the radio tray. Transfer the
locations for the servo mounting screws onto the radio
tray using a pencil.
o
Step 2
Drill four holes for the servo mounting screws using a
pin drill and 1/16-inch (1.5mm) drill bit.
o
Step 3
Apply 2–3 drops of thin CA into each of the holes to
harden the surrounding wood. This will make the screws
more secure and prevent them from vibrating loose.
Section 5: Radio Installation