Hangar 9 Piper Pawnee 40 ARF User Manual
Page 16
16
ooo
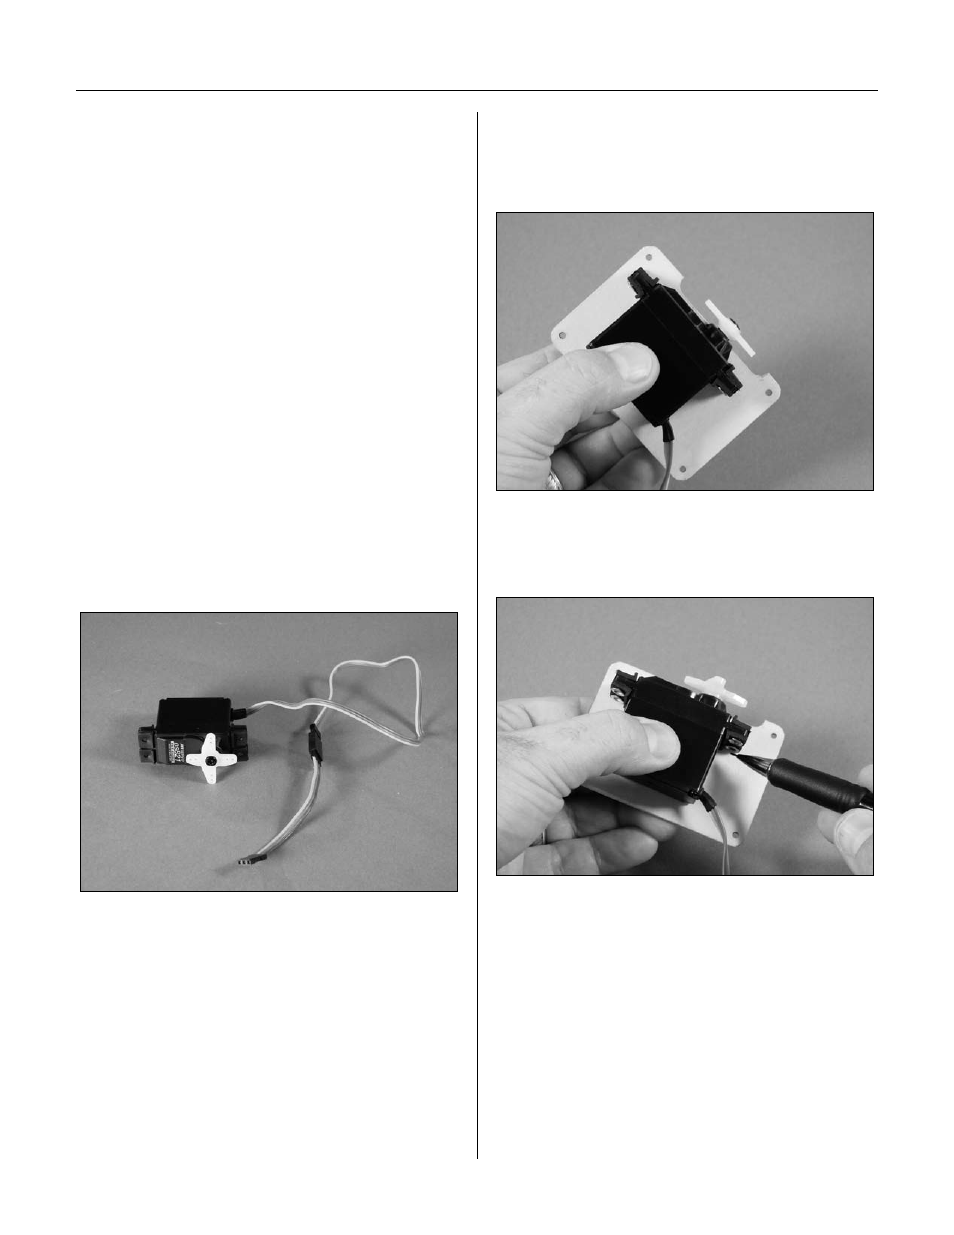
Step 2
Position the servo onto the servo cover. The servo horn
will be centered and in line with the outer edge of the
cover as shown.
ooo
Step 3
Mark the locations for the servo mounting blocks on the
servo cover using a pencil or felt-tipped pen.
Required Parts
• Snap link (4)
• Nylon clevis (4)
• Clevis retainer (4)
• Flap servo cover (right and left)
• Aileron servo cover (right and left)
• #2 x 3/8-inch sheet metal screw (16)
• 3
3
/
4
-inch (95mm) threaded pushrod (4)
• Servo mounting blocks,
3/4 x 9/16 x 5/16-inch (19 x 14 x 8mm) (8)
Required Tools and Adhesives
• Sandpaper
• Pencil
• Drill
• Pin drill
• Drill bit: 5/64-inch (2mm) • 30-minute epoxy
• Long servo arm (4)
• Servo extension, 9-inch (229mm)
oo
Step 1
Secure a 9-inch (229mm) servo extension to the aileron
servo. String or a commercially available connector is
suggested to prevent disconnection inside the wing.
Section 2: Aileron and Flap Servo Installation