Hangar 9 Piper Pawnee 40 ARF User Manual
Page 25
25
Required Parts
• Stabilizer/elevator (right and left)
• 4-40 x 1/2-inch socket head screws (10)
• #4 washers (4)
• 4-40 lock nut (4)
• Tail rigging (long tab) (2) • Tail rigging tab (8)
• Tail rigging (medium tab) (2)
• Tail rigging (short tab, short cable) (4)
• 1
3
/
16
-inch (30mm) pin
• 13/16-inch (21mm) pin
Required Tools and Adhesives
• Threadlock
• Adjustable wrench
• Hex wrench: 3/32-inch
• Pliers
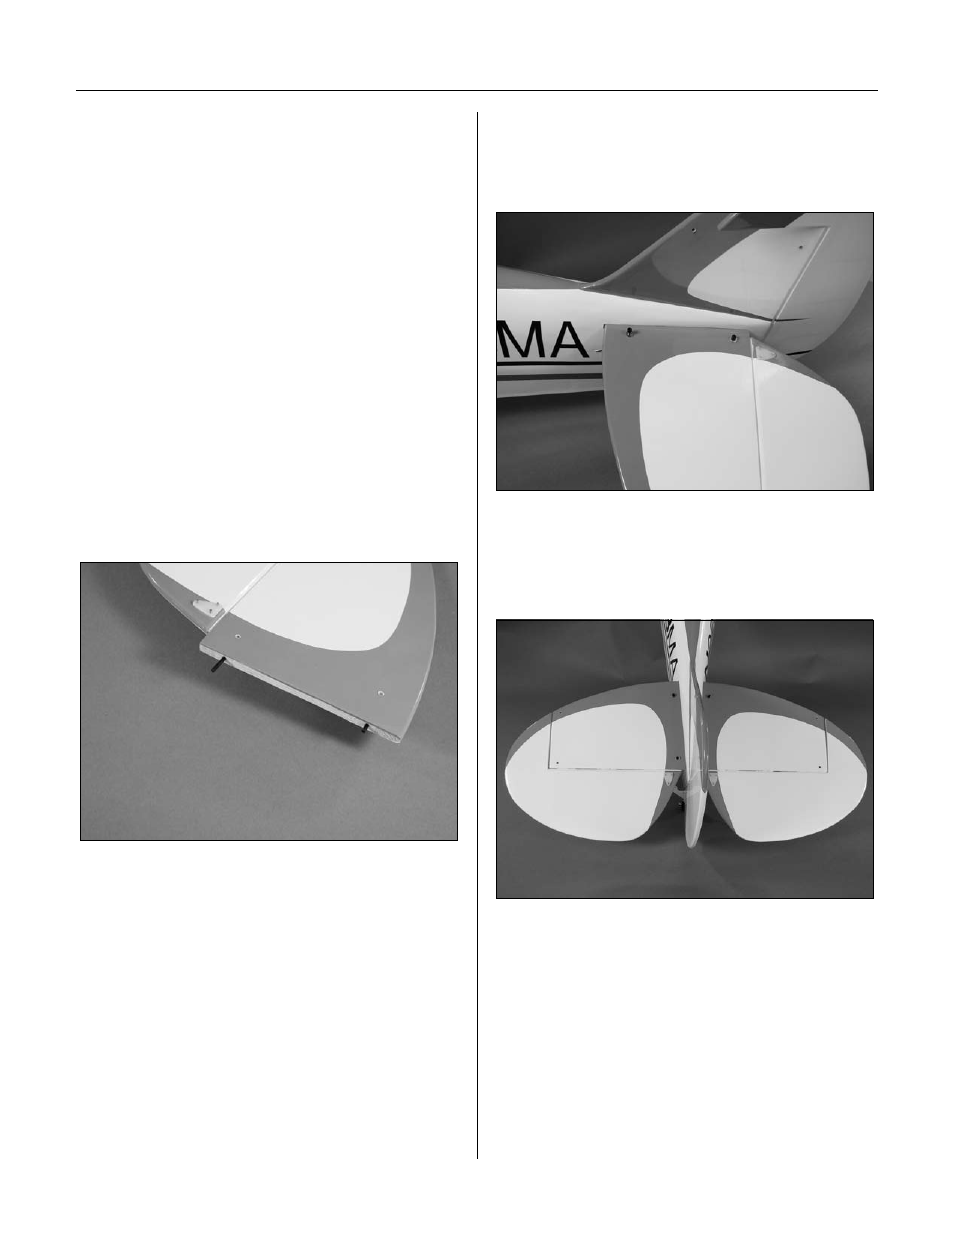
Step 1
Slide the stabilizer pins into one of the stabilizer halves.
The longer 1
3
/
16
-inch (30mm) pin is inserted toward the
leading edge, while the shorter 13/16-inch (21mm) pin is
inserted toward the elevator.
Step 2
Attach one half of the stabilizer using two 4-40 x 1/2-inch
socket head screws and two #4 washers. Leave the screws
loose until instructed to tighten them.
Step 3
Slide the remaining stabilizer into position and secure it
using two 4-40 x 1/2-inch socket head screws and two #4
washers. Tighten all four screws at this time.
Note: Make sure to use threadlock on the
screws to prevent them from vibrating loose.
Section 4: Stabilizer/Elevator Installation