Under – Checkline CTM User Manual
Page 8
Check-tensioning
Mode: Check-tensioning mode permits quick &
easy graphical view of the applied tension versus the desired ten-
sion. This mode works well when you are repeatedly tensioning to
the same tension range. This mode displays a bar graph represen-
tation of the tension being applied. See Figure 5. The black bar rep-
resents the range of the wire, from zero to ultimate wire rating. The
wide white band is the tolerance window based on upper and lower
thresholds you can enter. The live force is represented by the arrow
and the white line on the black bar. When the force gets within ±5%
of the acceptance window, a close-up of the acceptance window is
displayed. See bottom example in Figure 6.
The CTM has automatic tension targeting with temperature. Points
may be entered from a linear Tension-Temperature supplied table
for a wire cable. If entered, the check-tensioning window will au-
tomatically fl oat according to the active temperature (manual or
automatic). Use the bottom and top entries from the table. Patent is
pending on this feature.
UNDER
1960
Te ns ion lbf
7/16 6X 19
5700
Te ns ion lbf
7/16 6X 19
Figure 6
Check-tension display
To exit the check-tension mode, press any softkey to display the
softkey labels, then press the Mode softkey to scroll to the next
mode. The next mode is the fi rst mode that was described, live ten-
sion mode.
Avg Press
the
Avg softkey to add a displayed tension to the average of
other entered readings. Follow the onscreen prompts.
Press the Right Arrow key to move to the next set of softkeys.
Units
Press this key to set the CTM for displaying:
• Force in lbf, kgf or N
• Size of wire in inches or millimeters
• Temperature in Fahrenheit or Centigrade
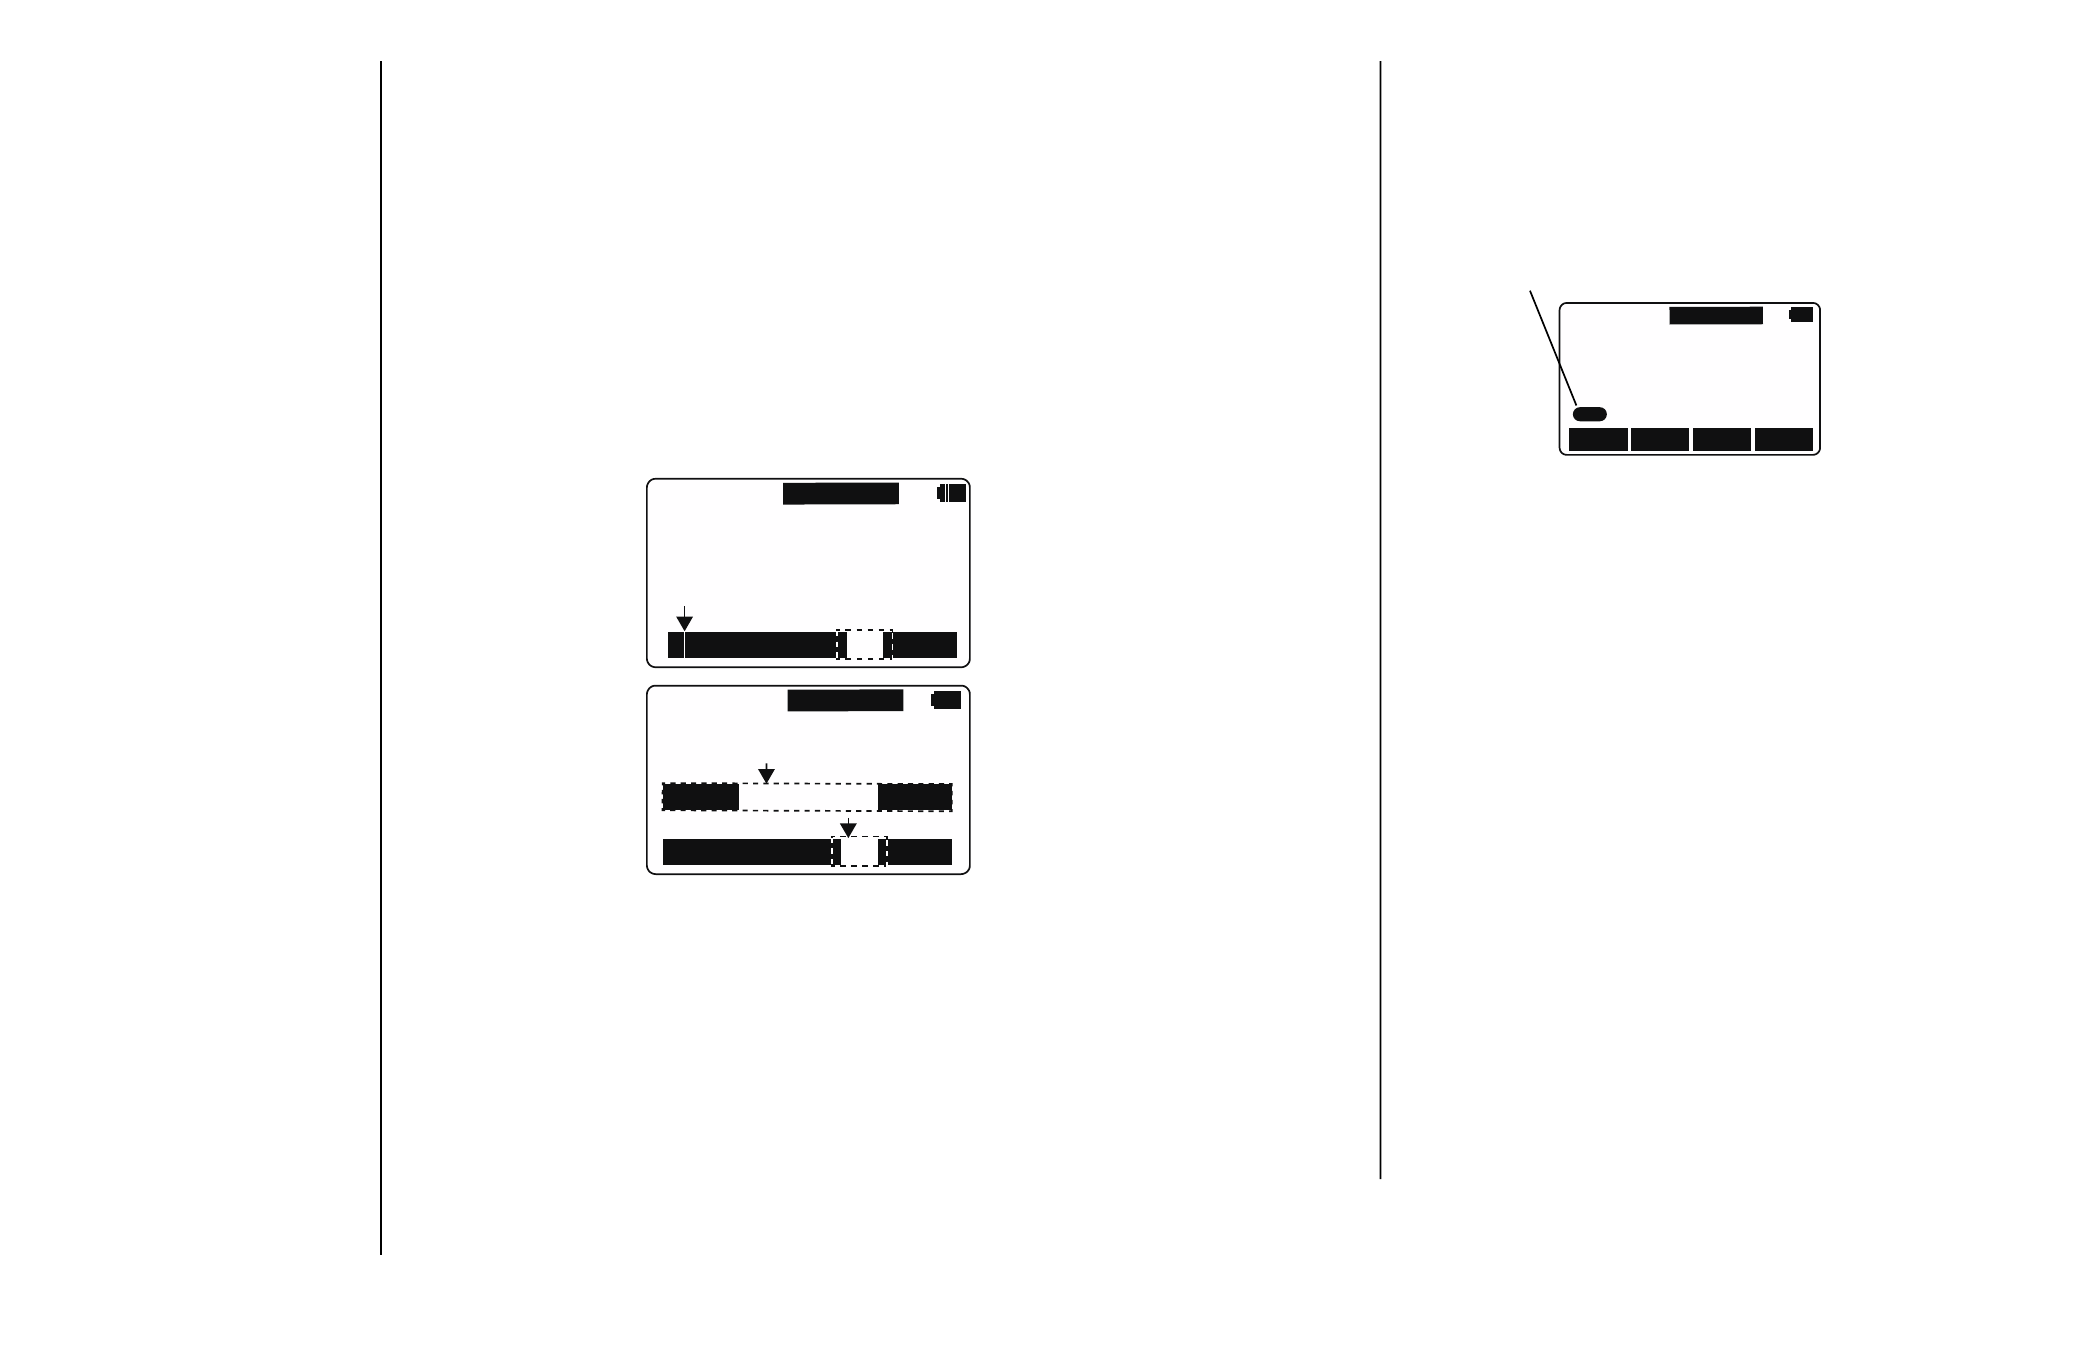
Display when tension is
below the dotted, target box.
Display when tension falls
within the dotted, target box.
Upper and lower thresholds are
set in the Confi guration WIRE
menu.
8
Temp
Press this softkey to choose the source of the temperature reading,
the CTM itself (Meter), outside input (Input) or None. If you choose
Input, you are prompted to enter the temperature. When fi nished,
press the Enter softkey to accept this value.
Next you are prompted to choose Fahrenheit or Centigrade as the
temperature unit. When your choice is highlighted, press the Enter
softkey.
An annunciator shows when temperature has been manually en-
tered. See example below:
Zero Clear Mode
Avg
58. 0
1200
Entr d
Te ns ion
lbf
7/16
6X 19
Temperature Display Mode
Temp F
Setup Press
the
Setup softkey and you will see these choices; Off, Pt-
Fmt, Misc, About, and Test. These are described below:
Off
Press this softkey to enable or disable the auto-shutdown
function. If you choose Yes, you are asked to set a period of
time in minutes. Next, press the Enter softkey to accept this
value. You are then asked to set the shutdown type; Fixed, No
Load, or No Change. These are described below;
Fixed - The unit will shutdown after the set number of minutes no
matter what happens.
No Load - The unit will shutdown after the set number of minutes
only if there is no load on the unit. This prevents shutdown in the
middle of a test.
No Change - The unit will shutdown if there has been no keypad
activity or change in tension after the set number of minutes.
PtFmt Not currently used.
Misc
Press this softkey to set the following:
Flash - Enables or disables the momentary blinking of the display
to acknowledge a key press.
Zero - Enables the use of the Zero softkey to clear a peak tension
value.
Contr - Press this key to adjust the contrast of the LCD display.
Press the Up soft key to lighten the contrast. Press the Down soft
key to darken the contrast.
There is a keypad shortcut for increasing and decreasing contrast.
While in normal display mode press the Arrow key and the 2nd
softkey simultaneously to increase contrast. Press the Arrow key
and fi rst softkey simultaneously to decrease contrast.
Blite - Not currently used.
Auto-off can preserve battery
life.
9