Checkline 3000EZ Series User Manual
Page 8

8
5.0 P
ERFORMING
A ZERO P
ROCEDURE
To obtain more accurate measurements on strongly curved or rough
parts, you should carry out the ZERO Procedure on a similar curved
reference piece without coating.
1. Press the ZERO key. ZERO flashes in the display.
2. Place the gauge on the bare surface several times. Lift the gauge
off of the surface by at least 1 inch (2.5 cm) between placements.
3. Press ZERO key again. The display shows ZERO
4. You can now carry out additional measurements.
Note:
Zeroing is required if the convex radius of curvature
• is smaller than 1.2” (30mm) on steel parts,
• is smaller than 2.4” (60mm) on non-ferrous metal parts.
5.1 Checking accuracy
The foil standard included in the complete kit can be used
together with the suppled zero plates (Fe or Al) to check the
accuracy of the gauge. After zeroing, the measured thickness
of the foil will be displayed within the tolerance of the foil
plus the gauge accuracy.
9
5.2 Clearing a zero setting and restoring factory
calibration
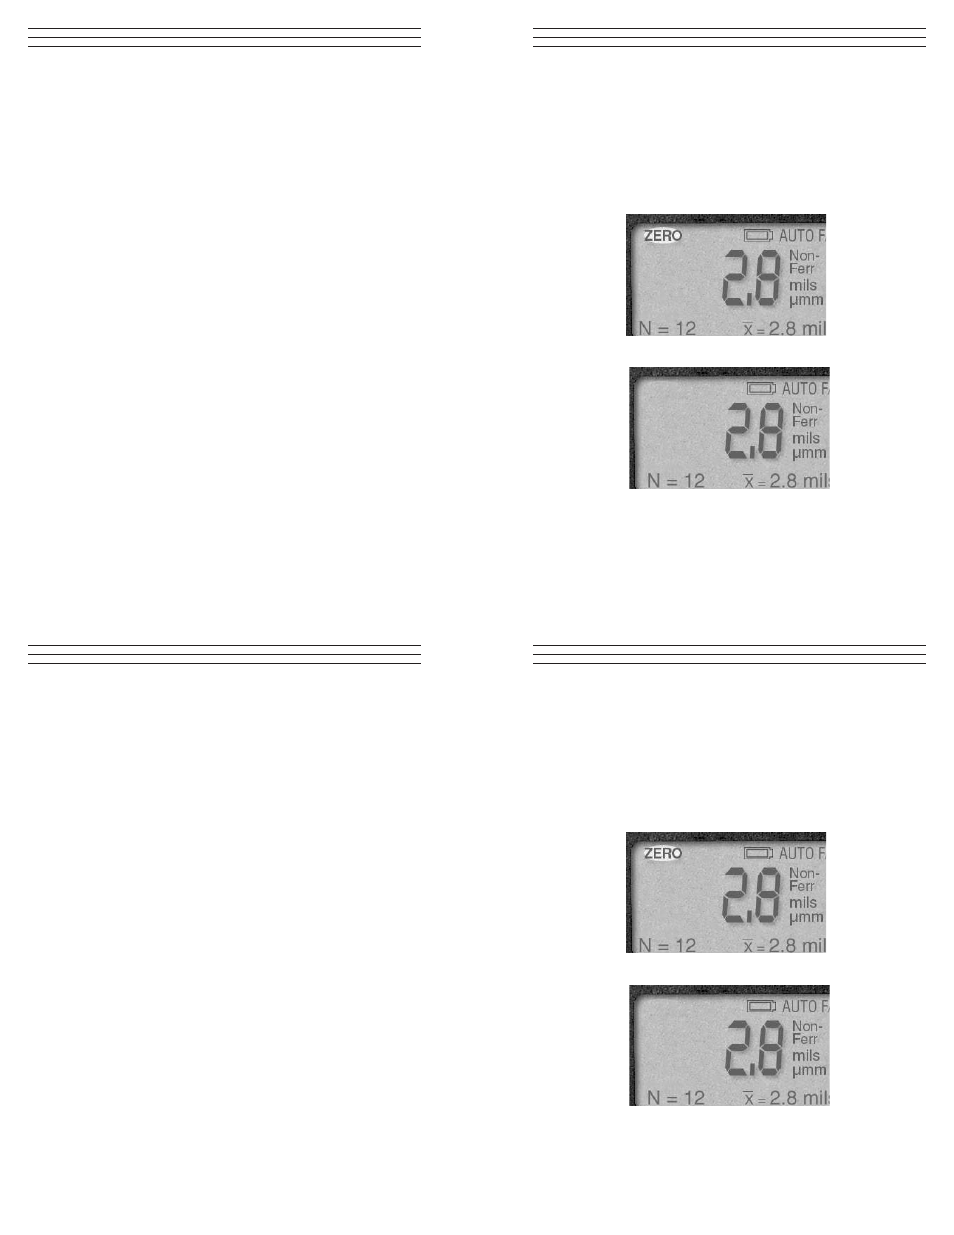
If the ZERO icon is shown on the display after switching
on (see top photo below), a custom calibration is activated.
To clear the custom setting:
1. Press the ZERO key twice. The ZERO icon disappears.
The factory calibration is active.You can now take
measurements using the factory calibration.
Custom calibration active
Custom calibration cleared
