Checkline 3000EZ Series User Manual
Page 7

7
4.0 M
EASURING
U
SING
F
ACTORY
C
ALIBRATION
1. Press the ON/OFF switch to turn
the gauge on.
2. If the ZERO icon does not appear
in the upper left corner of the
display, the preset factory
calibration is activated.
If the ZERO icon does appear, it
indicates that a Zero Procedure
has been performed. See Clearing
a Zero Setting
, Section 5.2 before
continuing.
3. Place the gauge on the test object and read the measurement. Lift
the gauge off of the test object by at least 1 inch (2.5 cm) before
taking another reading.
Note: Using the factory calibration, you can immediately carry out
measurements on flat and slightly curved surfaces. On strongly
curved or rough parts it is recommended that a ZERO procedure
be performed (see section 5.0).
DCFN-3000EZ Only: The DCFN-3000EZ automatically recognizes
whether the base material is a ferromagnetic steel or a non-ferrous
metal and will display the correct reading.
10
6.0. O
NLINE STATISTICS DISPLAY
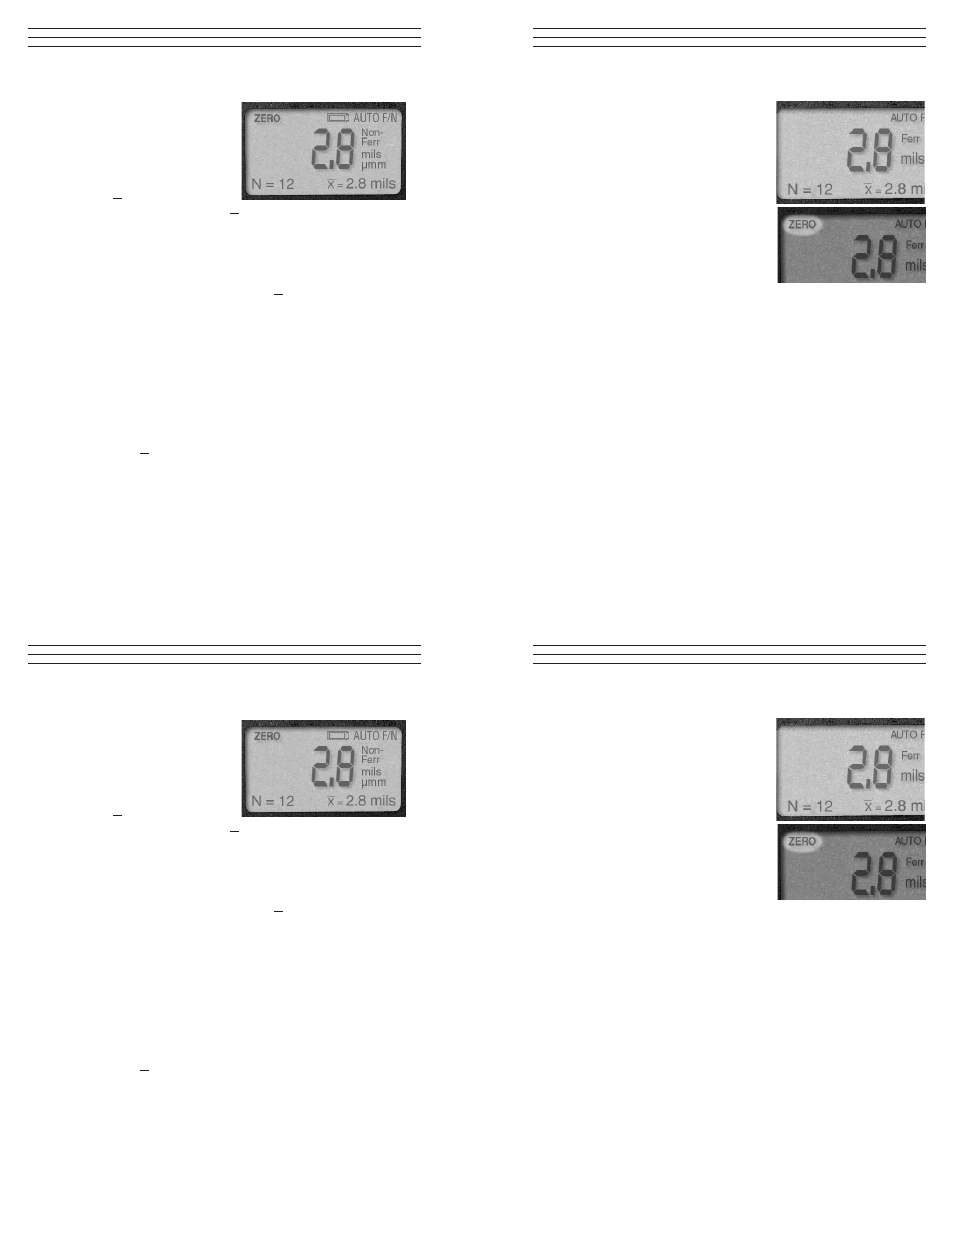
Every time a measurement is
take, a pair of statistical values
appear in the lower part of the
display, as shown at right.
For example:
n = 12 x = 2.8 mils
(n = number of measurements ; x = average)
Each time the STATS key is pressed, the number of measurements
and a different statistical value will appear, allowing the user to
easily scroll through statistics menu in the following sequence:
Press n = number of measurements;
x = average
Press
n = number of measurements
s = standard deviation
Press
n = number of measurements
max = maximum reading
Press
n = number of measurements
min = minimum reading
You can pre-select a required pair of values by means of the STATS
key, for example n = 12 s = 0.1 mils, and have it displayed during
the entire measurement data recording process.
Note: After the stistical values are deleted, or before new
measurments are made, the display will show:
n = 0 x = mils
Important: If a series of measurements is meant to be statistically
evaluated, the old statistical values must be deleted
before starting a new series of measurements.
