Checkline Series-3 User Manual
Page 13
Series 3 Digital Force Gauges
User’s Guide
12
Configure the baud rate and data format as required for the application. Default values are as follows:
Baud Rate:
9,600
Data Format: Numeric + units
Other communication settings are permanently set to the following:
Data Bits:
8
Stop Bits:
1
Parity:
None
Individual data points may be transmitted by pressing DATA.
10 CALIBRATION
10.1 Initial Physical Setup
The gauge should be mounted vertically to a test stand or fixture rugged enough to withstand a load
equal to the full capacity of the instrument. Certified deadweights or master load cells should be used,
along with appropriate mounting brackets and fixtures. Caution should be taken while handling such
equipment.
10.2 Calibration Procedure
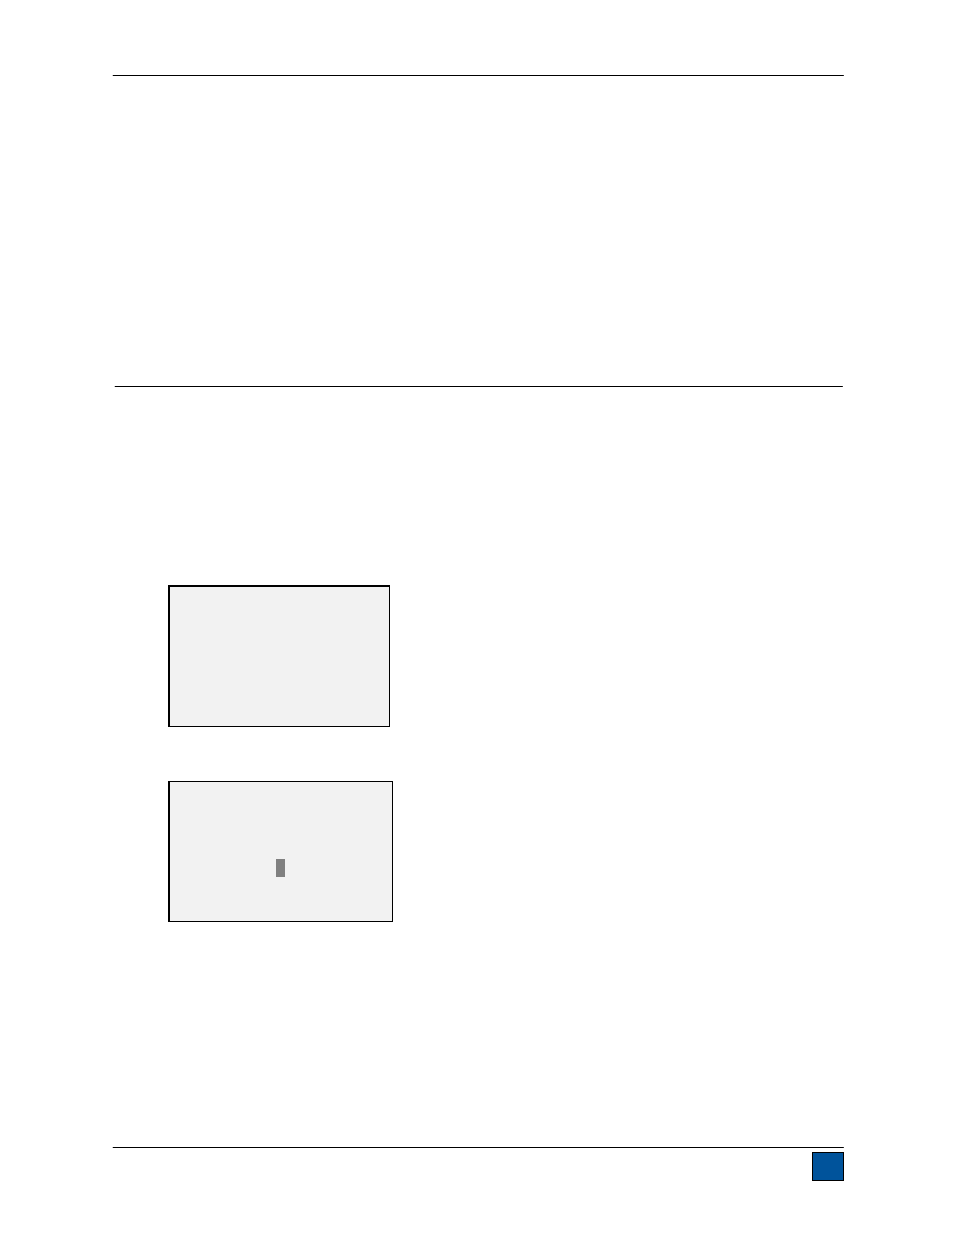
1. Select Calibration from the menu. The display will appear as follows:
2. Press DIRECTION to invert the display, if desired. ENTER to continue. The display will appear as
follows:
The gauge can be calibrated at up to 10 points in each direction. Enter the number of calibration
points for each direction (compression and tension). At least one point must be selected for each
direction.
Note: To achieve the accuracy specification of ±0.1%, it is recommended to calibrate the gauge
at 5 or more even increments in both the tension and compression directions. For example, a
gauge with capacity of 10 lbF should be calibrated at 2, 4, 6, 8, and 10 lb loads in each direction.
CALIBRATION
To invert the
display, press the
DIRECTION key.
THEN PRESS ENTER
CALIBRATION
ENTER # CAL POINTS
(1 TO 10)
COMPRESSION:
5
TENSION :
5