Initial setup (continued), Complete all the remaining input settings, Press a/t to select “keep all settings,” then – Panasonic PV-HS1000 User Manual
Page 20: Press play to move to the next screen, Press play to begin using the hard disk recorder, 13a/t, Initial setup, Continued), Changing your setup later on
Attention! The text in this document has been recognized automatically. To view the original document, you can use the "Original mode".
Initial Setup
(continued)
12
Complete all the remaining input settings.
You will be asked to provide information about all the remaining devices
that you have connected to the Hard Disk Recorder.
• Once you get the hang of the first screen, you should be able
to complete the following screens on your own,
• See “Input Options” on page 21 for information on the choice
on each configuration.
Setup Summary
1 Chingv Tsttphon*
2 Ch«ng»Un« 1
3 Chang» Lin* Z
4 Chang» ANT/CAW
f ^ n L »
Once you have completed all of the setup screens, you will see the Setup
Summary screen. This screen allows you to make changes if necessary.
1 '1/'------------------------------------------- ---------------------------------------------- ^
To change a setting...
a.
Press
A/T
to select the option, then press PLAY
to display the screen that you want to change.
b.
After your change is finished, press PLAY to
finish the setup.
If you do not want to make any changes...
Press
A/T
to select
“Keep all settings,” then
press PLAY to move to the next screen.
'------------------------------------------------------------------------
The Hard Disk Recorder connects to the ReplayTV Service to
complete the setup. This connection lasts approximately 20
minutes, during which the Hard Disk Recorder receives
channel and program information for your local area.
Once the connection is completed, you will be able to use the
Hard Disk Recorder.
Pr»s» t» the $»uip.
14
Press PLAY to begin
using the Hard Disk
Recorder.
• To select shows to watch
from an on-screen guide,
press CHANNEL GUIDE.
• The Replay Guide is an on
screen collection of all the
shows you record. There
aren’t any recorded shows
now. Though, you can watch
an instructional video by
going to the Replay Guide.
Press REPLAY GUIDE.
fluickSetup
cipMTE>
Th* Hard Disk ftocordar ii now rvady For us».
At any timo you can mafto dxangos L> your sotuplTy
prmcng on th»
<^M$irtg ‘Sotup'y «nd
thon choosir^ "Cfianga
& Input
Pn»s$ PtAV to U» your Hard DMA Recordert
PannsiMriic
For other opttans pics» MEnU.
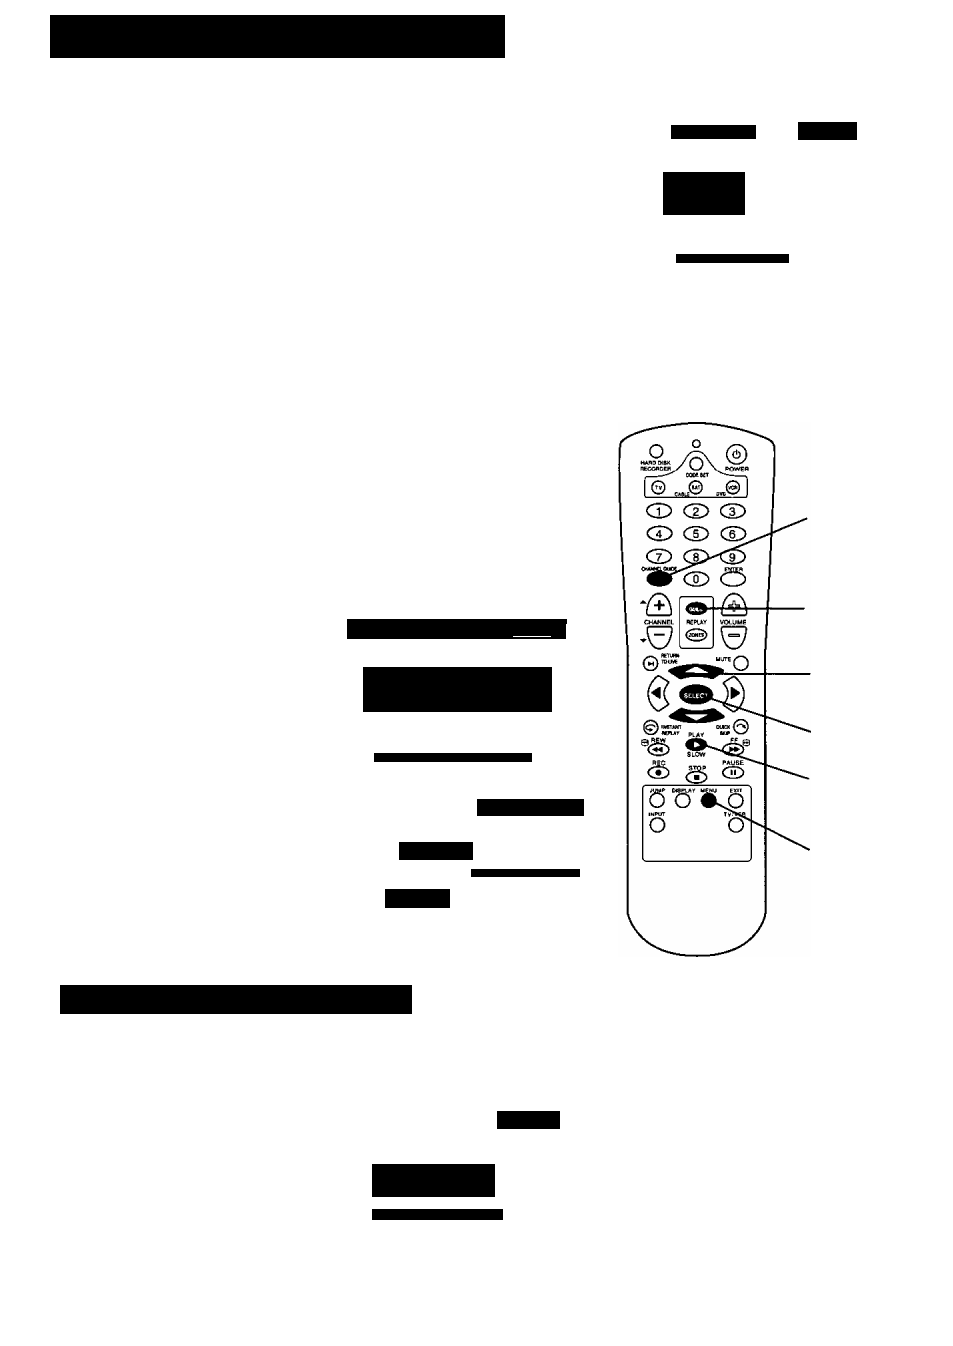
CHANNEL
GUIDE
REPLAY
GUIDE
13A/T
buttons
SELECT
13
PLAY
14
MENU
Changing Your Setup Later On
If you move, add another telephone service, change video equipment, or do
something else that requires updating the information you provided during first
time setup, you may change the information at any time.
1. Press MENU.
2.
Select
“Setup”
from the Main
Menu.
3.
Select
“Change Dialing & Input
Settings” from
the Setup screen.
4.
Select an option to change by
pressing
A/T
and SELECT.
20
O Change DtHMOl Record Optifios
O Change Dtsplay BdQhtneM
6 Change Dealing ft Input Setting
The internal Hard Disk Recorder
clock is set during the initial
connection to the ReplayTV Service
to ensure that the shows you choose
to record are recorded completely.