Yamaha CVP-10 User Manual
Page 7
Attention! The text in this document has been recognized automatically. To view the original document, you can use the "Original mode".
Decke o.ä.
Couverture, etc.
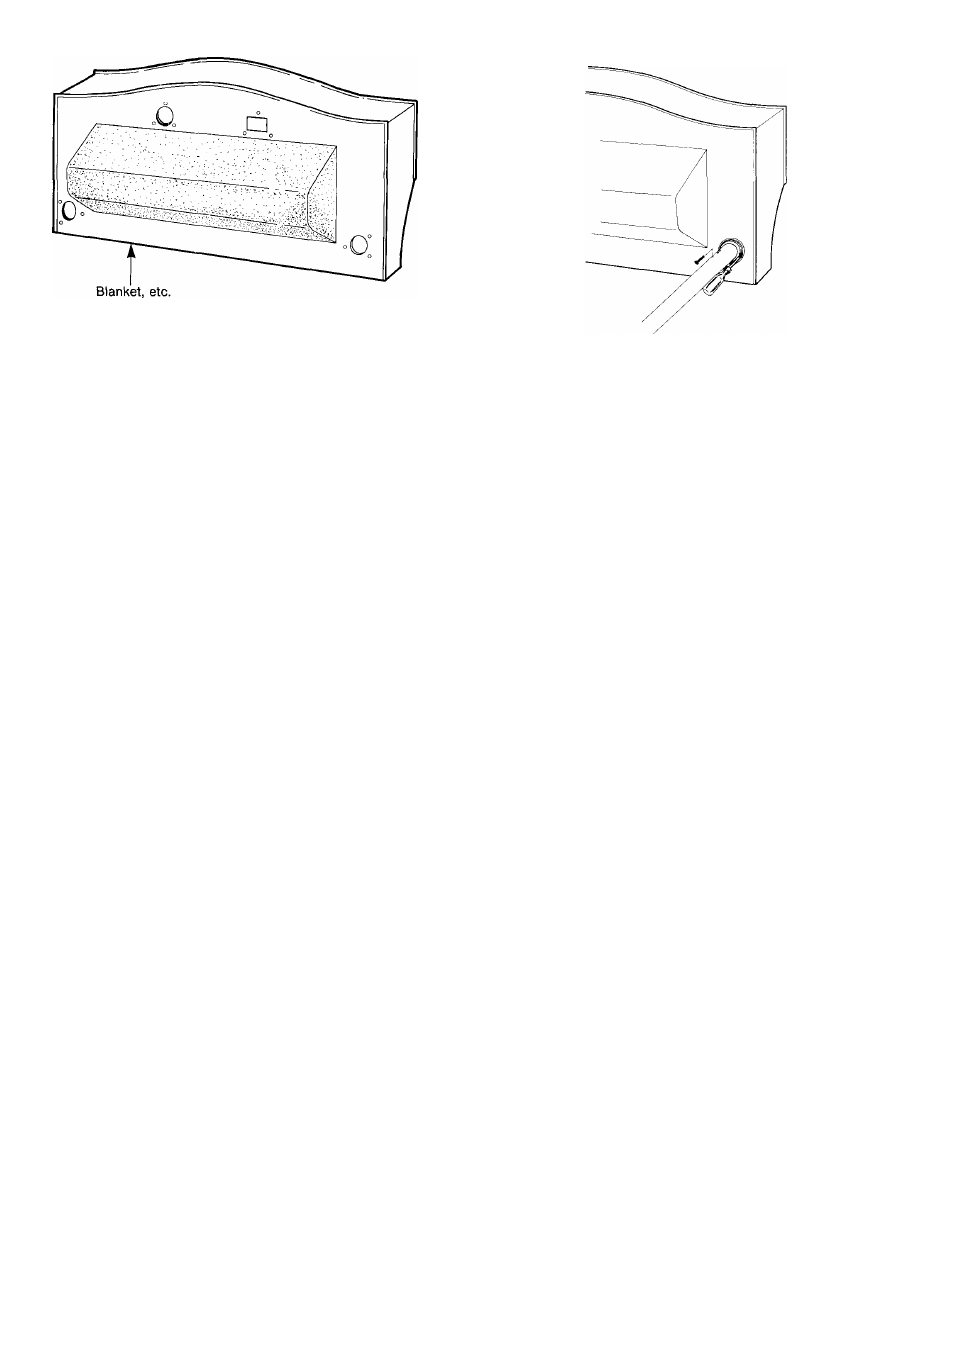
Manta, etc.
Carefully place the cabinet on the floor.
Spread out a blanket or a similar soft cloth on the floor, and
place your Clavinova on it (as in Fig.2) in order to remove
the packing material from the sides. Lean the Clavinova
against a wall, etc., so that it does not fall.
Attach the two front legs.
As shown in Fig.3, attach the front legs and securely tighten
the screws with a Phillips screwdriver.
Das
Gehäuse
vorsichtig
auf
den
Fußboden
stellen.
Eine Decke oder einen anderen weichen Stoff auf dem
Fußboden ausbreiten und das Gehäuse Ihres Clavinova
darauf stellen (Siehe Abb.2), um die seitlichen Schutzpolster
vom Gehäuse zu entfernen. Das Clavinova gegen eine Wand
o.ä. lehnen, so daß es nicht fällt.
Die verschiedenen Teiie herausnehmen.
Alle Teile zum Zusammenbau des Gesamtgeräts (A), (B),
(C), (D)), darunter auch die Schrauben, und Muttern, dem
Karton entnehmen.
Poser avec précaution le clavier sur le sol.
Etendre une couverture sur le sol et poser le clavier du
Clavinova dessus de manière à pouvoir enlever les matériaux
de protection latéraux. Poser avec précaution le clavier sur
le sol en le dirigeant comme représenté sur l’illustration.
Appuyer le Clavinova contre un mur, etc. de sorte qu’il ne
puisse tomber.
Fixer les deux pieds avant.
Comme illustré à la fig.3, fixer les deux pieds avant et serrer
fermement les vis à l’aide d’un tournevis Phillips.
Coloque
la
caja
cuidadosamente
sobre
el
suelo.
Extienda una manta, o un paño suave similar, sobre el suelo
y coloque sobre ella la caja de su Clavinova (como en la
Fig.2) a fin de extraer el material amortiguador de ambos
lados. Apoye el Clavinova contra una pared, etc. para que
no se caiga.
Instale las patas frontales.
Como se muestra en la Fig.3, instale las patas frontales y
apriete bien los tornillos con un destornillador Phillips.