Bradford White U-65T-55FR-3N User Manual
Page 24
SERVICE PROCEDURE ED-IX
Dip Tube and Anode
Inspection and Replacement
Page 24
Step 1.
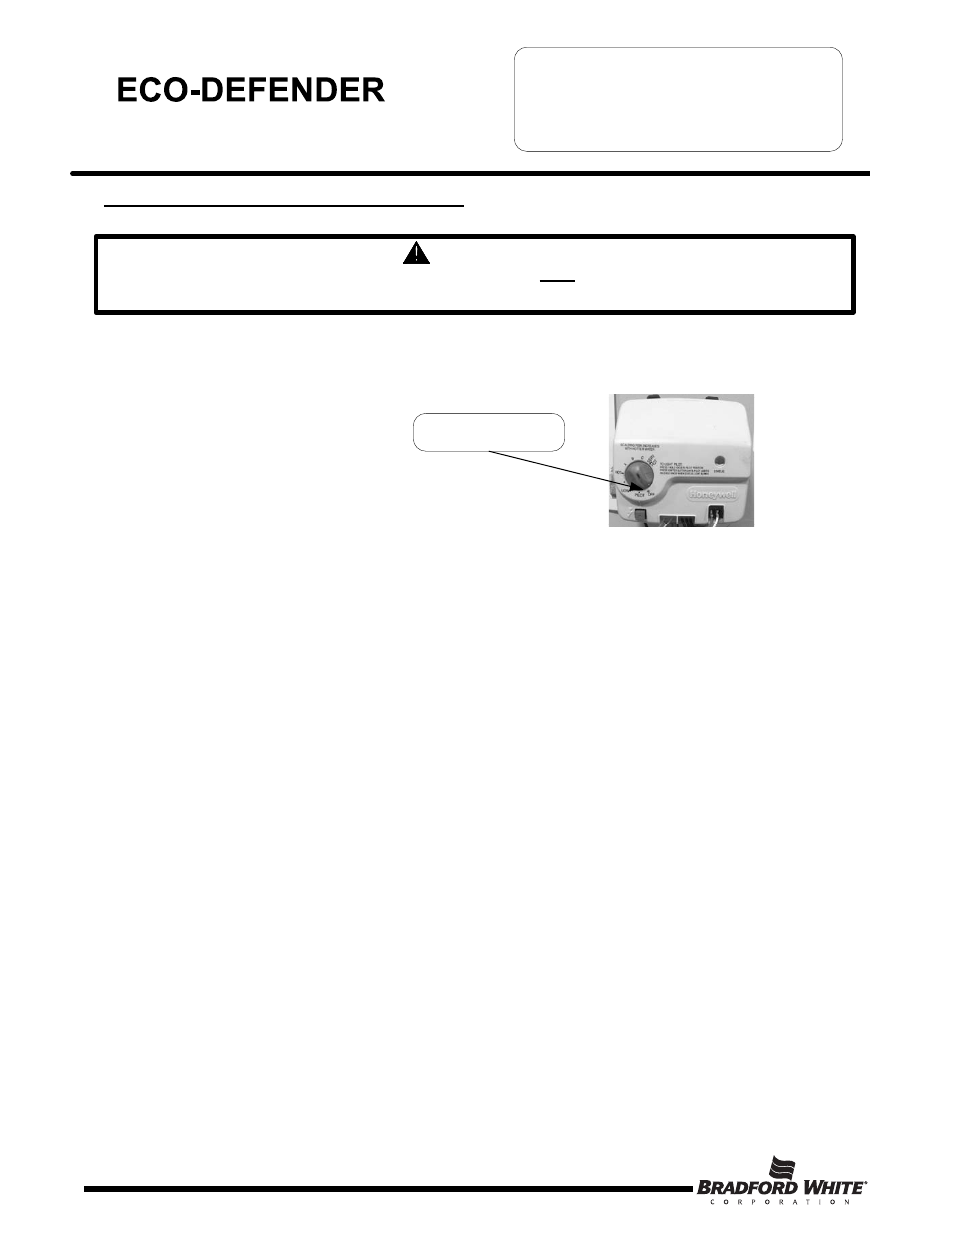
Rotate gas control knob to the “OFF” position.
Step 2.
Turn off cold water supply to water heater. Connect hose to drain spigot of water heater and route to an open
drain. Open a nearby hot water faucet to vent heater for draining. Open drain spigot of water heater and
allow water heater to drain to a point below the inlet connection nipple.
Step 3.
Disconnect inlet nipple from plumbing system.
Step 4
With an appropriate wrench, remove inlet nipple/dip tube from the water heater. Use caution not to damage
pipe threads.
Step 5.
Visually Inspect inlet nipple/dip tube. Inlet nipple/dip tube should be free of cracks and any blockage.
Hydro-jets located near the bottom of the dip tube should be open and free of any blockage.
Anti-siphon hole located approximately 6" from the bottom of nipple, should be free of any blockage.
Any damage such as cracks, restriction due to deformation or unintentional holes are not field repairable
and the inlet nipple/dip tube must be replaced.
Step 6.
Upon completion of inspection or subsequent replacement, reinstall inlet nipple/dip tube into heater. Connect
nipple to plumbing system, resume water supply and refill water heater with water.
Step 7.
To resume operation follow the instructions located on the lighting instruction label or the lighting instructions
located in the installation and operation manual.
DIP TUBE INSPECTION AND REPLACEMENT
WARNING
Water Heater components and stored water may be HOT when performing the following
steps in this procedure. Take necessary precaution to prevent personal injury.
Gas Control Knob Shown In
“OFF” Position
24