7 prepare your patient, 6 fit your patient with the monitor and cuff, 8 retrieve data – Welch Allyn CardioPerfect Ambulatory Blood Pressure Monitoring - Quick Reference Guide User Manual
Page 5: 9 review data and print report
•
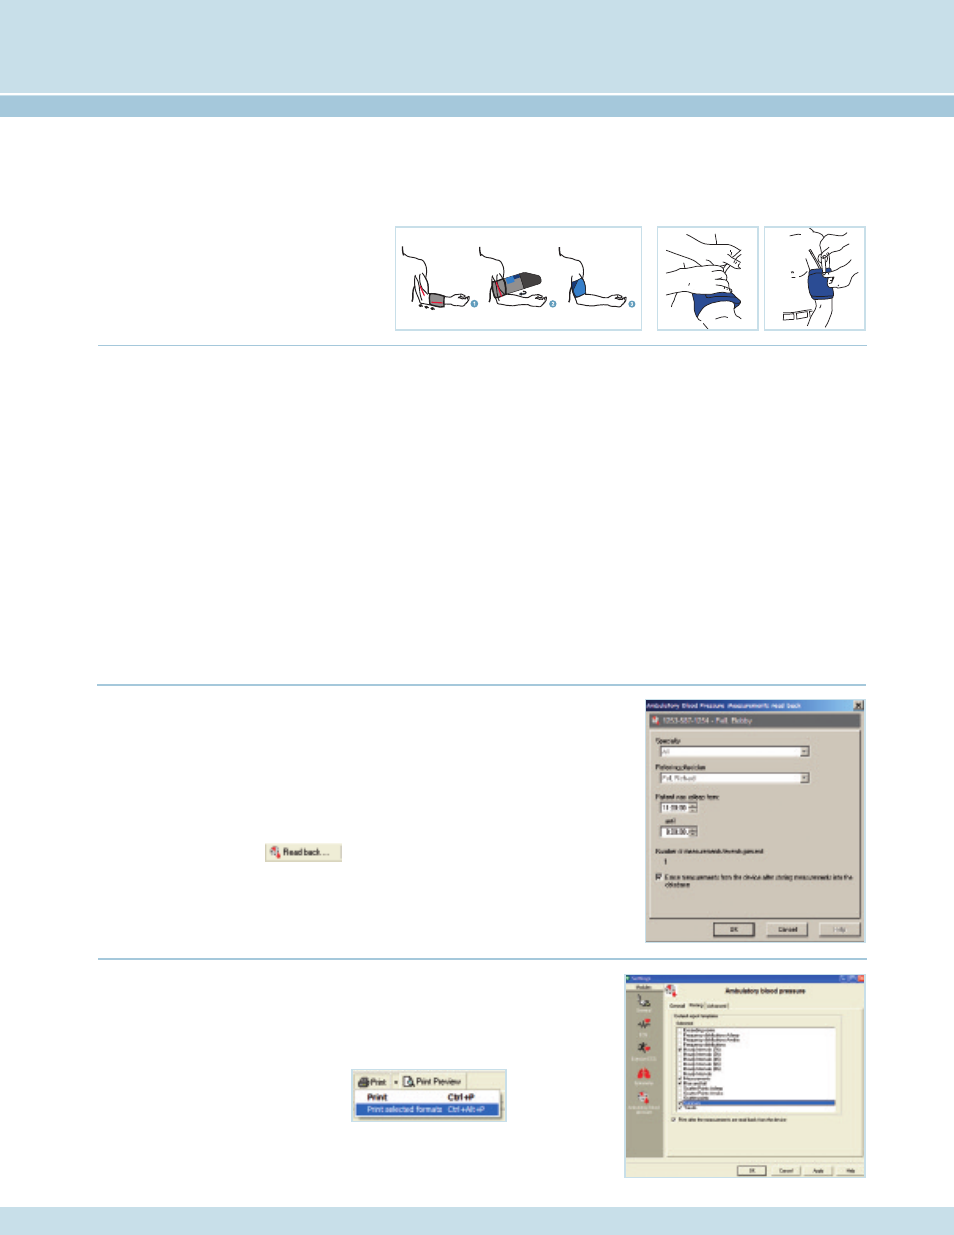
Place an appropriate size cuff around the patient’s
nondominant arm.
•
Position the cuff so that the Artery Marker label
is directly over the brachial artery.
•
Connect the hose of the cuff to the monitor, place
the monitor in the pouch, and attach the monitor
to the patient.
7 Prepare your patient
•
If the unit is in Sleep Mode (no display on the LCD), press
the Start/Stop button to “wake” the unit.
•
Press the Start/Stop button again to initiate a manual
reading. This will cause the cuff to inflate and a reading
to be taken.
NOTE: the automatic measurements will not start until at least
one manual measurement is taken
Review the following instructions with your patient:
•
Avoid excess movement during readings.
•
Relax arm slightly away from body.
•
Avoid hand movement.
•
Avoid flexing muscle during reading.
•
Do not remove cuff between readings.
Sleeve Cuff
Traditional Cuff
6 Fit your patient with the monitor and cuff
•
When your patient returns, remove the recorder and accessories.
•
Turn the recorder off by holding down the Start/Stop button
for five seconds or until the unit beeps five times.
•
Connect the recorder to the computer.
•
Start the CardioPerfect Workstation Software and search for
the patient in the database.
•
Select the Read Back icon.
•
Make your selections from the ABP Measurement Read Back
window and press OK to transfer and save the data to
the computer.
8 Retrieve data
•
You can choose from multiple ABPM report templates.
•
If automatic printing is checked in the ABPM Print settings,
the report should print now.
•
If you did not select Automatic Printing in
the Settings, click on the down arrow next
to the Print icon and choose Print
Selected Formats to initiate printing.
•
If you just want to print one page, click on the Print icon,
and select the desired report page.
9 Review data and print report