Operating instructions – Welch Allyn TR-1 Hand Aneroid - User Manual User Manual
Page 2
Operating Instructions
1. Seat the patient and make him/her as relaxed and comfortable as possible with the
arm free of clothing. Rest arm on a steady, smooth surface at heart level and
slightly flex the elbow.
2. Check to see that the pointer rests within the zero (oval) indicator on the dial face. If
not, return the unit to Tycos for recalibration.
3. Select the appropriate cuff size for patient’s arm. NOTE: Index line on cuff should
fall within the double arrow range. If index line falls short of range, use a larger cuff
to insure accurate results, If the index line is past the range, use a smaller cuff to
insure accurate results.
4. Wrap cuff around arm with “artery” symbol located over the brachial artery, and
with lower border about 2.5 cm above antecubital crease.
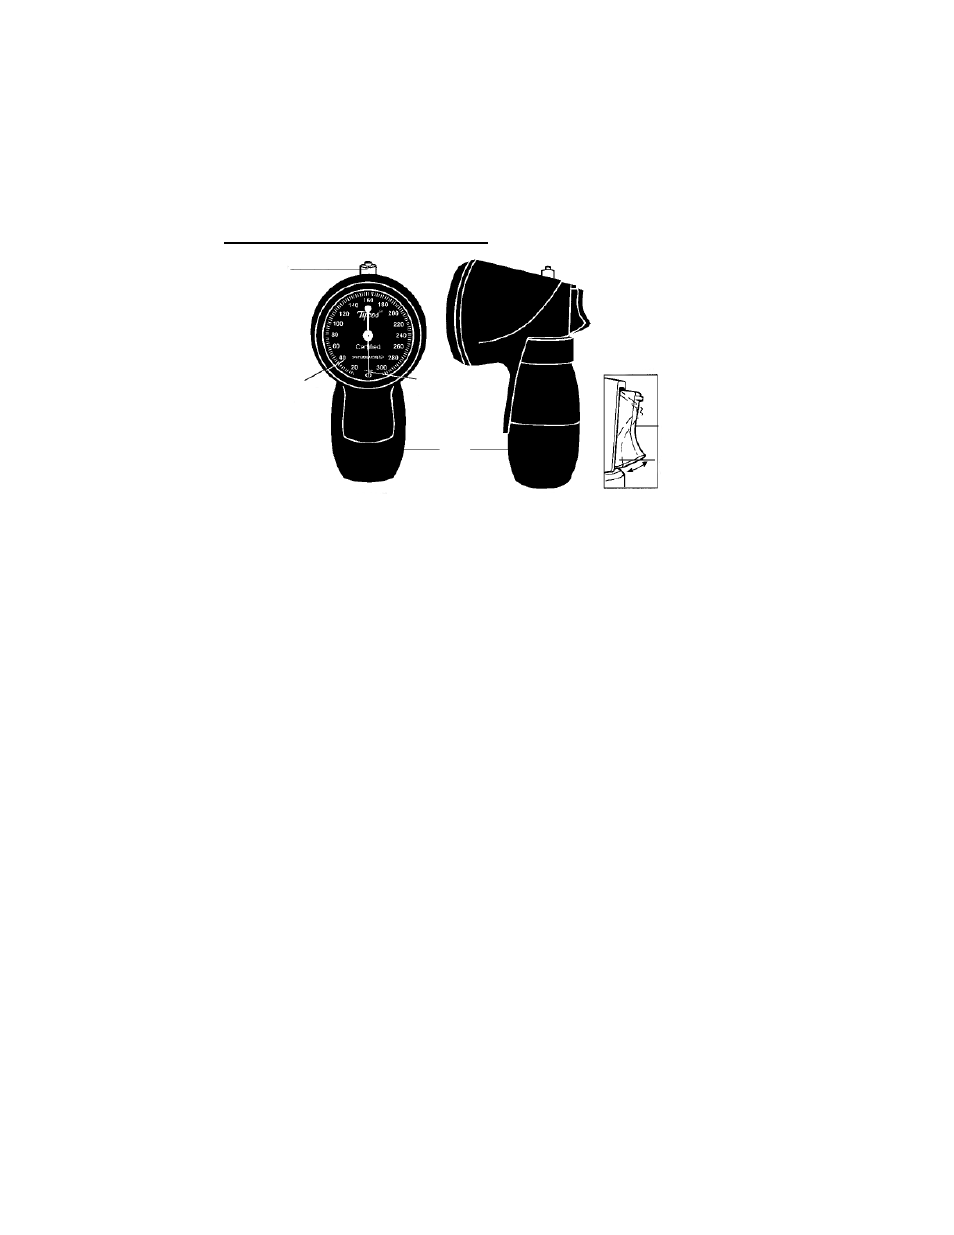
5. With trigger in “out” or “pump” position (see Diagram A), rapidly pump bulb to
inflate cuff. Inflate to about 30 mmHg above the estimated (or palpatory) systolic
pressure. NOTE: Verify the trigger is in “out” position or cuff will not inflate.
6. With the bell of a stethoscope (not included with this sphygmomanometer) lightly
applied over the brachial artery, watch manometer, and deflate cuff by pressing
lightly on trigger until tension is felt. Bleed rate increases dramatically as trigger is
depressed beyond “tension point”. During the measurement phase, attempt to keep
the deflation rate at 2 to 3 mmHg per second. NOTE: Inflate the cuff rapidly then
quickly begin pressure deflation rate point”. During the measurement phase,
attempt to keep the deflation rate at 2 to 3 mmHg per second. NOTE: To avoid haz-
ards that may occur due to prolonged overinflation of the cuff, inflate the cuff rap-
idly and quickly begin pressure deflation .
7. As the pressure falls, note systolic pressure at the first appearance of repetitive
sounds (Phase 1)
1
.
8. Note diastolic pressure at the point when Korotkoff sounds disappear
(Phase V)
2
.
9. Pull trigger in fully to lock it in maximum bleed or “dump” position (see Diagram
A). This allows for complete deflation of cuff.
10.Push index finger upward to return trigger to “out” or “pump” position.
¹ Perloff, D., et al, Human Blood Pressure Determination by Sphygmomanometry, Dallas: 1994, pp 16-17.
² IBID, p.17.
LUER
CONNECTOR
SPHYGMO-
MANOMETER
BULB
OUT
(PUMP)
IN
(DUMP)
FRONT
SIDE
ZERO
RANGE
TRIGGER
DIAGRAM A
SPHYGMO-
MANOMETER
SECTION