Welch Allyn TR-1 Hand Aneroid - User Manual User Manual
Welch Allyn Equipment
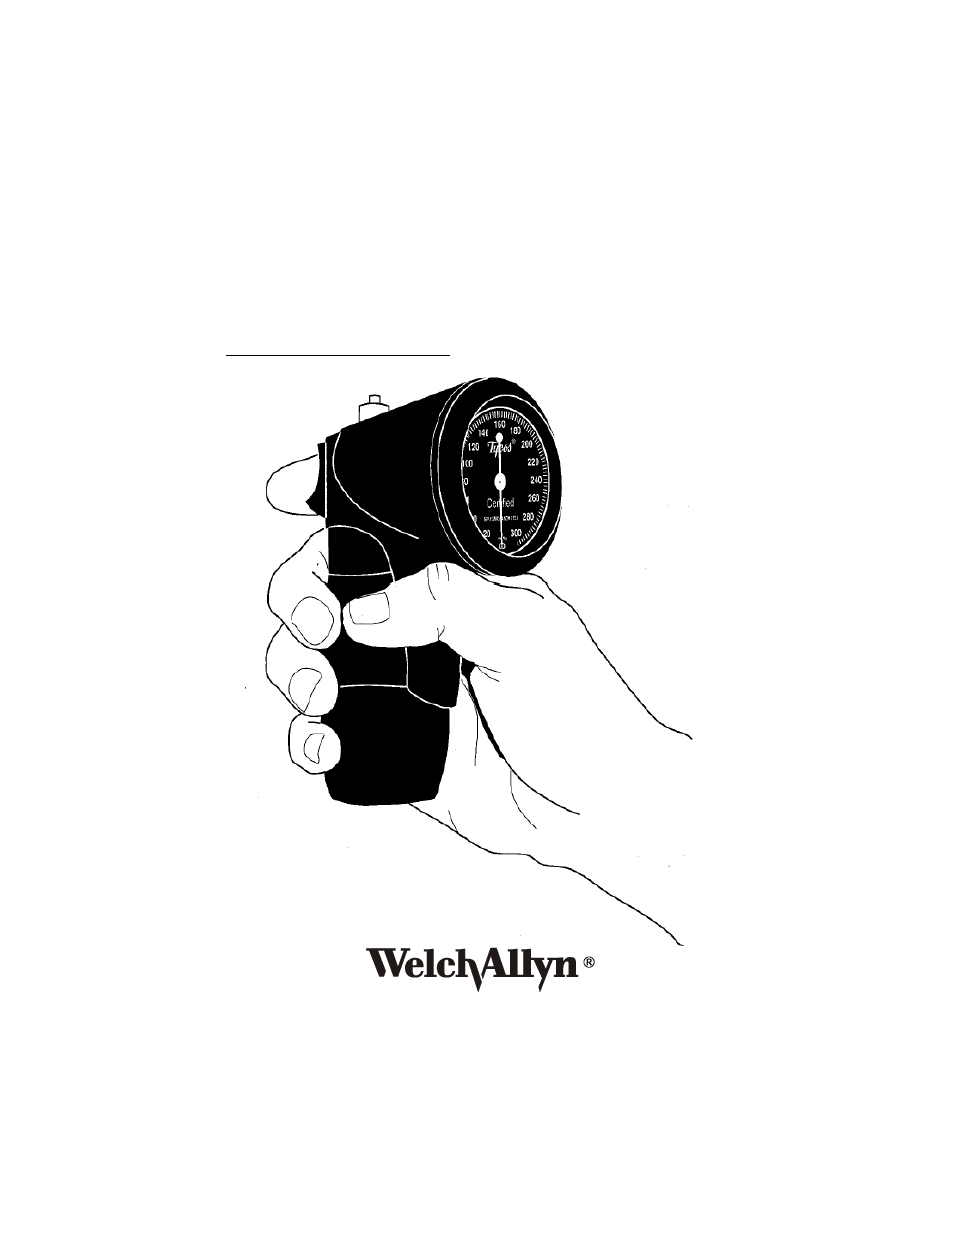
Table of contents
Document Outline
- Tycos Hand Aneroid
- Sphygmomanometer
- Instructions
- TR-1 Hand Aneroid
- Operating Instructions
- 1. Seat the patient and make him/her as relaxed and comfortable as possible with the arm free of clothing. Rest arm on a steady, smooth surface at heart level and slightly flex the elbow.
- 2. Check to see that the pointer rests within the zero (oval) indicator on the dial face. If not, return the unit to Tycos for recalibration.
- 3. Select the appropriate cuff size for patient’s arm. NOTE: Index line on cuff should fall within the double arrow range. If in...
- 4. Wrap cuff around arm with “artery” symbol located over the brachial artery, and with lower border about 2.5 cm above antecubital crease.
- 5. With trigger in “out” or “pump” position (see Diagram A), rapidly pump bulb to inflate cuff. Inflate to about 30 mmHg above the estimated (or palpatory) systolic pressure. NOTE: Verify the trigger is in “out” position or cuff will not inflate.
- 6. With the bell of a stethoscope (not included with this sphygmomanometer) lightly applied over the brachial artery, watch mano...
- 7. As the pressure falls, note systolic pressure at the first appearance of repetitive sounds (Phase 1)1.
- 8. Note diastolic pressure at the point when Korotkoff sounds disappear (Phase V)2.
- 9. Pull trigger in fully to lock it in maximum bleed or “dump” position (see Diagram A). This allows for complete deflation of cuff.
- 10. Push index finger upward to return trigger to “out” or “pump” position.
- Interchanging Inflation Systems
- 1. The TR-1 Hand Aneroid features a conventional luer lock connection.
- 2. To remove the attached inflation system, simply hold the cuff tubing near the connector, and twist counterclockwise. The tubing will release easily.
- 3. To attach a new or different size inflation system, simply twist clockwise and tighten.
- Bulb Replacement
- 1. To remove the old bulb assembly, turn it counterclockwise.
- 2. If there is damage to the gasket, remove sealing gasket from threaded part of manometer. Replace old sealing gasket with new gasket.
- 3. Place new bulb assembly onto the sphygmomanometer. Screw it up tightly against the sealing gasket. If bulb assembly will not ...
- 4. When bulb is assembled to the sphygmanometer so that it does not leak at the sealing gasket, scew the trim ring toward the sp...
- Cleaning and Sterilization
- Warranty
- The CE mark on this product indicates that
- it is in conformity with the provisions
- of Council Directive 93/42/EEC
- European Regulatory Manager
- Medical Division, Welch Allyn, Ltd.
- Navan, CO. Meath, Republic of Ireland.
- This product conforms to applicable sections of European Standard’s EN 1060-1, Non-invasive Sphygmomanometers, Part 1. General Requirements and EN 1060-2, Part 2. Supplementary requirements for mechanical sphygmomanometers.