Service parts, Disassembly, Accessories – Thetford 80 Marine Electra Magic User Manual
Page 9
8
9
Service Parts
For parts and/or service – including those under warranty
– contact a local Thetford Certifi ed Service Center (CSC),
or a RV or Marine Dealer. Or, call Thetford’s Customer
Relations Department for information at 1-800-521-3032.
For warranty consideration, parts must be sent to Thetford.
Call 1-800-521-3032 for a Returned Goods Authorization
Number before sending it in. When you call have this
information available:
1. Your name and address.
2. The toilet Model, Part No. and Code (located on the ID
label on the front of the toilet).
3. Reason for return.
4. Date of vehicle/toilet purchase.
Disassembly
RV and Marine Models
1. Fuse Replacement
A. Remove two (2) #03923 cover mounting screws and
#03924 Motor Cover Assembly.
B. The fuse is now readily accessible for checking or
changing.
2. Switch Removal
A. Disconnect lead wires from power source.
B. Remove two (2) #03923 cover mounting screws and
#03924 Motor Cover Assembly.
C. Remove switch retaining nut and remove wires from
switch terminals.
3. Slide-EZ Valve Removal
A. Disconnect lead wires from power source.
B. Completely evacuate unit.
Note: If you have a #24320 extension handle unit, cotter pin
and extension handle must be removed at this point.
C. Remove two (2) #03915 moulding mounting screws and
remove two (2) base mouldings (See Pg. 6).
D. Remove slides by catching tabs with a hooked instrument
and pulling forward (Pg. 5).
E. Lift toilet from closet fl ange and invert unit.
F.
Remove four (4) #08737 screws; remove valve (Pg. 5).
4. Sump Removal
A. Disconnect lead wires from power source.
B. Completely evacuate unit.
C. Remove two (2) #03915 moulding mounting screws and
remove two (2) base mouldings (Pg. 6).
D. Remove slides by catching tabs with a hooked instrument
and pulling forward (Pg. 5).
E.
Remove
fl exible hose from sump and invert unit.
F.
Remove four (4) #01663 screws; remove sump (Pg. 7).
5. Pump Removal
A. Complete steps 2A and 2B above.
B. Completely evacuate unit.
C. Remove cover and bowl assembly screws two (2) #03979
in rear from top side and two (2) #03943 in front from
bottom side and remove #03912 cover and bowl assembly
(Pg. 6).
D. Remove four (4) #03925 pump mounting screws.
E. Disconnect #03946 inlet tube from pump outlet.
F. Remove #03950 pump assembly (Pg. 6).
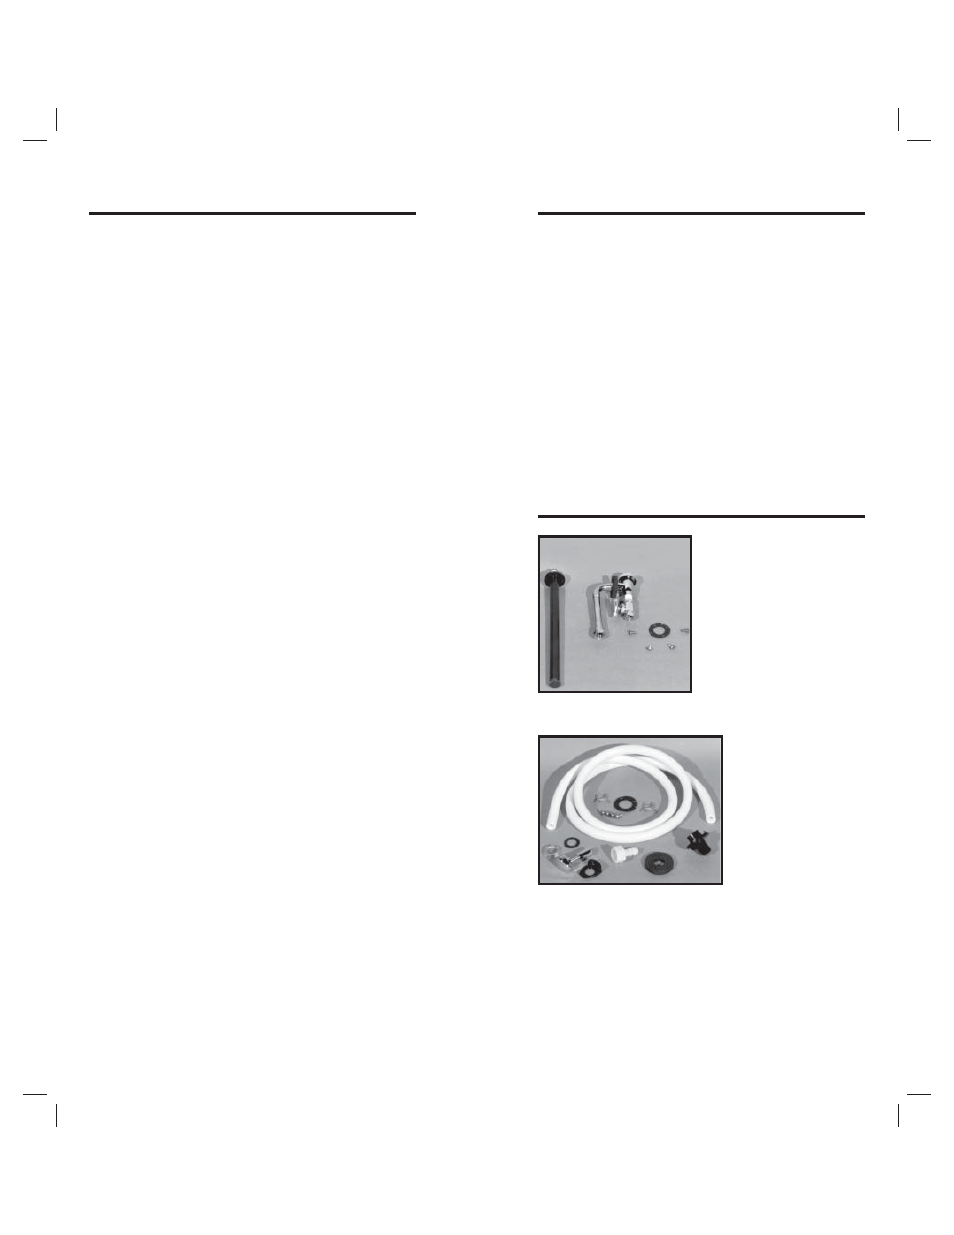
REFILL PKG. #03947
Chrome-plated refi ll adapter
connects Electra Magic
directly to vehicle or ves-
sels demand water supply.
Opening refi ll valve allows
easy toilet recharging and
cleaning. Eliminates need for
manually adding recharge
water.
VENT KIT #05223
(Included in Model
#24330)
Provides extra vent-
ing to reduce odors.
Primarily for marine
use.
Accessories