0 permanent installation 2, 0 permanent installation – Rice Lake MS202 Portable & Permanent Monorail User Manual
Page 4
2
A
B
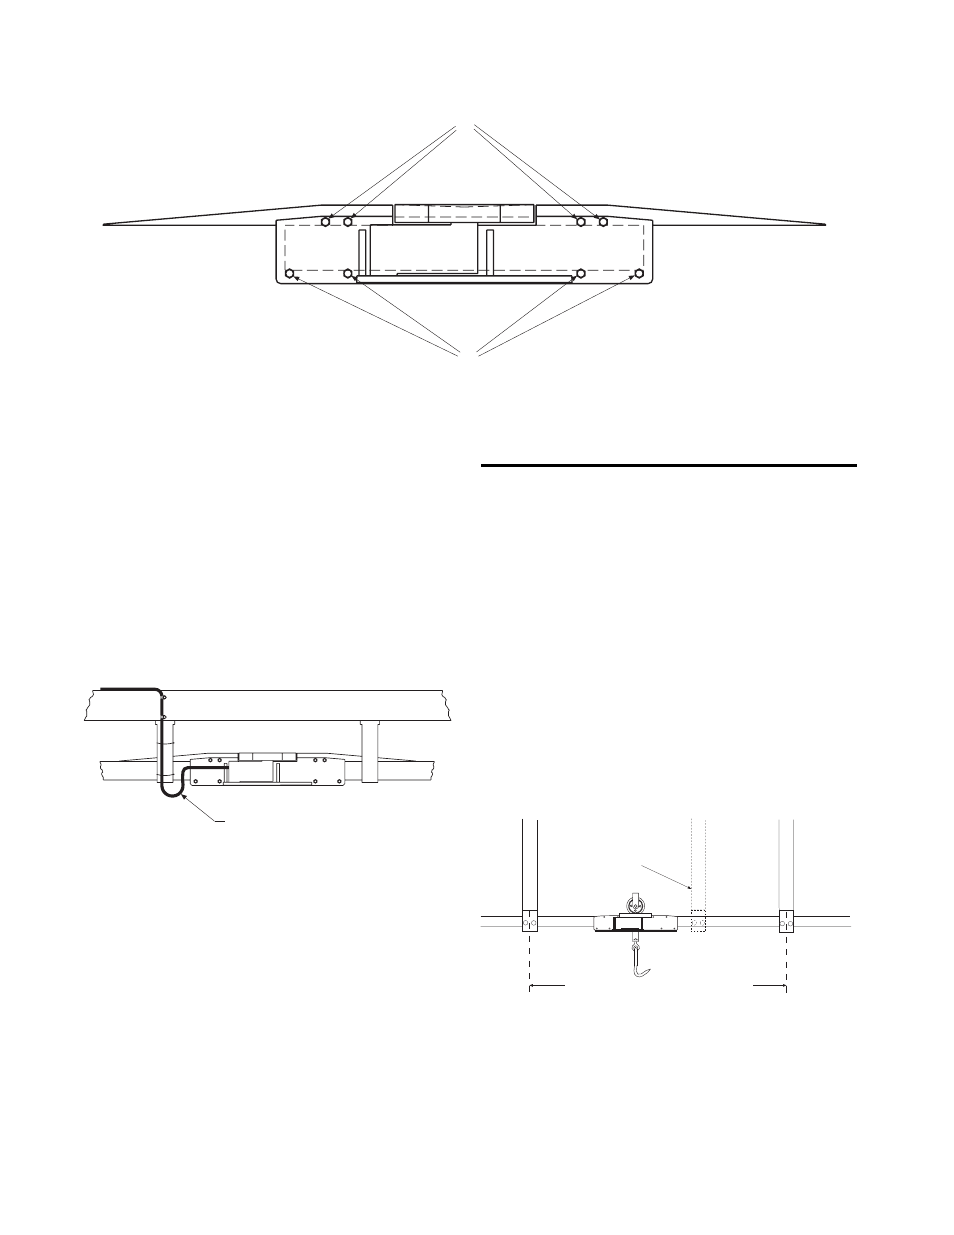
Figure 3: Top & Lower Bolts of Scale Mounting Brackets
Load Cell Cable to Indicator
Figure 4: Suggested Load Cell Cable Attachment
7. Rail hangers and their beam supports usually
provide a good place for attaching cable ties and
cable clamps. When attaching cable clamps, be
careful not to pierce the load cell cable.
8. Attach load cell cable to indicator.
3.0 Permanent Installation
1. Check that all trolleys using the scale have
adequate clearance to fit on the scale. See Figure
1 for minimum clearance size.
2. Remove an existing section of straight rail, then
cut the MS202 rail to fit the removed section.
Note: You can remove as little as 14" or, as
much as 52". To prevent having to weld in the
new rail section, choose a section supported
with hangers on each end. Bolt the new section
to the inner bolt holes of each hanger, as the joint
will lie at the hanger center lines. If the removed
rail section spans more than 24" between hangers,
install a new hanger close to the scale to prevent
rail twist when the installation is complete.
Cut existing rail here and remove
Add new support hanger
if distance between the
existing hangers is more
than 24"
Figure 6: MS202 Rail Installation
6. Route the 25' load cell cable to the desired
location for the digital weight indicator.
Do not
cut the cable, as the load cell is temperature-
compensated for exactly 25' of cable. It is
recommended that the cable be attached to the
rail assembly to prevent the possibility of damage.
See Figure 4.