St owage and fea tu re s, Stowage areas – Mercedes-Benz GLK-Class 2015 Owners Manual User Manual
Page 281
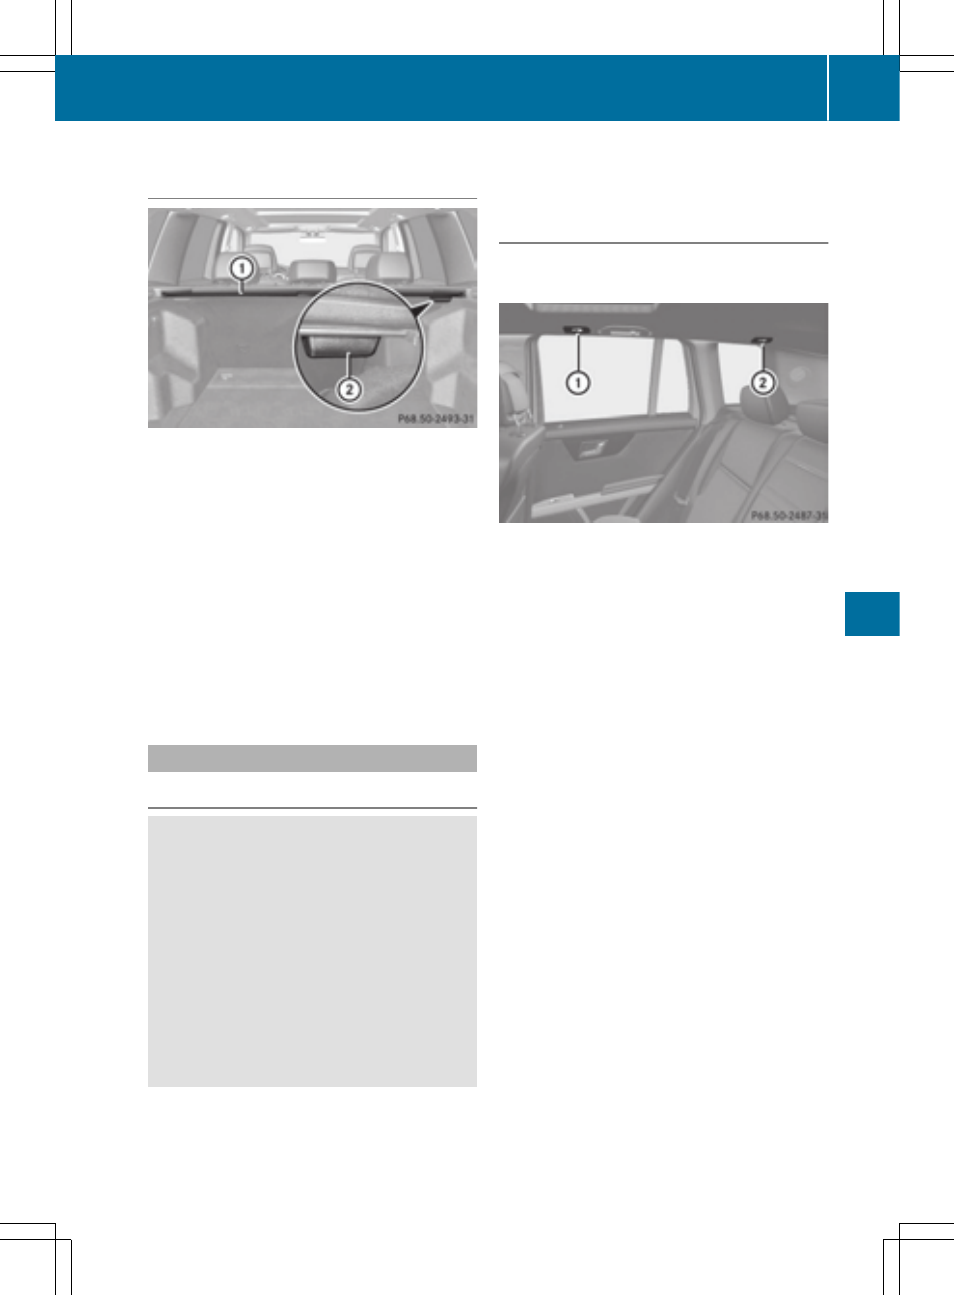
Installing/removing the cargo compart-
ment cover
X
To remove: make sure that cargo com-
partment cover : is rolled up.
X
Press handle ; on the right underside to
the left.
X
Remove cargo compartment cover :.
X
To install: attach cargo compartment
cover : to the opening on the left-hand
side.
X
Press handle ; to the left.
X
Allow cargo compartment cover : to
engage in the appropriate recess.
Cargo net
Important safety notes
G
WARNING
On its own, the cargo net cannot secure or
restrain heavy objects, items of luggage and
heavy loads. You could be hit by an unsecured
load during sudden changes in direction,
braking or in the event of an accident. There is
an increased risk of injury or even fatal injury.
Always store objects so that they cannot be
flung around. Secure objects, luggage or
loads against slipping or tipping over, e.g. by
using tie downs, even if you are using the
cargo net.
It is important to use a cargo net if you load
the vehicle with small objects above the seat
backrests. For safety reasons, always use a
cargo net when transporting loads.
Preparing the cargo net
The cargo net can be used in two different
positions (behind the B-pillar or the C-pillar).
R
The brackets behind B-pillar : are
required for the cargo compartment
enlargement (
Y
page 276).
The corresponding cargo tie down rings to
tighten the net are located in the footwell of
the rear bench seat (
Y
page 277).
R
The brackets behind C‑pillar ; are
required for the cargo compartment behind
the rear bench seat.
The corresponding cargo tie down rings to
tension the net are located in the cargo
compartment (
Y
page 277).
The cargo net is located in the loading tray in
the stowage well under the cargo compart-
ment floor (
Y
page 281).
X
Open both Velcro fasteners and remove the
cargo net.
X
Unroll and unfold the cargo net.
The upper and lower guide rods must
engage audibly.
Stowage areas
279
St
owage
and
fea
tu
re
s
Z