Losi LOSB0125 User Manual
Page 18
18
Camber Rise Relationship: The Speed-NT setup out of the box
comes with less front camber gain than the rear camber gain.
The reason for this is that less front camber lets the front end
drive flatter and makes the Speed-NT more stable. By having
more camber gain in the rear, the Speed-NT has more rear
traction, this helps the rear tires accelerate through the bumps
and ruts.
Wheels and Tires
The tires come pre-mounted with the vehicle and should be
checked to make certain they stay glued to the wheels. The
wheel spinning speeds this vehicle is capable of tend to pull the
rubber tire away from the rim. When a tire or tires come loose
from the rim you will notice the vehicle is hard to control.
Tip the vehicle on its side and using both hands to hold one
wheel at a time, use your thumb to press the tire away from the
rim. If you see a tire pull away from the rim use Losi Tire Glue
(LOSA7880 thick or LOSA7881 thin) to re-glue. It only takes a
small drop of glue generally. Be careful this is CA-type glue and
you do not want to glue your fingers to the wheel and tire.
Use safety goggles when gluing tires.
Check the mounting of the tire periodically to ensure proper
performance and handling.
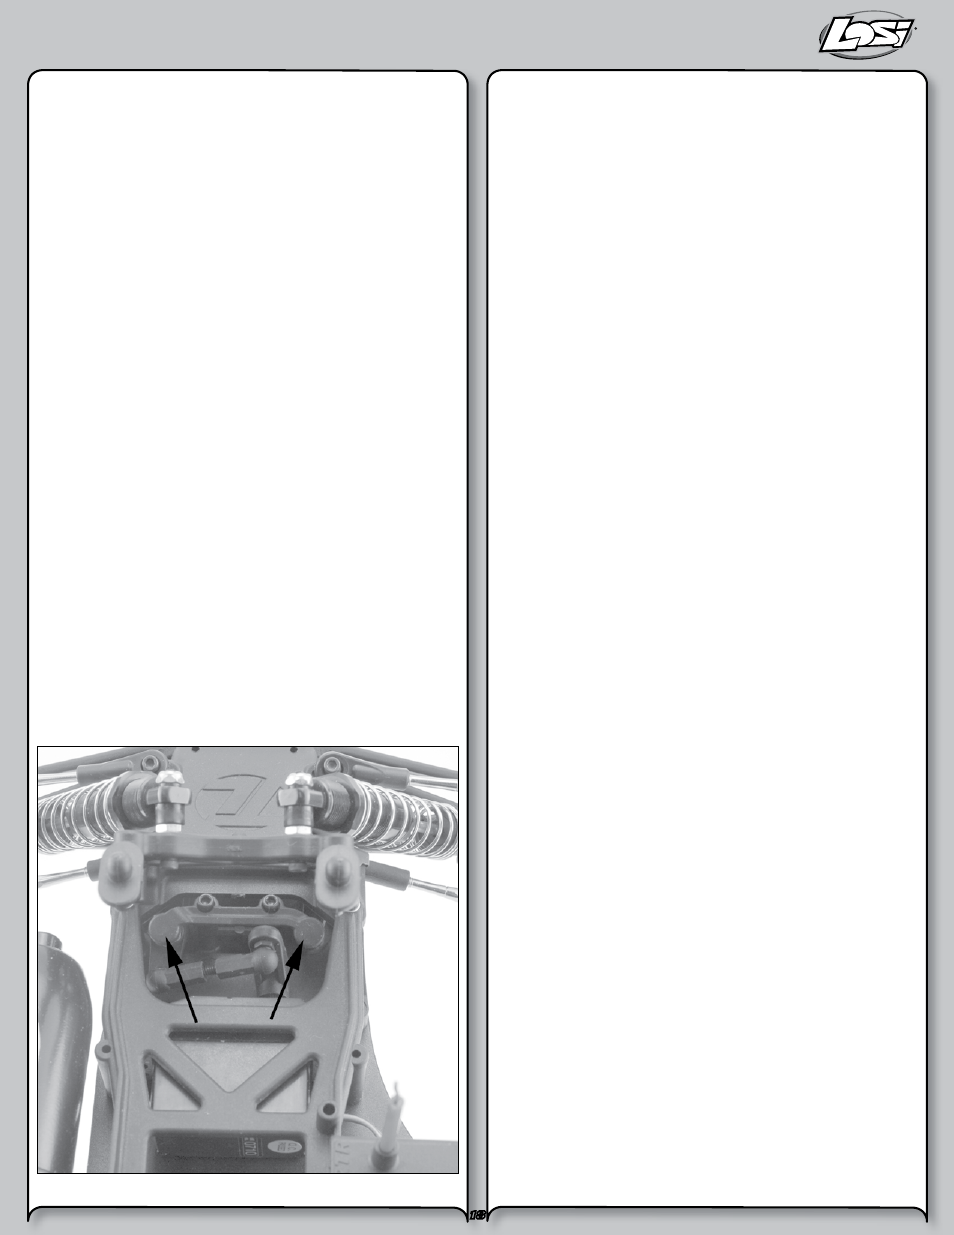
Steering Assembly: Occasionally, check the steering assembly
and you may notice increased looseness. There are several
components which will wear out from use: tie rod ends (part
LOSA6074), the servo saver (part LOSA1610), the bellcrank
bushings (part LOSA1620), and the drag link ball ends
(LOSA6074). You can easily replace these components to restore
factory specifications.
Note: The bellcrank bushings may be replaced with
ball bearings (part LOSA6912).
Troubleshooting your Speed-NT
Many questions are the result of simple user errors or minor
adjustments which are easily addressed. If after reading below
you cannot resolve your problem, then please call Horizon
Product Support at 1-877-504-0233.
Radio system does not work properly:
If the power light on the transmitter is not turning on, first
ensure the batteries are installed correctly. You should also
check that the batteries are good and/or if rechargeable are
fully charged. Replace them if needed. If the power light is
blinking, then the transmitter batteries are weak and should be
replaced. If the transmitter light is on but the radio is still not
responding, you may need to re-bind the transmitter to the
receiver. Please see page 16.
Short radio range:
If the radio range appears short, make sure the batteries are all
fully charged and/or are in good condition.
Steering or Throttle servo does not work:
Check all wires, radio system, battery connectors, and the
battery pack.
Engine will not start:
1. Check the igniter by attaching it to a new glow plug. If the
glow plug element does not glow bright red the igniter
needs to be charged.
2. Remove and check the glow plug by attaching it to the
igniter. If it does not glow red attach a new glow plug
to the igniter – if the new plug glows red install it in the
engine. If it does not glow red recharge the igniter and
repeat the test.
3. Make sure there is fuel in the tank.
4. Check the fuel line for holes or cuts.
5. Note that the fuel is getting up to the carburetor. If not
wait for the exhaust pipe to cool and put your finger over
the exhaust tip and turn the engine over watching for the
fuel to go up the fuel line until it gets to the carburetor. Do
not continue to turn the engine over with your finger over
the exhaust tip after the fuel has reached the carburetor.
6. If the fuel has been left open or is over 6 months old, try
replacing the fuel including that in the fuel line.