Kontron OmniClient User Manual
Page 38
OmniClient –User’s Guide (V1.02)
www.kontron.com
37
The mount clamps with screws (supplied), allow the easy and fast mounting of the OmniClient-
156/185/215. Refer to the appropriate unit outline and mounting drawing for the correct
dimensions of cut-outs and air gap clearances required for mounting the unit into a wall or panel.
The OmniClient outline and mounting drawing can be found on our web sit
Dimension for: OmniClient
156
185
215
Cut-Out for Mounting into a Panel
[mm] (W x H)
394 x 245
462 x 283
527 x 325
Requirements for Mounting
Metal mounting panel thickness
for proper mounting
1.5 – 6
1.5 – 6
1.5 – 9
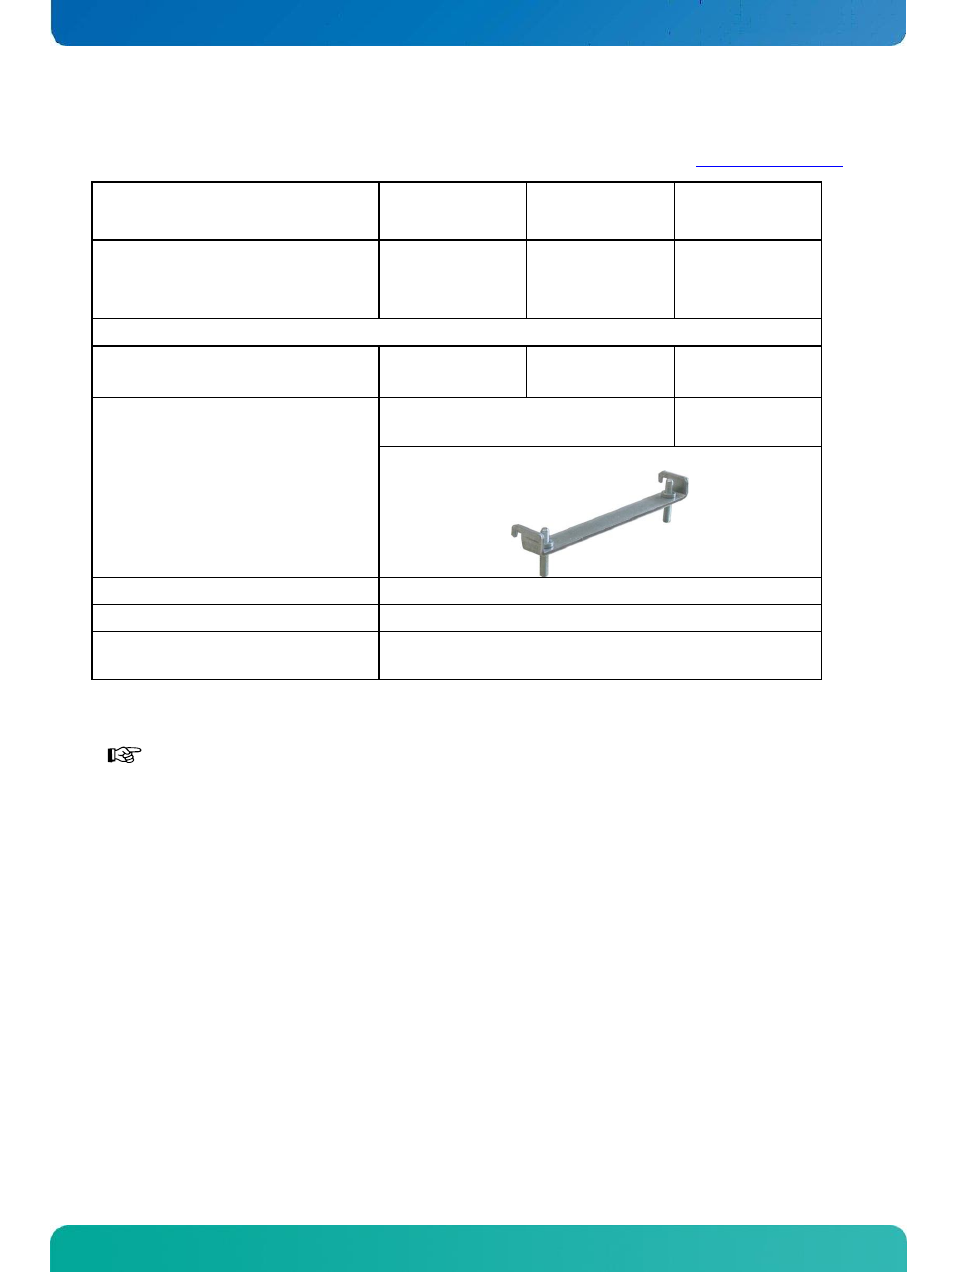
Used clamps with screws for
mounting the OmniClient to
a panel
6x
8x
Required Tool
#2 Phillips Screw Driver
Proper Torque
Tighten the screws with a torque of 0.5 Nm
Mounting Position
Ensure the vertical and horizontal alignment of the
system/display box.
Table 2: Requirements for OmniClient mounting into a subframe/panel
In order to ensure IP65 front sealing against dust and water, mount the system on a
non-textured surface. Before you install the OmniClient system into a panel or a
subframe for industrial cabinet, verify the perfect condition of the seal at the rear of
the front plate. The seal has to be in place without surface imperfections/defects
and dirt.