Home Legend Hardwood and Bamboo T-molding User Manual
Page 10
Doc.ID: 147
Effective: 8-6-2013
Title: Installation Hardwood/Bamboo HDF Stair Nose
Rev.:0
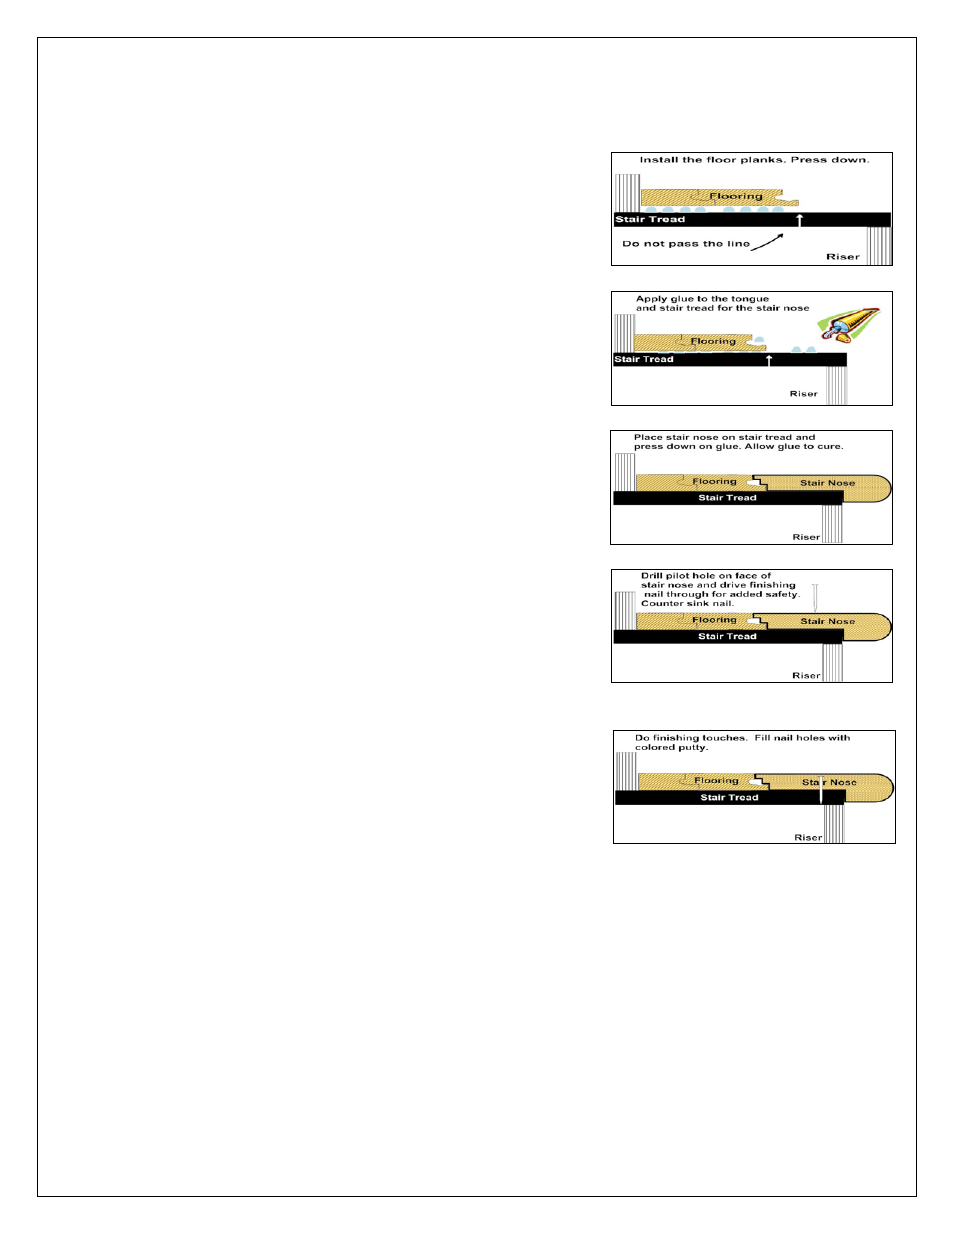
Step 3
Press the flooring planks firmly into the adhesive to ensure maximum
bonding.
Step 4
Apply beads of the construction adhesive along the entire width and
edge of the stair tread. Also on the groove.
Step 5
Replace the stair nose onto the edge of the step, into the newly laid
adhesive beads.
Push the stair nose against the riser and the tongue of the flooring
until it is flush with the flooring plank.
Step 6
Reinforce the stair nose with 6d finish nails.
Drill pilot holes on the stair nose.
Position nails about 3” from each end of the stair nose and space the
rest of the nails about 6” apart from each other.
Drive the nail and counter sink below the surface.
Step 7
Complete the finishing touches.
Fill nail holes with putty.
Touch up minor scratches with staining pen.
Follow glue manufacturer’s recommendation and allow the glue to
cure.
Once cured, the stair nose installation is complete and it is ready for use.