Anchoring the dyno, Installing the eddy current brake – Dynojet 224: Pit Installation Guide User Manual
Page 26
In Ground Model 224 Automotive Dynamometer Installation Guide
C H A P T E R 2
Dyno Installation
2-6
A
NCHORING
THE
D
YNO
Dynojet recommends you secure your dyno to the pit floor in your dyno room using
concrete anchors.
You will need the following parts:
• 36923100
Washer, 3/8", Hardened, Flat, Steel (4)
• 37513200
Anchor, Redhead, 3/8" (4)
• 37518200
Redhead Anchor Installation Tool
• DM150-019-012
Bolt, 3/8-16 x 1", Hex (4)
1
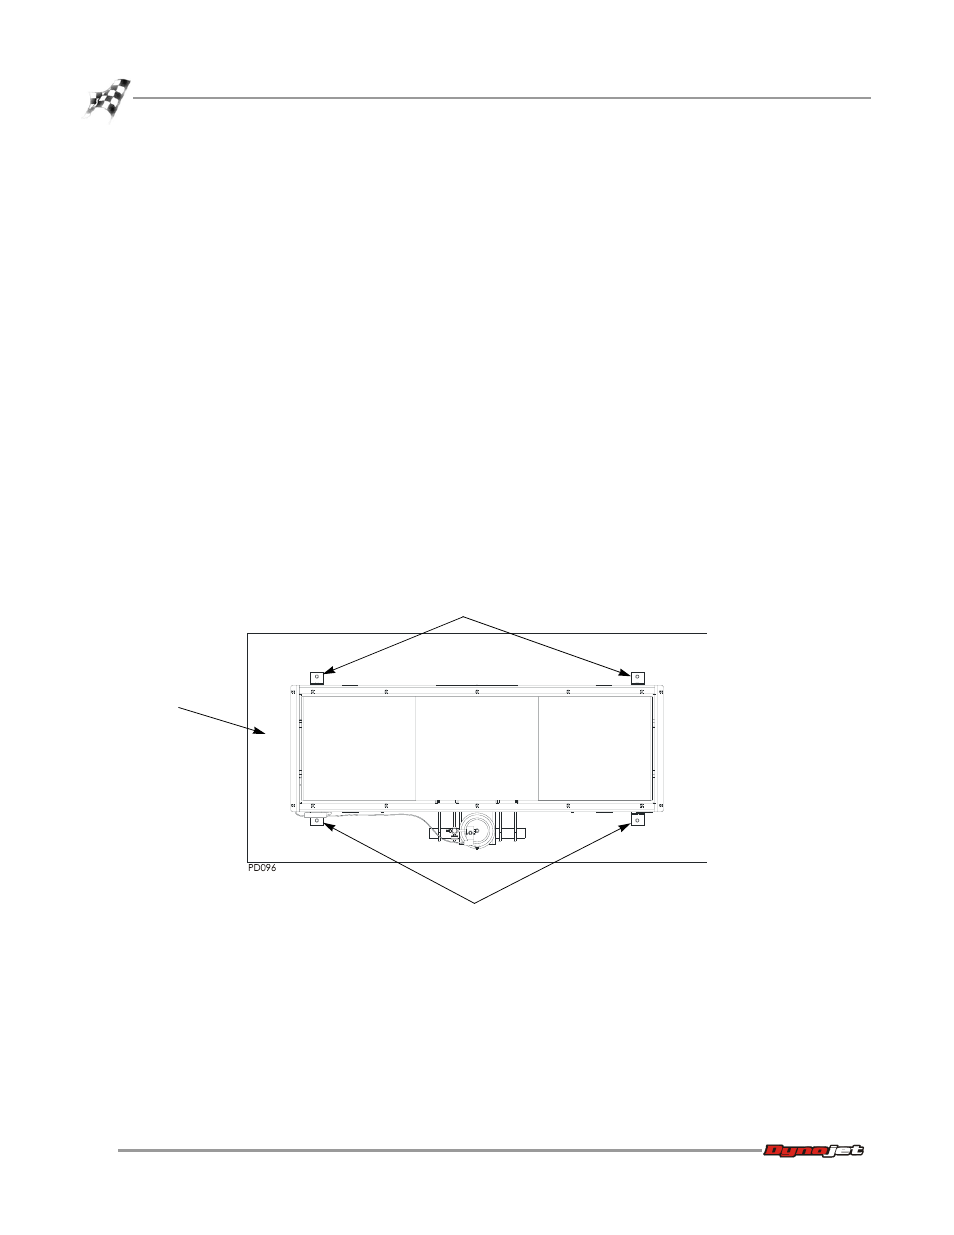
Using the mounting feet as a template, mark and drill each hole needed to secure
the four dyno feet to the floor.
2
Remove the 3/8 x 1-inch bolt and 5/16-inch flat washer securing each mounting
foot to the dyno and set aside.
3
Remove each mounting foot and set aside.
4
Install four Red Head anchors. Refer to Appendix A for installation instructions.
5
Secure each mounting foot to the dyno using the bolts and flat washers removed
earlier.
6
Secure each mounting foot to the floor using one 3/8-16 x 1-inch hex bolt and one
3/8-inch flat washer
If necessary, use shims to level the dyno before tightening the anchor bolts.
Figure 2-3: Secure the Dyno to the Pit Floor
I
NSTALLING
THE
E
DDY
C
URRENT
B
RAKE
Refer to the Eddy Current Brake Installation and User Guide for Model 224 In Ground
Automotive Dynamometers (P/N 98215101) for eddy current brake installation
instructions and install your eddy current brake at this time.
mounting foot
mounting foot
pit