Drilling the mounting holes, Figure 12: template placement – Dynojet 250: DynoWare EX+ Upgrade User Manual
Page 14
DynoWare EX+ Upgrade Installation Guide
D Y N O W A R E E X + U P G R A D E
Installation
8
D
RILLING
THE
M
OUNTING
H
OLES
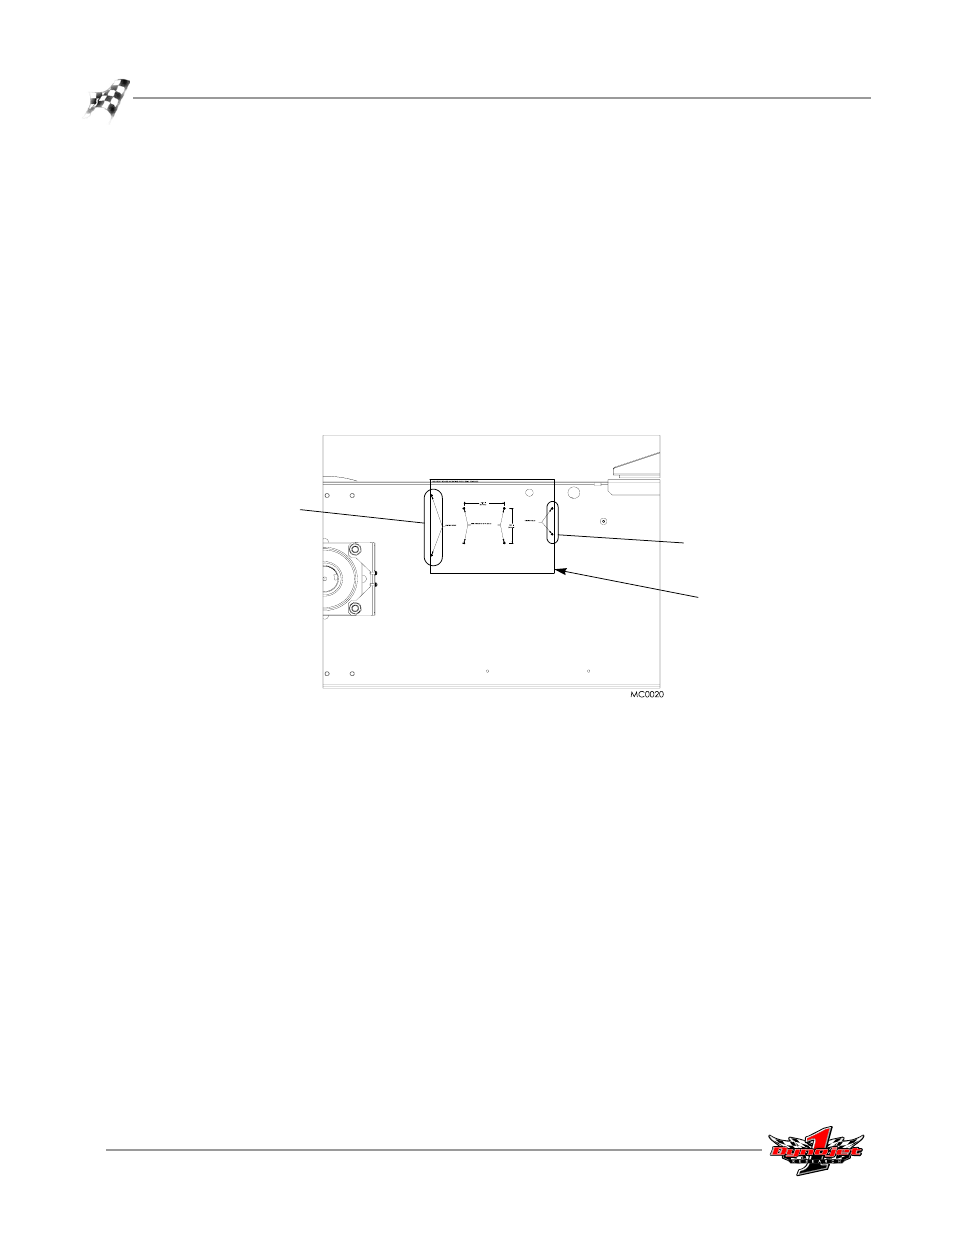
Depending on the age of your dyno, you may need to drill the holes needed to mount
the Breakout board. If you dyno already has the required holes, skip these steps and
continue with the installation.
1
Locate the Breakout Board Mounting Hole Drill Template found at the end of this
manual.
2
Locate the existing holes in the dyno to the right of the pickup card bracket.
3
Align the template with the existing holes on the dyno and tape the template in
place.
4
Mark and drill the four mounting holes to 3/16-inch (5 MM).
Note: Before drilling the holes, place the Breakout board over the marked holes
to verify correct hole placement.
Figure 12: Template Placement
template
existing holes
existing holes