Installing the pickup card, Figure 6: install the pickup card bracket, Figure 7: install the pickup card – Dynojet 250: DynoWare EX+ Upgrade User Manual
Page 11
I N S T A L L A T I O N G U I D E
Installation
Version 3
DynoWare EX+ Upgrade Installation Guide
5
I
NSTALLING
THE
P
ICKUP
C
ARD
1
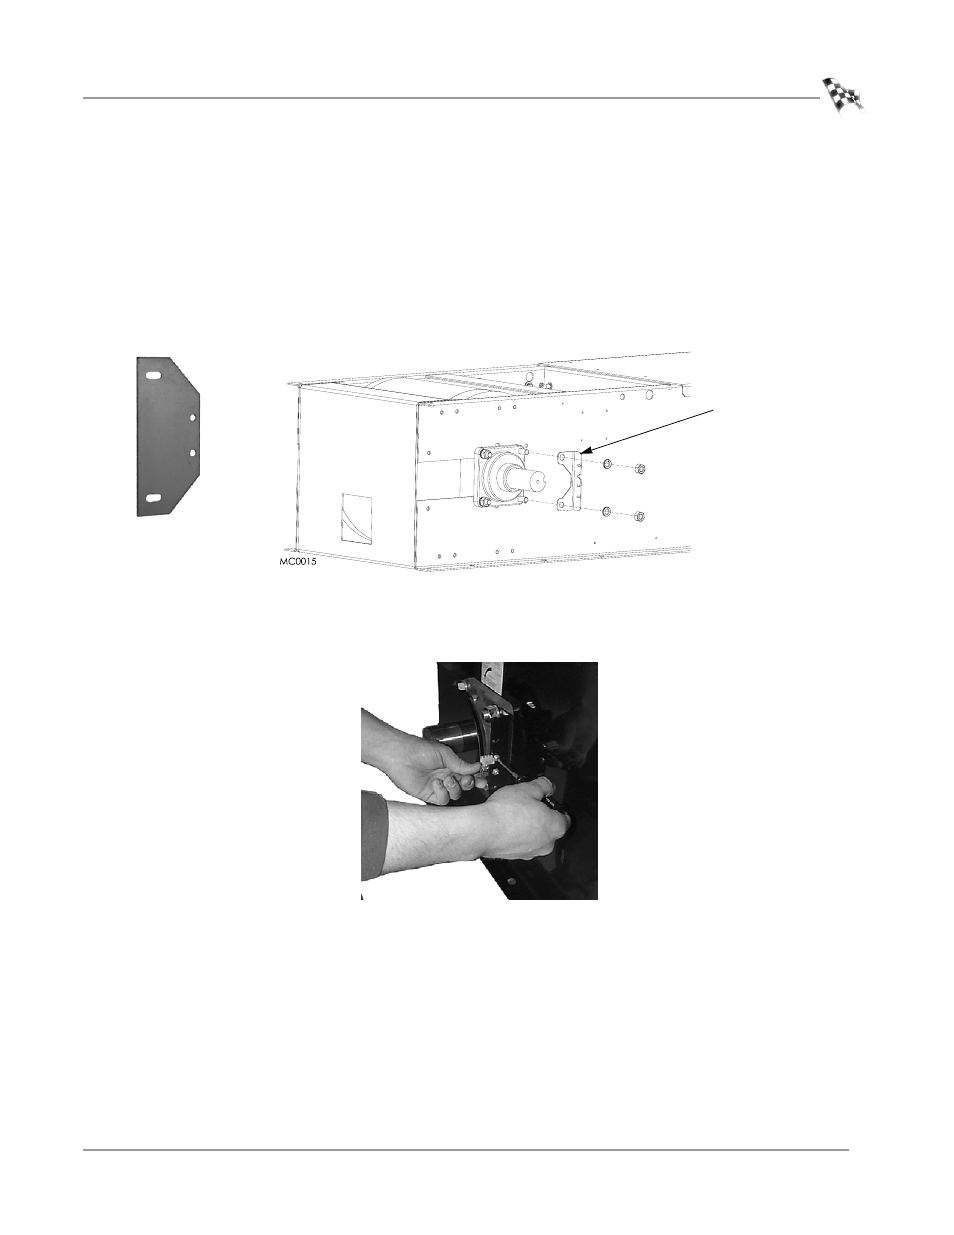
Remove the two 5/8-inch nuts and washers from the bearing case and set aside.
2
Remove the existing pickup card bracket.
3
Install the new pickup card bracket and secure the bracket using the two 5/8-inch
washers and nuts removed earlier.
4
Torque the nuts to approximately 150 ft. lb.
Note: If you have a high inertia drum, install the extender bracket on your
existing pickup card bracket.
Figure 6: Install the Pickup Card Bracket
5
Install the new pickup card in the notch on the new bracket using two
No. 8 screws and lock washers. Do not tighten, the card must be aligned first.
Figure 7: Install the Pickup Card
extender bracket for
high inertia drums
pickup card bracket