Canon E 430 User Manual
Canon, E430
Attention! The text in this document has been recognized automatically. To view the original document, you can use the "Original mode".
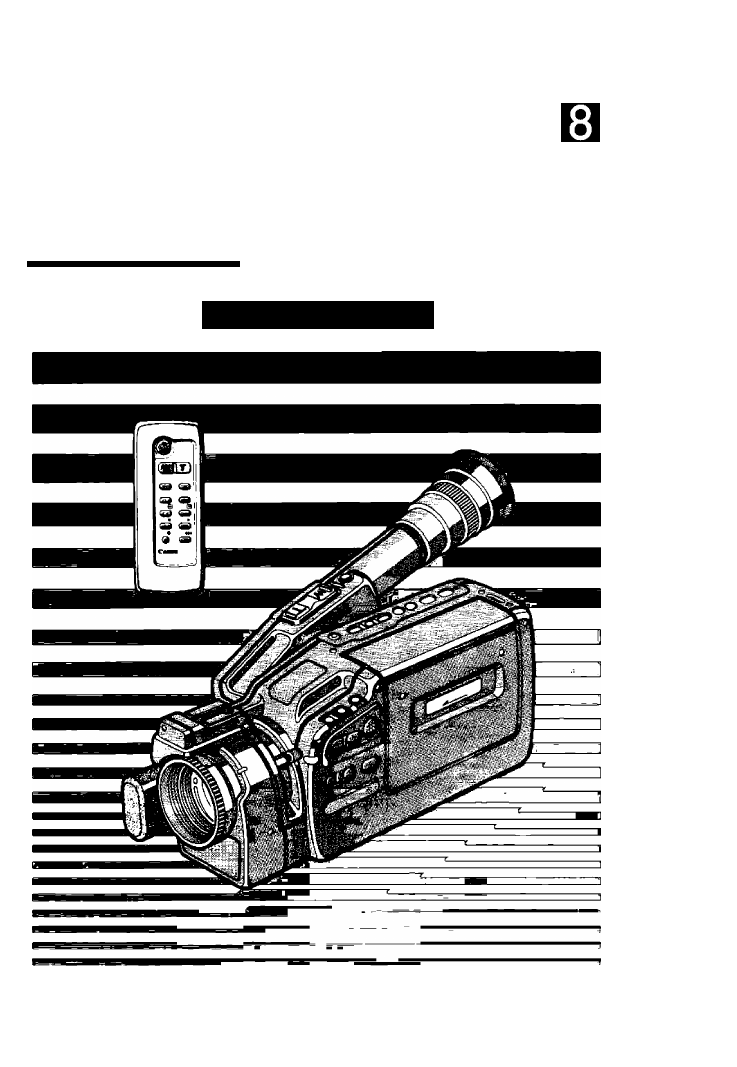
Table of contents
Document Outline
- .■ I ^^1,- ■ ^ í
- Caméra Parts and Functions
- WL-50 Wireless Controller
- Viewfinder Dispiays
- Power Sources
- Setting Date and Time
- Camera Preparations
- Camera Recording
- 1.
- 2.
- 6.
- Press ISPJ/LP button to select tape mode.
- Turn grip to desired position.
- 7. Press start/stop button.
- 8. Press start/stop button again to temporarily pause recording. ^0
- 9. When recording has ended, press A (EJECT) button.
- 10. Remove video cassette and close video cassette compartment again.
- 11. Turn camera off.
- Video cassette erasure prevention switch
- Record Search
- Record Review
- Edit-erase
- Recording Date and Time
- 1. While recording or in record pause mode, press DATE button. ilEI
- 2. Press DATE button again to end date and time recording.
- Autofocus
- Subjects Not Suitable for Autofocus
- Manual Focus
- 1. Press FOCUS [^/M button to select manual focus.
- 2. Rotate zooming lever to telephoto end.
- 3. Look through viewfinder and rotate focusing ring to focus on subject.
- 4. Use zooming lever to frame subject properly.
- Focus Lock
- Shooting with Video Light
- Attaching Video Light 4i-a
- 1. Insert video light plug into accessory shoe on the camera.
- 2. Slide video light into accessory shoe until it stops.
- 1. Press and hold lock release button.
- 2. Slide video light out of accessory shoe.
- Replacing Bulb
- 1. Rotate the protector in the indicated direction.
- 2. Puil out the old bulb.
- 3. Insert a new bulb positioning the notch at the bottom.
- 4. Rotate the protector in the indicated direction.
- Gain-up/Backlight Compensation
- High-Speed Shutter
- Fade
- Adding Titles to Recordings
- Creating Character Titles
- 1. Place camera in record pause.
- 2. Press CHARACTER TITLE button for more than 3 seconds to display title lines in viewfinder.
- 3. Press SHIFT button to move the cursor to position where you want to start the title.
- 4. Use + and - buttons to scan list of title characters.
- 5. When the character you want is displayed, press SHIFT button again to move to next cursor position.
- 6. Follow steps 4 and 5 until your title is complete.
- 7. When the title is finished, press CHARACTER TiTLE button. BQ
- Playback Connection
- Connection Procedure EEgi
- Connection Procedure ИДЯ
- Selecting Video Channel (European model)
- 1. Turn TV on.
- 2. Turn camera on.
- 3. Press ■ (STOP) button to select playback mode.
- 4. Press A (PLAY) button to start playback.
- 5. Set RF unit’s G/l selector using flat-edge screwdriver.
- 6. Set TV and video channel selector to video channei (video channei selector is factory-set to CH 32).
- Selecting Video Channei (Australian model)
- 1. Turn TV on.
- 2. Turn camera on.
- 3. Press ■ (STOP) button to select playback mode.
- 4. Press -4 (PLAY) button to start playback.
- 5. Set TV and video channel selector to video channel (video channel selector is factory-set to 1CH) using a flat-edge screwdriver.
- Playback Procedure
- 1. Turn camera on.
- 2. Press A (EJECT) button.
- 3. Load video cassette in camera and cióse video cassette compartment.
- 4. Press ■ (STOP) button to seiect piayback mode.
- 5. Locate piayback start point.
- 6. Press PLAY button to start playback.
- 7. Press ■ (STOP) button to end playback.
- 8. Turn camera off.
- High-Frequency Feedback
- Special Playback Methods
- Tape Return
- Editing to Another VCR
- Canon E430 Video System Chart
- Carrying Cases
- Optional Accessories
- Problems and Troubleshooting
- Cautions
- B
- F. Always Replace the Lens Cap.
- G. Do Not Expose the Camera to Shock or Vibrations.
- H. Avoid Sudden Changes in Temperature.
- I. Do Not Disassemble the Camera.
- J. Use the Battery Pack Correctly and Only Use Recommended Accessories.
- Using Your Battery Packs Effectively
- Immediately After Purchase
- General Use
- storage
- Terminology
- Maintenance
- Keep the Heads Clean.
- Clean the Camera with a Soft, Dry Cloth.
- Store the Camera Properly.
- Store Cassette Tape Properly.
- Check the Operation of Each Component.
- B
- Specifications
- Caium