Хм satellite radio (con’t), Convenient functions, Хм satellite radio – Samsung HT-TX72 User Manual
Page 33
Attention! The text in this document has been recognized automatically. To view the original document, you can use the "Original mode".
хм Satellite Radio
(Con’t)
Presetting XM Satellite Radio
' TÜNING/CH
1
Press the FM/XM button(or FUNCTION button on the main unit)
and select the XM band.
■ Each time the FM/XM button is pressed, the band switches between
2
Search the XM Satellite Radio channel you want to set as a preset channel.
■ When the channel number <20> is selected.
3
Press the FM/XM MEMORY button.
■
MEMORY
iiO
4
Press the
f
« button select preset number.
■ You can select between 1 and 15 presets.
5
Press the FM/XM MEMORY button again.
■ Press the
FM/XM MEMORY
button before
■
6
To preset another station, repeat steps 2 to 5.
' Up to 15 stations can be saved in memory. If you save more than 15 stations, the oldest
station previously saved Is removed and a new station Is stored in Its place.
> To tune in to a preset station, press the TUNING/CH button (orr
on the main unit)l to select a channel.
button
64
Convenient Functions
Sleep Timer Function
You can set the time that the Home Theater will shut itself off.
Press the SLEEP button.
■
10 -+ 20 -*■ 30 -»• 60 -r 90 -f 120 -> 150 -> OFF.
> To confirm the sleep timer setting, press the SLEEP button.
■ The remaining time before the Home Theater will shut itself off is displayed.
■ Pressing the button again changes the sleep time from what you have set earlier.
> To cancel the sleep timer, press the SLEEP button until
the display.
Adjusting Display Brightness
You can adjust the brightness of the display on the main unit so it won't interfere with your movie viewing.
Press the DIMMER button.
■ Each time the button Is pressed, the brightness of front display will be adjusted.
Mute Function
This is useful when answering a doorbell or telephone call.
Press the MUTE button.
■
■ To restore the sound, press the MUTE button again to select
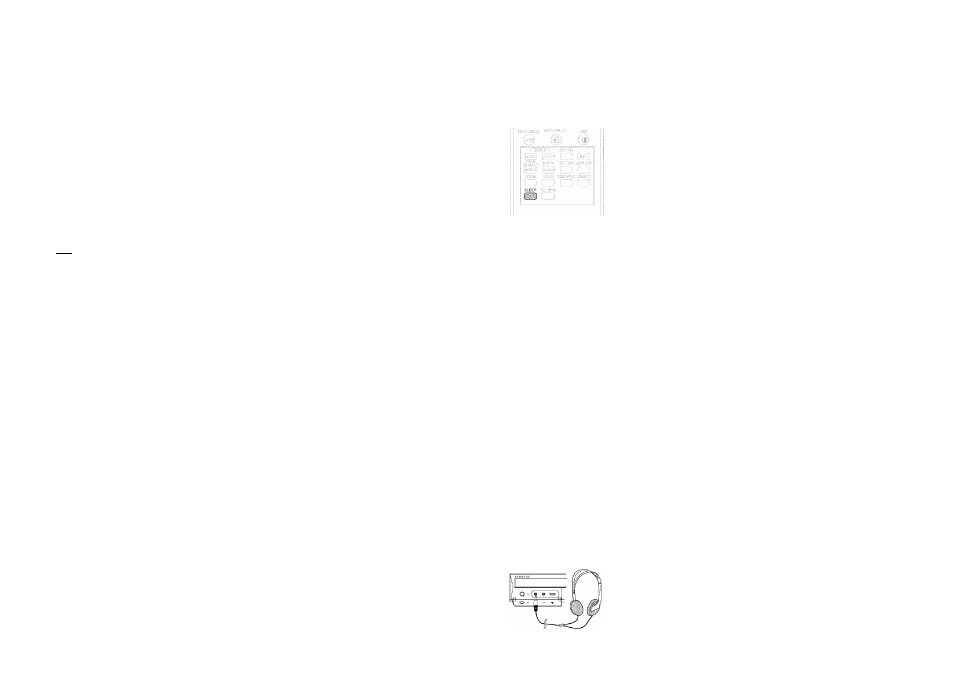
Using Headphones
Use headphones (not supplied) for private listening pleasure.
Connect the headphones to the Headphone jack for private listening.
• To prevent hearing damage, do not increase the volume excessively when using headphones.
65