Opjp – Sony GV-300 User Manual
Page 29
Attention! The text in this document has been recognized automatically. To view the original document, you can use the "Original mode".
- tontronng tram Itn C
mnm
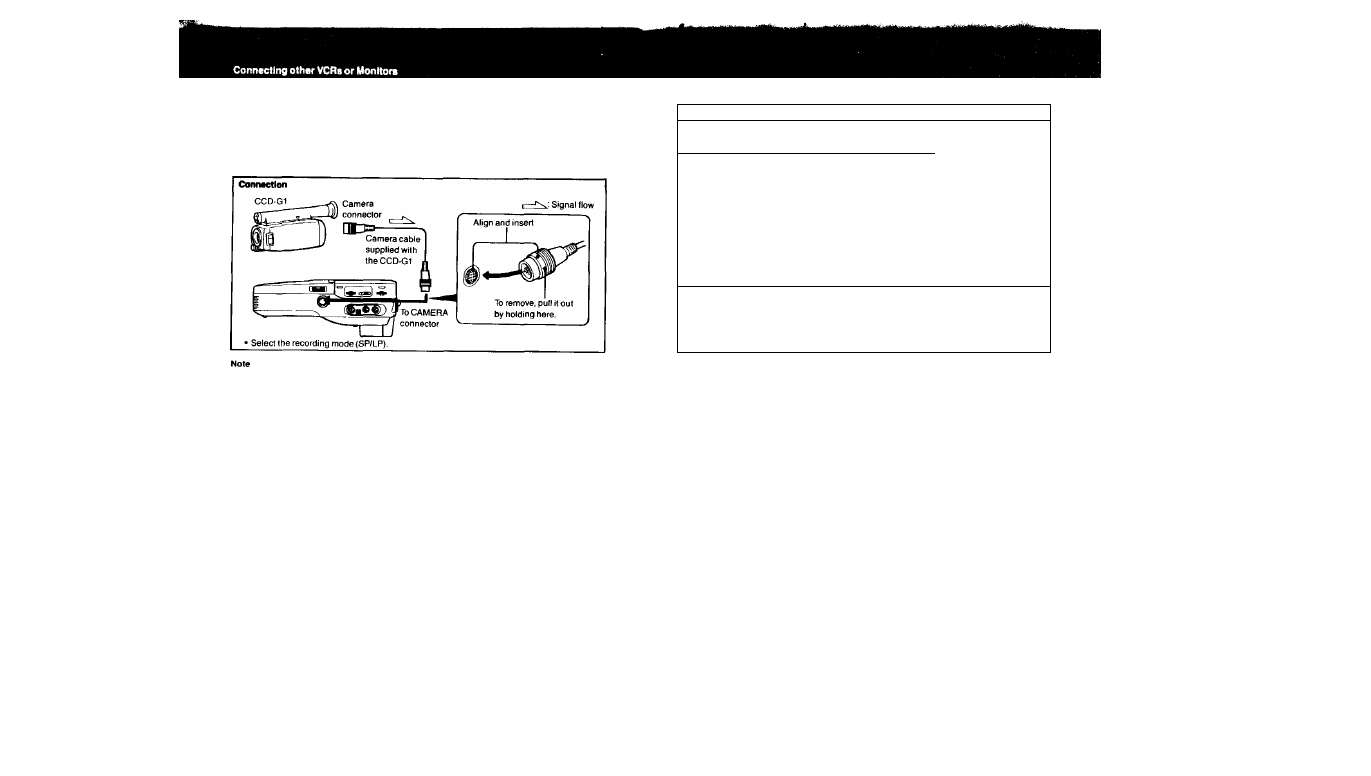
By connecting an optional Video Camera CCD-GI, recording controlled from the camera is pos
sible You can hold the camera and keep this unit in a carrying case while recording.
For details, refer to the instruction manual of the video camera.
The sound will be recorded in monaural.
Recording
with CCO-Q1
1
Insert the cassette.
2
Set the POWER switch ot this unit to CAMERA.
The power of this unit is turned on, and the POWER,
STEREO lamp lights up. This unit automatically becomes in
the recording pause mode. To have the picture on the
screen of this unit, press the LCD ON/OFF button.
Note
Be sure that the POWER lamp lights up. It it does not, turn
off the unit once by sliding the POWER switch to the left,
then reset the switch to the CAMERA position.
-opjp
While pressing the
green button, slide to
the right-
3
Start recording.
Press the REC START/STOP button of the camera.
To index the recording starting point or the desired point, press the MARK button of this unit
(see page 48.)
To stop recordirtg for a moment
Press the REC START/S7DP button. Press if again to start recording.
To stop recording
Turn the power off of this unit by setting the POWER switch to the center position.
Playing
beck
the newly recorded pictures
While pressing the -
Turn the power on of this unit.
button
The POWER lamp lights up.
3,(^3
2
Press button of this unit to rewind the tape.
3
Press L ] button of this unit.
4
Press t> button of this unit.
56
Caution
Do not operate this unit for a long time when it is in a carrying case like the one supplied. Internal
heat build-up may occur which can cause this unit to malfunction.
When the POWER switch is set to CAMERA, the operable buttons are;
POWER switch, EJECT button, LCD ON/OFF button, DATA SCREEN button, COUNTER RESET
button, INDEX mark button, and SP/LP button.
57