Adjusting the recording level, Recording tips, Oiedkfng tii«y(mna1nii«^4i^rd«bl« time on the md – Sony MDS-JE330 User Manual
Page 16: Monitoring the input signai (input monitor)
Attention! The text in this document has been recognized automatically. To view the original document, you can use the "Original mode".
Adjusting the Recording
Level
Do the procedure below to adjust the recording level.
LEVEL/DISPLAY/CHAR
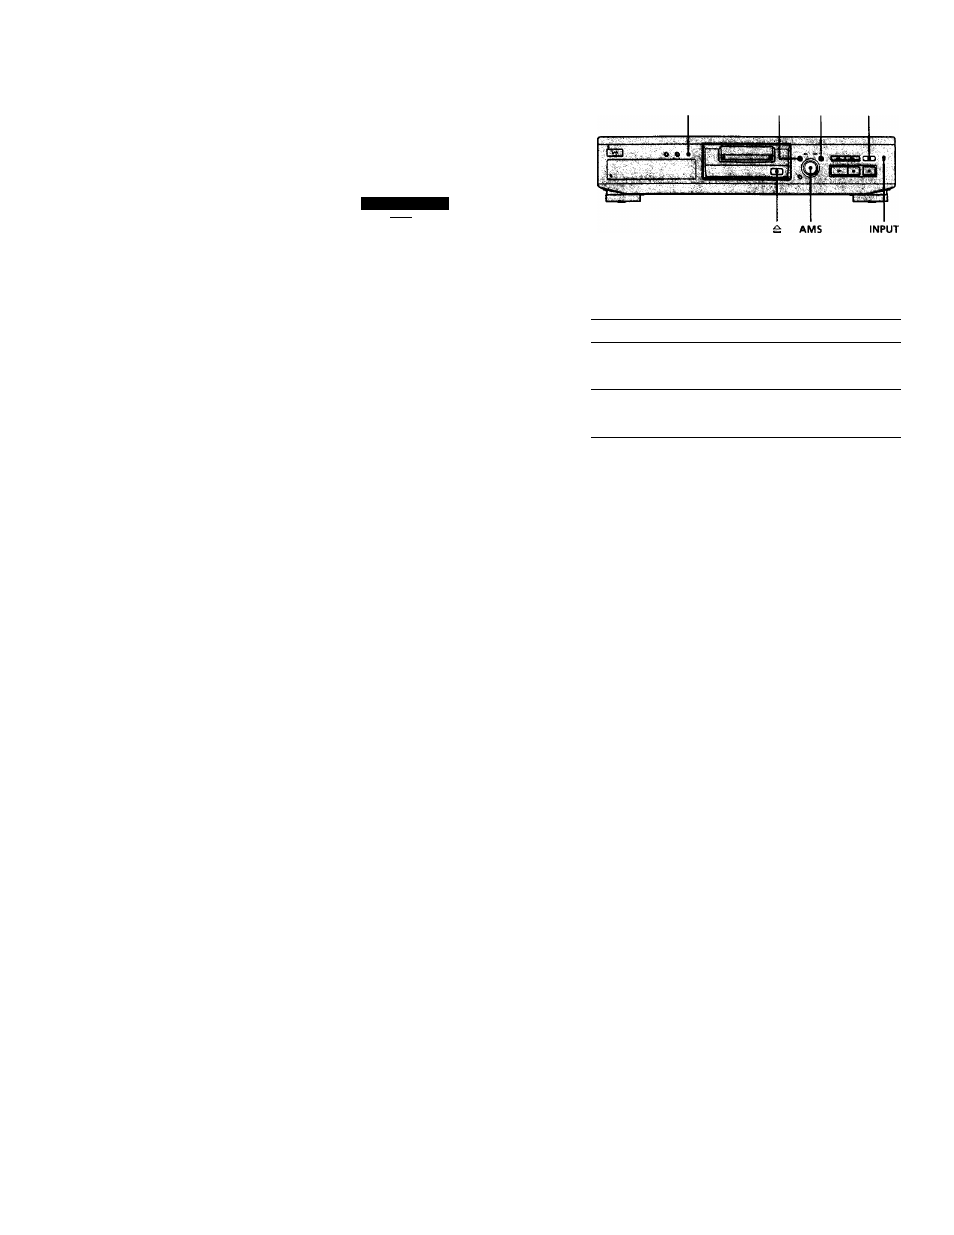
AMS
fai-'
-'.„1
□
=
W' tiJi
' ........^ ■
Recording Tips
LEVEL/DISPLAY/CHAR MENU/NO YES
REC*
»
»
rt
O
3
la
0
3
S
o
1
Do steps 1 to 10 of "Recording on an MD" on pages
14 and IS.
2
Play the portion of the program source with the
strongest output.
3
Press LEVEUDISPLAY/CHAR (or DISPLAY) repeatedly
until the peak level meters appear.
4
While monitoring the sound, turn AMS (or press
repeatedly) to raise the recording level to
its highest level without turning on "OVER" on the
peak level meters.
Occasional lighting of "OVER" is acceptable.
Avoid turning this indication on.
5
Stop playing the program source.
6 To start recording, continue from step 12 of
"Recording on an MD" on page IS.
Q You can adjust the recording levei using the remote [T]
During recording or recording pause, press LEVEL +/-
repeatedly.
9 To display the level of the strongest signal
**
The Peak Hold function continuously displays the level of the
strongest signal that has been input.
Do the procedure below to turn Peak Hold on.
1 While the deck is stopped, press MENU/NO twice to display
"Setup Menu."
2 Turn AMS (or press /► ► ! rep>eatedly) until "P.Hold"
appears, then press AMS or YES.
3 Turn AMS (or press /► ► • repeatedly) to select "P.Hold
On," then press AMS or YES.
4
Press MENU/NO.
To turn Peak Hold off, repeat the procedure above, selecting
"P.Hold Off" in step 3.
Oiedkfng tii«Y(Mna1nii«^4i^rd«bl« time
on the MD
Press LEVEL/DISPLAY/CHAR (or DISPLAY) repeatedly.
While the deck is
The following information appears
Stopped
Total number of tracks and total recorded
time —► Remaining recordable time on
the MD —► Disc name
Recording
Recorded time of the current track —►
Remaining recordable time on the MD —►
Input level indication —► Track name
For details, see page 12.
Monitoring the input signai
(Input Monitor)
You can monitor the selected input signal even when
you're not recording it.
1
Press = to eject the MD.
2
Set INPUT to the position that corresponds to the
jacks (connector) where the signal you want to
monitor is being input.
3
Press REC*.
When INPUT is set to ANALOG
The analog signal input from the LINE (ANALOG) IN
jacks is output to the LINE (ANALCXl) OUT jacks
after A/D and D/A conversions. "AD - DA" appears
in the display at this time.
When INPUT is set to DIGITAL
The digital signal input from the DIGITAL (OPTICAL)
IN connector first passes through the sampling rate
converter, and then output to the LINE (ANALOG)
OUT jacks after D/A conversion. DA" appears in
the display at this time.
To stop monitoring the signal
Press I.
16