Date stamping snapshots, E 137) – Casio EX-V7 User Manual
Page 137
137
ADVANCED SETTINGS
You can have the snapshot’s recording date only, or date and
time stamped in the lower right corner of the image.
1.
In a REC mode, press [MENU].
2.
On the “Set Up” tab, select “Timestamp” and
then press [
X].
3.
Use [
S] and [T] to select the setting you want
and then press [SET].
Example: December 24, 2007, 1:25 p.m.
IMPORTANT!
• Even if you do not stamp the date and/or time with
Timestamp, you can do so later using the DPOF function
and the printing software function (page 214).
• Once date and time information is stamped in a print, it
cannot be edited or deleted.
• Use the “Date Style” setting (page 199) to specify the Year/
Month/Day format of the date.
• The recording date and time are determined in accordance
with the camera’s clock settings (pages 11, 198) when the
snapshot is recorded.
• Digital zoom is not supported while date stamping is turned
on.
• Date stamping is not supported for the following types of
images.
– Some BEST SHOT images (Business cards and
documents, White board, etc., Old Photo, Auto Framing)
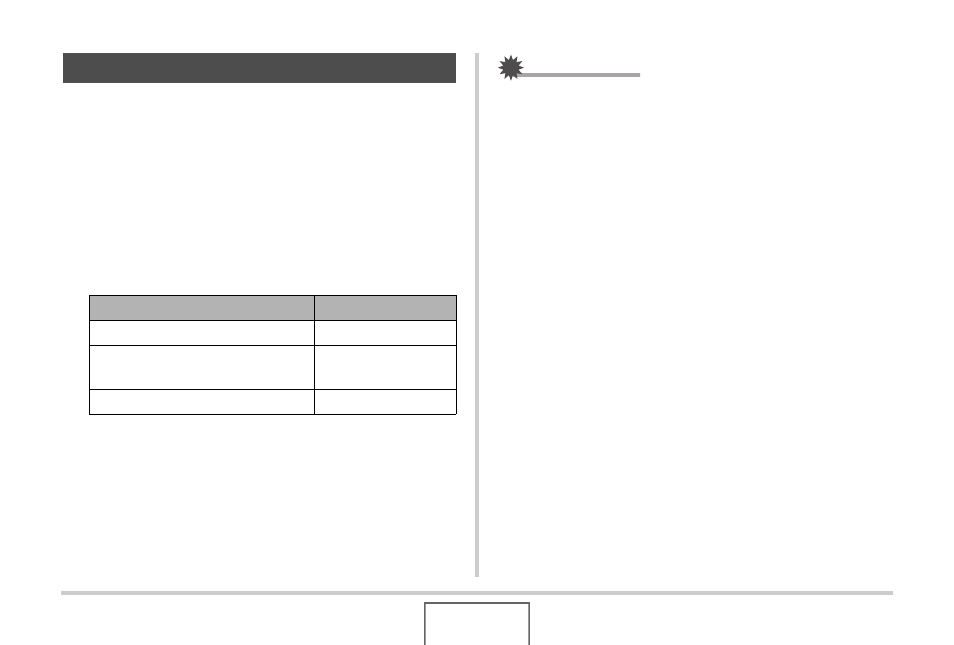
Date Stamping Snapshots
To do this:
Select this setting:
Display the date only (2007/12/24)
Date
Display the date and time (2007/
12/24 1:25pm)
Date&Time
Display nothing
Off