Display assembly, Removing the display assembly – Dell Latitude E5400 (Mid 2008) User Manual
Page 27
Back to Contents Page
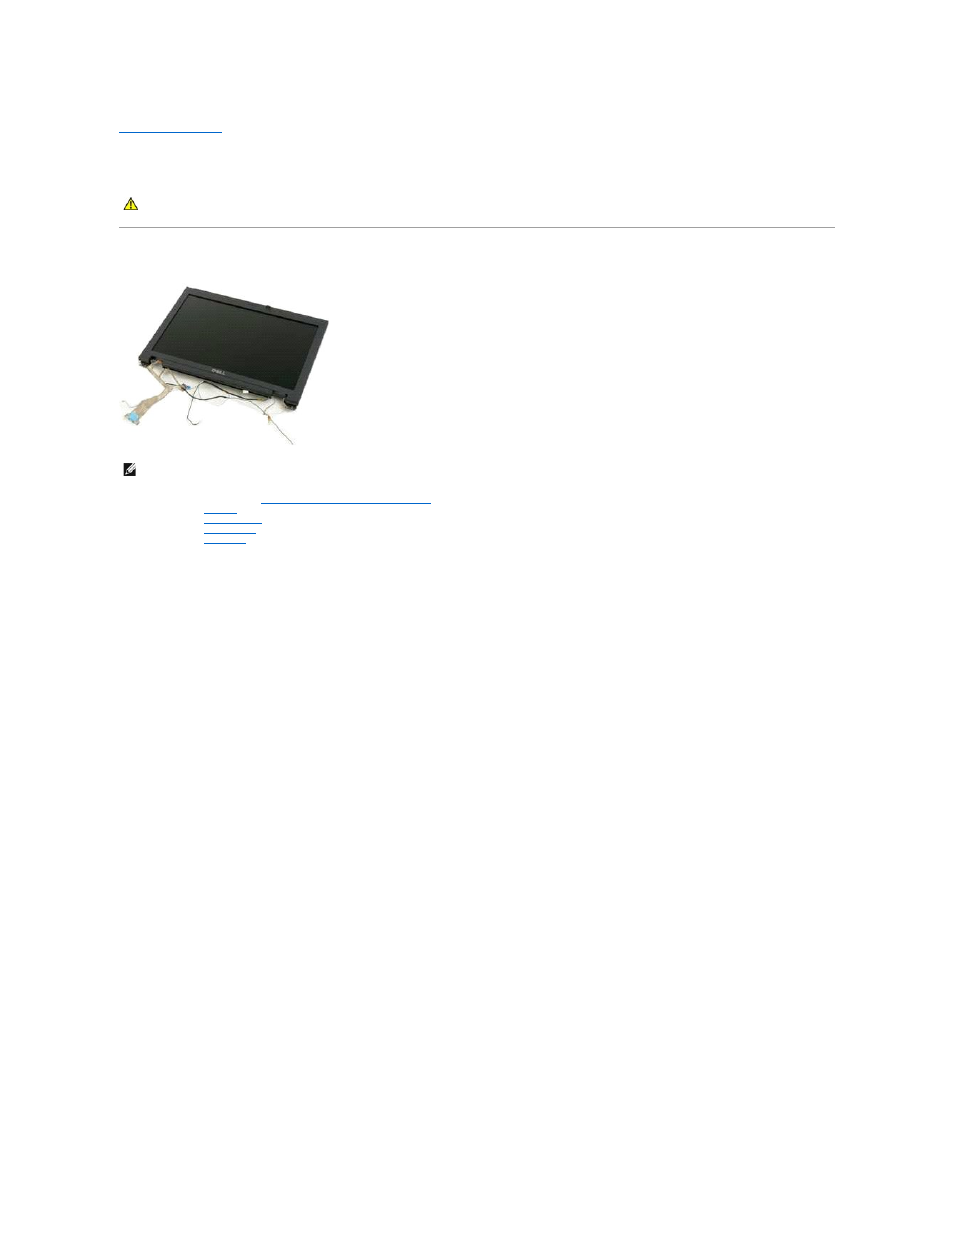
Display Assembly
Dell™ Latitude™ E5400 Discrete Service Manual
Removing the Display Assembly
1.
Follow the procedures in
Before Working Inside Your Computer
.
2.
Remove the
battery
from the computer.
3.
Remove the
access panel
from the computer.
4.
Remove the
hinge cover
from the computer.
5.
Remove the
keyboard
from the computer.
6.
Disconnect the wireless antennas and remove them from their routing paths.
7.
Remove the two display assembly screws from the bottom of the computer.
8.
Turn the computer upside-down and pivot the display into the fully-open position.
9.
Disconnect the camera cable from the system board.
10.
Disconnect the display data cable from the system board.
11.
Pull the wireless antennas through the hole in the chassis, then remove the antennas from their routing paths to either side of the computer.
12.
Remove the four screws that secure the display assembly to the computer chassis.
13.
Lifting straight up, remove the display assembly from the computer.
WARNING:
Before working inside your computer, read the safety information that shipped with your computer. For additional safety best
practices information, see the Regulatory Compliance Homepage at www.dell.com/regulatory_compliance.
NOTE:
You may need to install Adobe Flash Player from Adobe.com in order to view the illustrations below.