Cd/dvd drive – Dell Dimension 4700 User Manual
Page 25
2.
If you are replacing a floppy drive,
3.
Attach the floppy drive bracket to the floppy drive.
a.
Align the screw holes on the drive with the screw holes on the bracket.
b.
Insert and tighten all four drive-securing screws (two on each side).
4.
Position the top of the floppy drive bracket so that it is completely flush with the bottom of the upper drive bay, and then slide the floppy drive bracket
forward into position.
5.
Secure the floppy drive bracket with the top bracket screw that came with your drive.
6.
7.
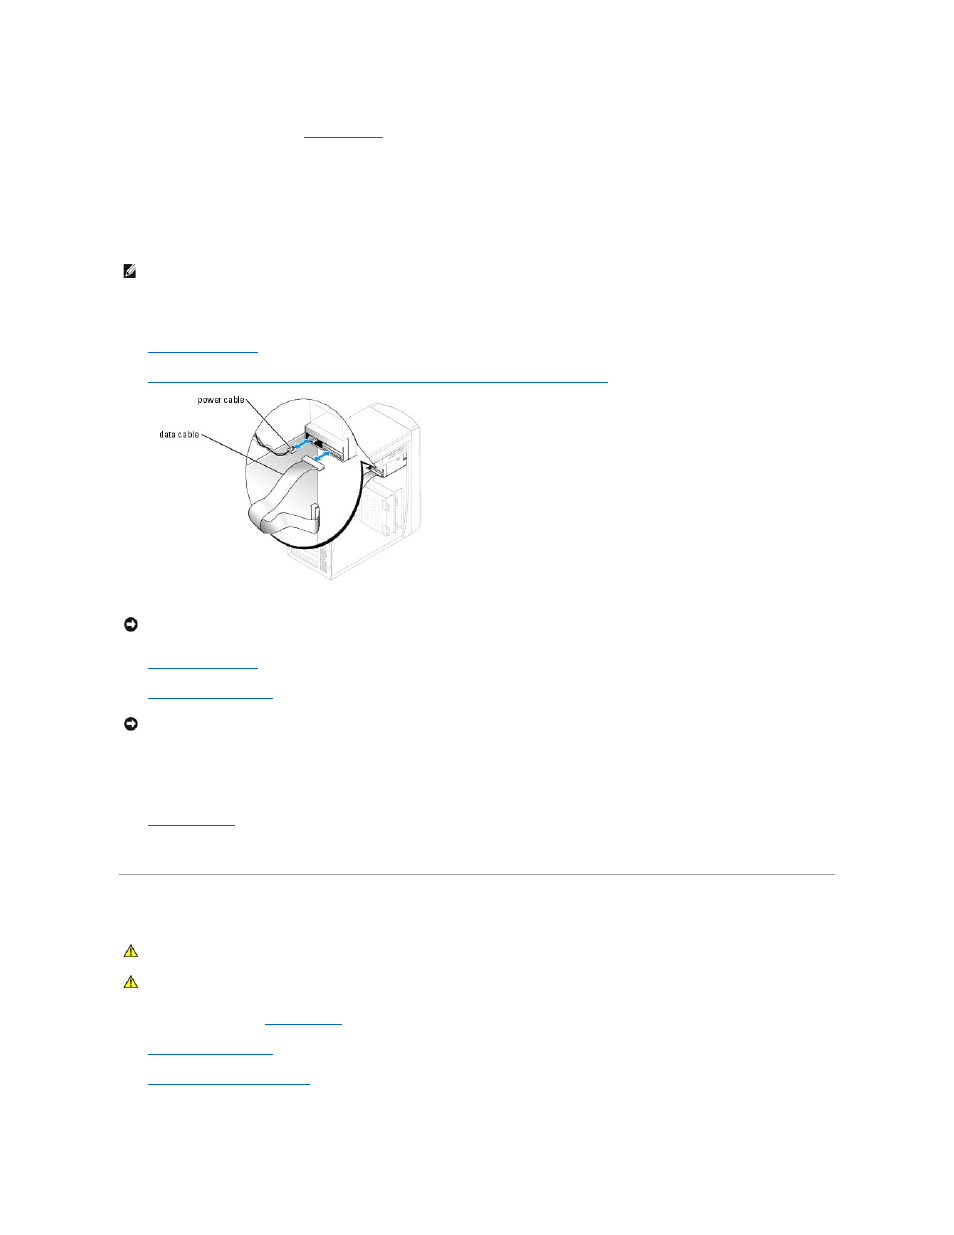
Connect the data cable to the back of the drive and to the floppy drive connector on the system board
.
8.
9.
Replace the computer cover
.
10.
Connect your computer and devices to their electrical outlets, and turn them on.
See the documentation that came with the drive for instructions on installing any software required for drive operation.
11.
Enter system setup
and update the appropriate Diskette Drive option.
12.
Verify that your computer works correctly by running the Dell Diagnostics (see the Owner's Manual).
CD/DVD Drive
1.
Follow the procedures in "
Before You Begin
."
2.
Remove the computer cover
.
3.
Release and remove the front panel
NOTE:
The top of the floppy drive bracket has two slots that fit into two clips on the bottom of the upper drive bay. When the floppy drive bracket is
properly mounted, it remains in place without support.
NOTICE:
Match the colored stripe on the cable with pin 1 on the drive (pin 1 is marked as "1").
NOTICE:
To connect a network cable, first plug the cable into the network wall jack and then plug it in to the computer.
CAUTION:
Before you begin any of the procedures in this section, follow the safety instructions located in the Product Information Guide.
CAUTION:
To guard against electrical shock, always unplug your computer from the electrical outlet before opening the cover.