Removing the optional hard drive fan – Dell XPS 720 (Mid 2007) User Manual
Page 137
Removing and Installing Parts
137
2 Replace the processor airflow shroud (see "Installing the Processor Airflow Shroud Assembly" on
3 Connect the fan cable to the FAN1_CPU connector on the system board (see "System Board
4 Replace the computer cover (see "Replacing the Computer Cover" on page 159).
NOTICE:
To connect a network cable, first plug the cable into the network port or device and then plug it into your
computer.
5 Connect your computer and devices to electrical outlets, and then turn them on.
Removing the Optional Hard Drive Fan
1 Follow the procedures in "Before You Begin" on page 85.
2 Remove the computer cover (see "Removing the Computer Cover" on page 86).
3 Remove all installed memory modules (see "Removing Memory" on page 93).
4 Disconnect the fan cable from the FAN_HDD connector on the system board (see "System Board
5 Press the release latch on the hard drive fan and slide it out from between the hard drive bays, then lift
it from the computer.
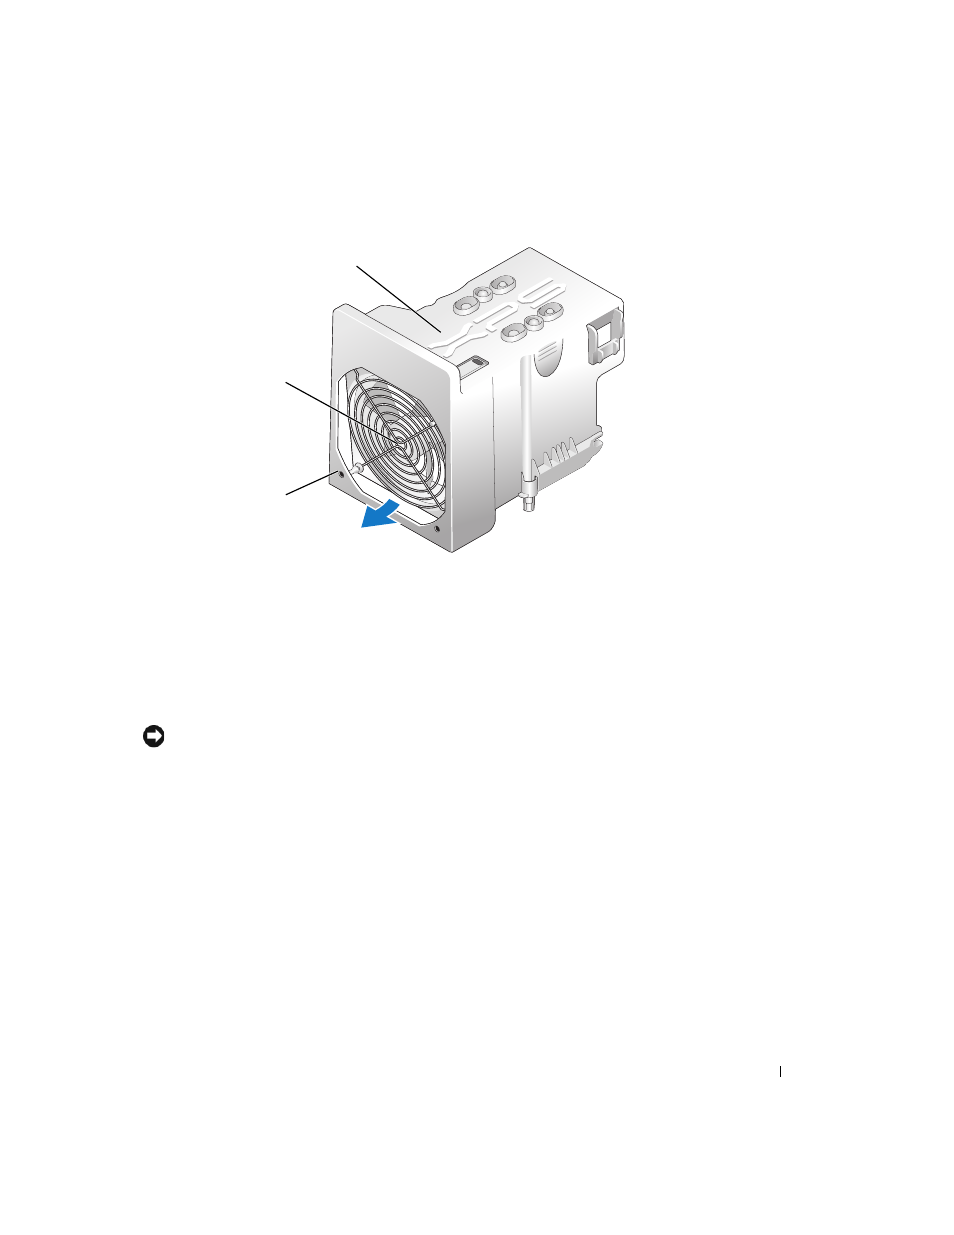
1
rubber grommet (4)
2
CPU fan
3
processor airflow shroud
1
2
3