12 install wire into the welding gun, Install wire into the welding gun -9, Figure 3 : fp-125 power on – Tweco FP-165 Mini MIG User Manual
Page 30
INSTALLATION
FIREpOwER Fp-125, 135, 165
Installation
3-9
Manual 0-5123
3.12 Install Wire into the Welding Gun
1. Plug the Welding Power Source into the 120VAC
receptacle for the FirePower FP-125 and FP-135,
and into the 230VAC receptacle for the FirePower
FP-165.
WARNING
ELECTRIC SHOCK CAN KILL! With the gun
switch (located on the gun) activated, weld-
ing power is applied to the output terminals,
feedroll, ground clamp, gun cable connection
and welding wire. Do not touch these parts
with the gun switch activated.
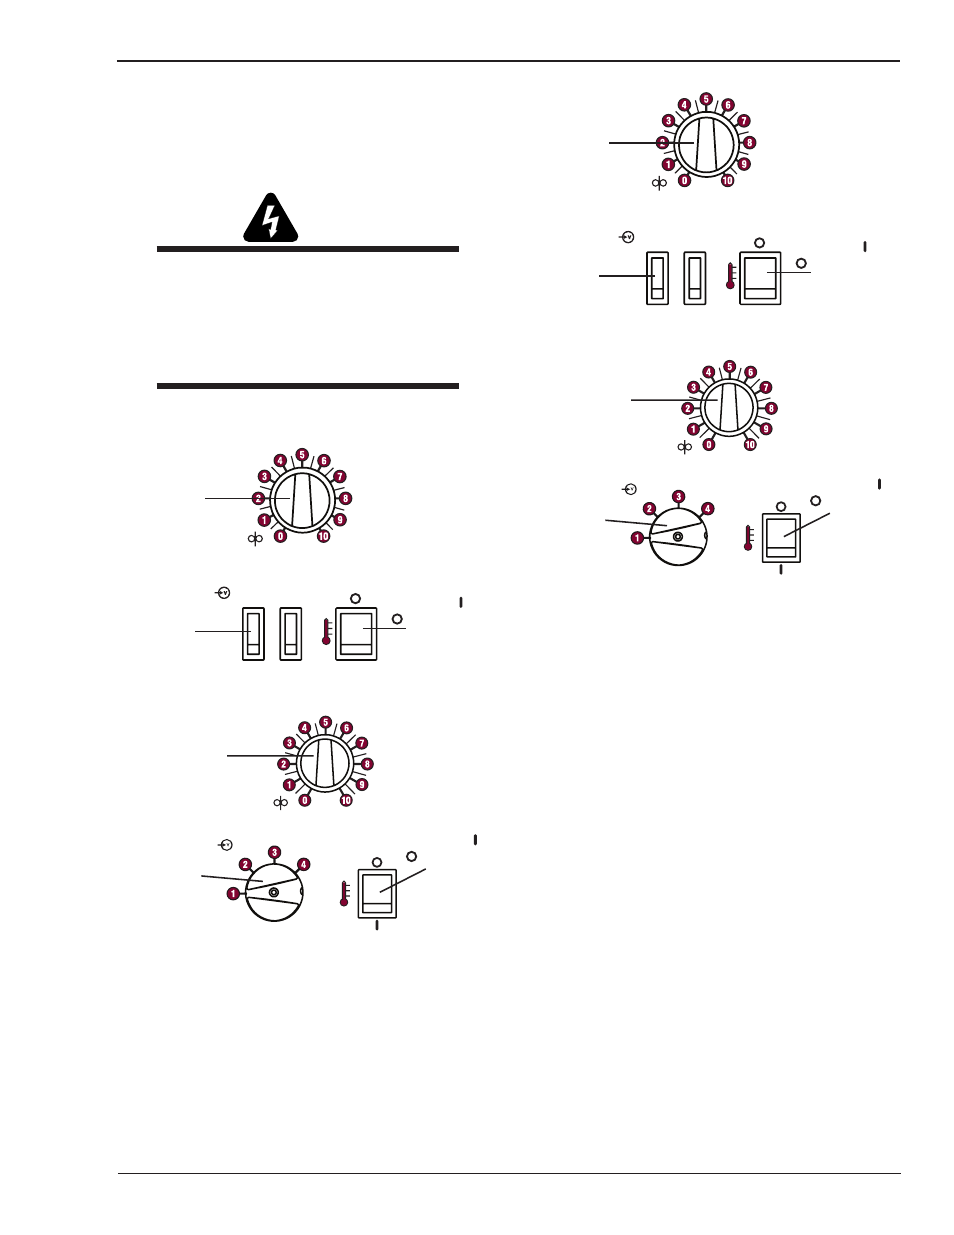
2. Turn the welding machine ON with the front panel
Voltage Control Switch set to "1".
LOW
1
2
COARSE
FINE
HIGH
v
Art # A-09061
Wire Feed
Speed
Voltage Control
Switch
Power ON
OFF Switch
Figure 3--12: FP-125 Power ON
Art # A-09062
Wire Feed
Speed
Voltage Control
Switch
Power ON
OFF Switch
Figure 3--13: FP-135, 165 Power ON
3. Set the wire feed speed to half-way or "5".
LOW
1
2
COARSE
FINE
HIGH
v
Art # A-09061
Wire Feed
Speed
Voltage Control
Switch
Power ON
OFF Switch
Figure 3-14: FP-125 Wire Speed Half-way
Art # A-09062
Wire Feed
Speed
Voltage Control
Switch
Power ON
OFF Switch
Figure 3-15: FP-135, 165 Wire Speed Half-way