Maintenance – Triton TCM PL User Manual
Page 8
8
GB
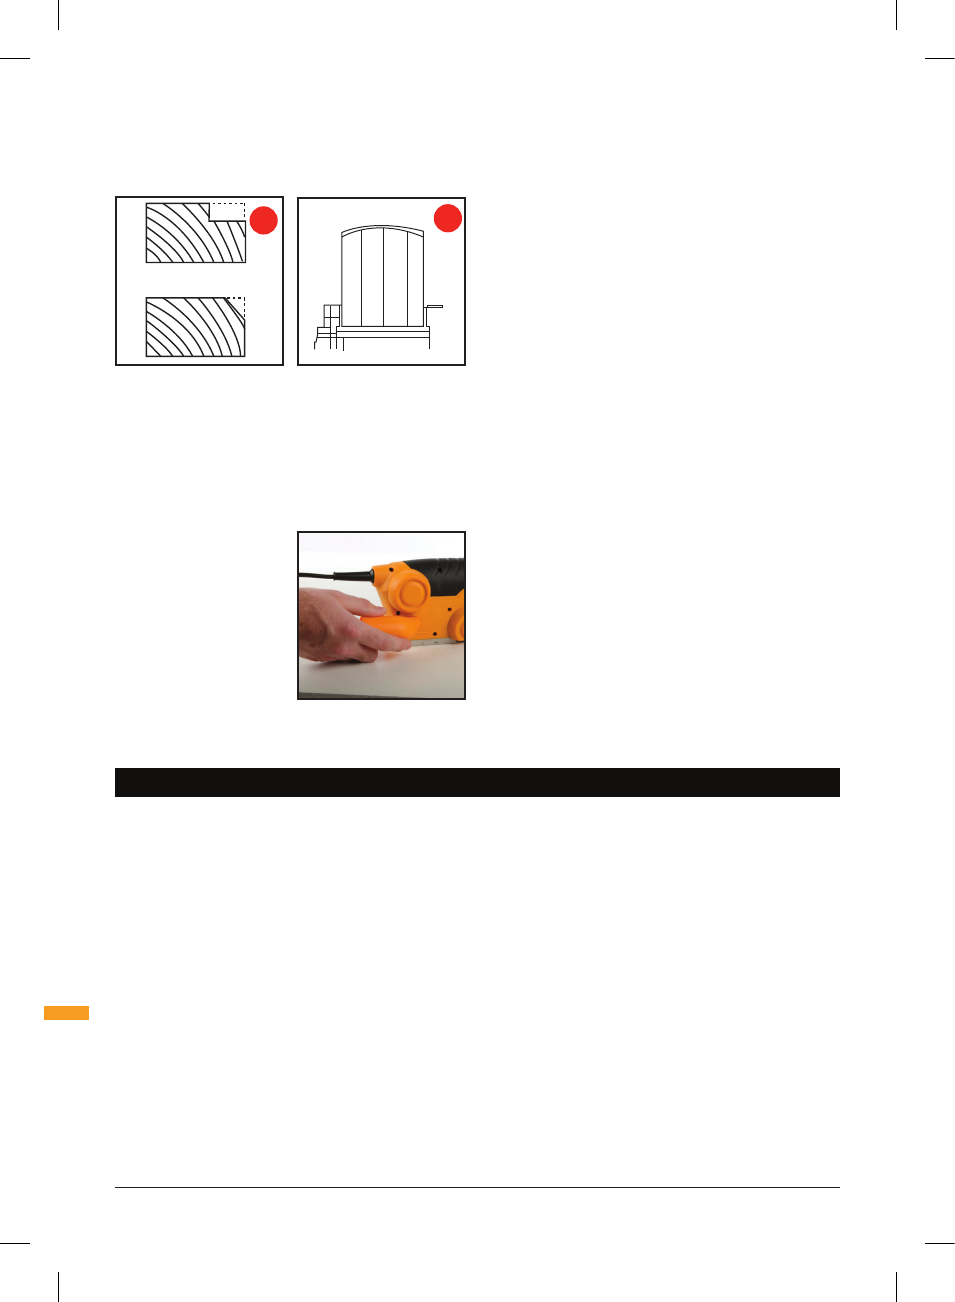
2. Choose the ‘v’ groove to suit the required depth of
chamfer/rebate.
3. Run the planer along the corner edge.
SHAVINGS EXTRACTION
1. Connect the Shavings Adaptor Tube (12) to the Dust/Chip
Extraction Port (14).
2. The Shavings Adaptor Tube (12) can be installed to allow
shavings to flow either to
the left or to the right of the
workpiece.
3. A workshop dust
extraction system or
a household vacuum
cleaner can be connected
to the Shavings Adaptor
Tube (12) for the efficient
removal of dust and
shavings permitting a
safer and cleaner working
environment.
DRIVE BELT REPLACEMENT
CAUTION. Always ensure that the tool is switched off
and unplugged from the power supply before making
adjustments or installing or removing blades. Also ensure
planer is in park and during blade replacement keep hands
well away from the blade barrel area. It is also suggested
that you wear leather gloves to change the belt in case you
make contact with the blades.
1. To replace the drive belt first take out the three cross-head
screws that secure the drive belt cover on the left-hand
side of the planer as viewed from the rear.
2. Remove the damaged belt and use a soft brush to clean
the pulleys and the surrounding area.
NOTE.Wear eye protection when cleaning out the pulley area.
3. With the three continuous ‘v’ profiles on the inside, place
the new belt over the bottom pulley. Half fit the other end
of the belt on the top pulley then roll the belt in place
whilst turning the pulley.
4. Check that the belt runs evenly by manually turning
the belt.
5. Replace the cover and the three fixing screws.
6. Replace the electrical plug and run the planer for a
minute or two to make sure that the motor and belt are
operating correctly.
2
1
A
B
MAINTENANCE
WARNING. Always ensure the tool is switched off and the
plug is removed from the power point before making any
adjustments or carrying out maintenance procedures.
1. Keep the tool’s air vents unclogged and clean at all
times.
2. Regularly check to see if any dust or foreign matter
has entered the grilles near the motor and around
the trigger switch. Use a soft brush to remove any
accumulated dust. Wear safety glasses to protect your
eyes whilst cleaning.
3. Re-lubricate all moving parts at regular intervals.
4. If the body of the planer needs cleaning, wipe it with a
soft damp cloth. A mild detergent can be used but do
not use alcohol, petrol or other cleaning agent.
5. Never use caustic agents to clean plastic parts.
CAUTION. Water must never come into contact with the
planer.
POWER CORD MAINTENANCE
If the supply cord needs replacing, the task must be
carried out by the manufacturer, the manufacturer’s
agent, or an authorised service centre, in order to avoid a
safety hazard.
GENERAL INSPECTION
Regularly check that all the fixing screws are tight. They
may vibrate loose
Setting Up / Maintenance
773123_manual with Japanese.indd 8
26/08/2014 15:24