Menu, Audio, Menu audio – Sound Devices PIX 220i User Manual
Page 16: Menu & n avig ation
Item
Description
13. SSD/CF Status
Remaining record time of each media (when video input is present) or remaining space in GB
(when no video input is present), “Offline” (when no media is present), “Mounting” (when media is
becoming ready), or “No Fmt” (when media is not formatted). Asterisk indicates target recording
media.
14. Loop / Cue
Cue point and looping information is displayed here during playback.
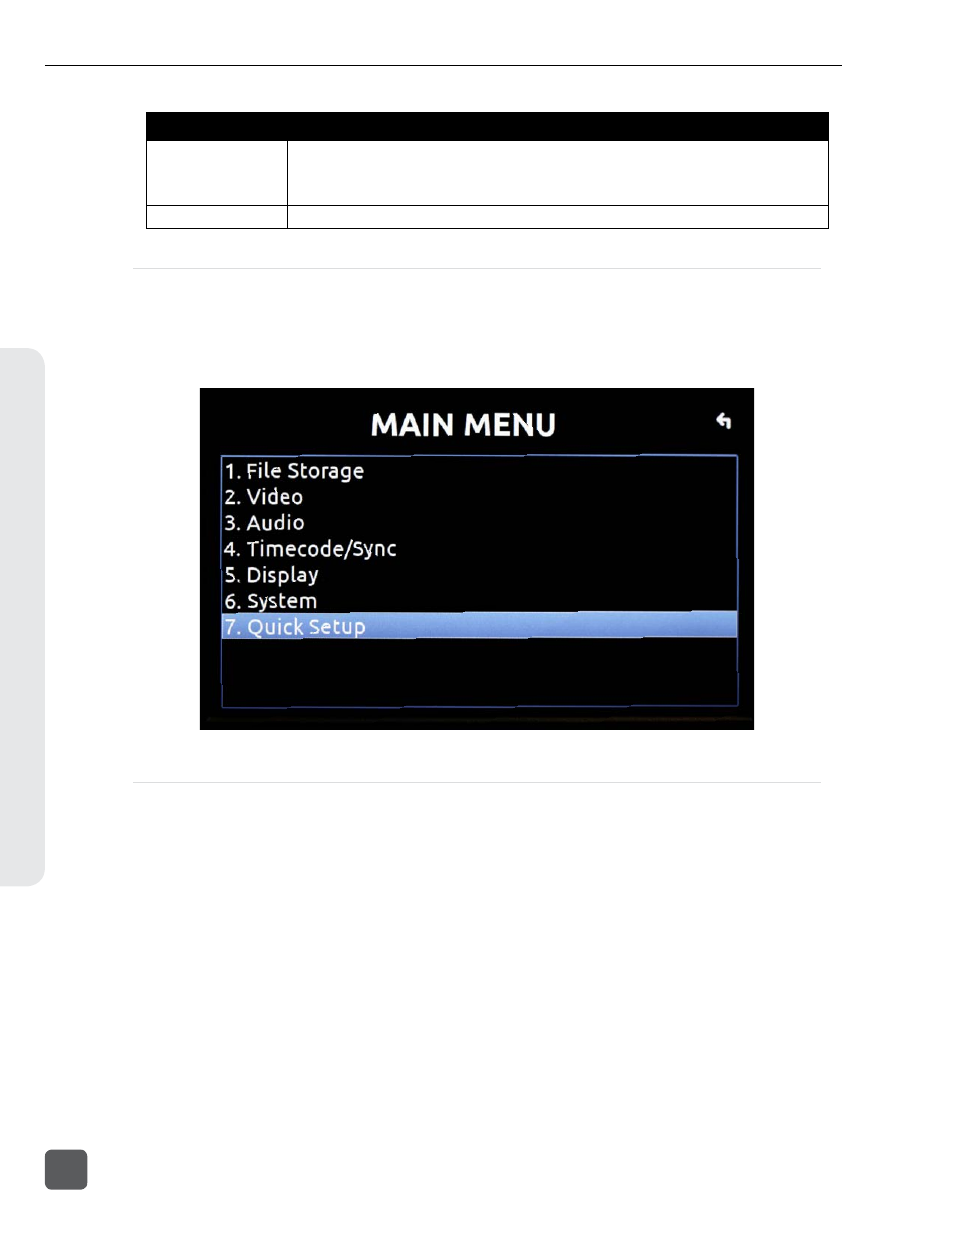
Menu
Press the MENU button (keyboard: F1) to enter the Setup Menu. The Setup Menu controls settings
for file storage, video, audio, time code/sync, system, and display. Navigate between menu items
by turning the Control Knob and pressing it to select. When in a menu, press the MENU button to
go back to the previous screen. A complete list of Setup Menu options is included in the end of this
See “Setup Menu Options”, page 57
Audio
Press the AUDIO button (keyboard: F3) to enter the Audio Metering and Gain control screen. From
this screen, the level for both analog (XLR mic/line) and digital (XLR AES, HDMI, or SDI) audio
inputs can be adjusted. Turn the Control Knob to select between audio tracks, press the Control
Knob to select a track, then turn the Control Knob to adjust the input gain for that track. (
PIX 220i and PIX 240i Video Recorder User Guide
14
v. 3.52
Features and specifications are subject to change. Visit www.sounddevices.com for the latest documentation.
Menu & N
avig
ation