Rite-Ride 2518 User Manual
Page 8
STEP 12: LEAK CHECK AND SECURE
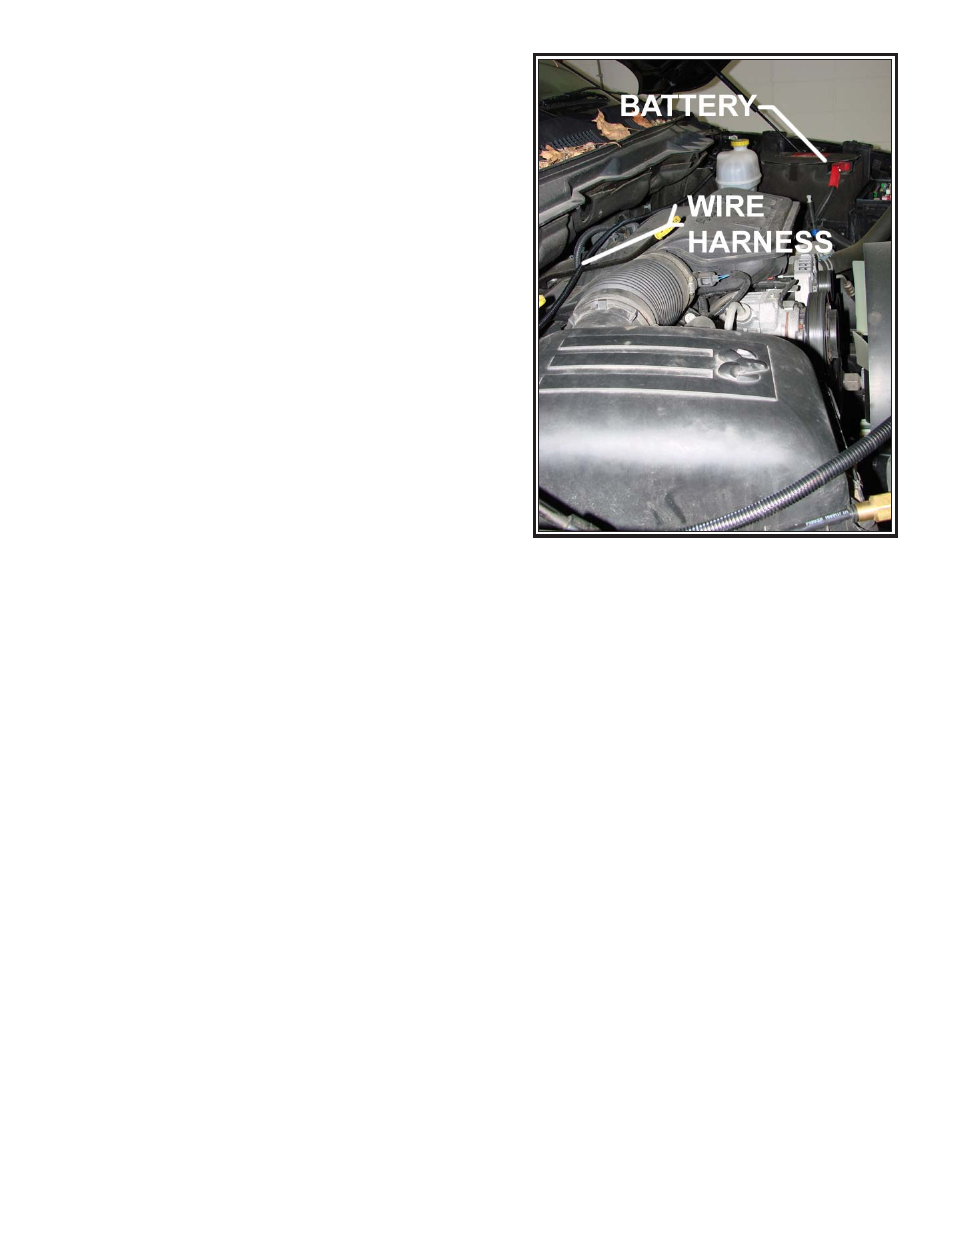
Check all wire and air lines to ensure they are away from direct
heat and sharp edges. Secure items to the vehicle with zip-ties.
With the system at ride height, check all pneumatic connections
with a solution of mild soap and water. If leaks are found at the
threads, tighten the connection to engage more of the orange
thread sealant. If the leak is located where the air line pushes into
the fitting, push the line into the fitting further. If the connection
continues to leak, exhaust all of the air from the system. Next,
remove the air line by pressing the collar into the body of the fit-
ting and pulling on the air line. Cut approximately 1/4" off of the
end of the air line using the air line cutter, making sure the cut is
square. Insert the line into the fitting as far as possible, pressurize
the system, and recheck for leaks.
NOTE: The rear of the vehicle will drop 6"-8" in the kneeled
position. DO NOT deflate the system while you or someone
else is under the vehicle. This could result in serious injury
or death.
Figure “M”