Scale accessory installation – E-flite Nieuport 17 250 ARF User Manual
Page 21
21
E-flite Nieuport 17 Slow Flyer Assembly Manual
17. Use tape or weights to keep the wheels secure
on your work surface while setting the line tension
and position.
You will note the model will be sitting slightly nose
down in the up coming steps. The goal here is
to set a dihedral and give strength to the main
airframe. When you have completed the rigging
the thread should be quite taunt through out.
17. Place a 5
5
/
8
-inch (143mm) block of foam
or other item under the leading edge of the
bottom wing on both sides of the aircraft. You are
supporting the wing at the outer strut, centering the
can with the outer strut.. Both the left and right must
be blocked up at this time. A 5-ounce aerosol can
of Pacer Zip Kicker works great for this procedure.
18. With the leading edge of the bottom wing in
position, pull the rigging snug to remove any slack.
Tie the loose ends of the rigging to the outer struts.
Use a drop or two of medium CA at each point
the rigging passes through the struts or fuselage
to secure the rigging. This will set the correct
dihedral for your model, providing the best flight
performance. Sight from the back looking at the
trailing edges to ensure the wings do not have any
warps. Also sight from the front to check for warps.
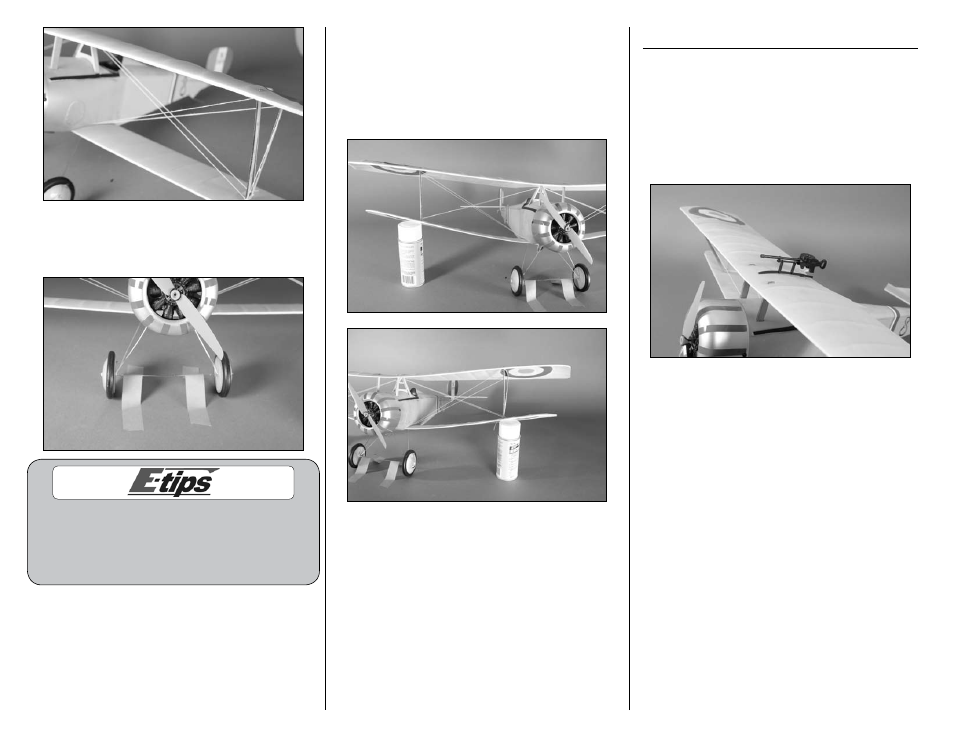
Scale Accessory Installation
Required Parts
Airframe
Machine gun
Required Tools and Adhesives
Foam-safe CA
1. Use foam-safe CA to attach the machine gun to
the top of the top wing.