Elevator and aileron servo installation – E-flite F-16 400 DF ARF w/Motor & Fan Unit User Manual
Page 6
6
E-flite F-16 ARF Assembly Manual
Elevator and Aileron Servo Installation
Required Parts
Servo (4)
Assembled airframe
Fuselage decal (right and left)
3-inch (76mm) servo extension (2)
9-inch (228mm) servo extension (2)
Standard single-sided servo arm (4)
2
7
/
8
-inch (73mm) pushrod wire w/clevis (2)
5
7
/
8
-inch (150mm) pushrod wire w/clevis (2)
Required Tools and Adhesives
6-minute epoxy
Mixing cup
Mixing stick
Epoxy brush
Paper towel
Rubbing alcohol
Sandpaper
Phillips screwdriver: #00
Hobby knife w/#11 blade
1. Use a hobby knife to trim the decal on the
bottom of the wing to expose the pocket for the
aileron servo. Prepare both the right and left wing
at this time.
You can use compressed air to blow
away the remains of the decal.
Note: Before preparing the aileron and
elevator servos for installation, it is suggested
to read through the Radio Programming
section of this manual beginning on Page
18. This section will guide you through
setting up the necessary mixing required to
operate the servos installed in your F-16. This
mixing reduces the amount of complexity and
extensions required, keeping the weight at
its lowest for the best performance from your
model.
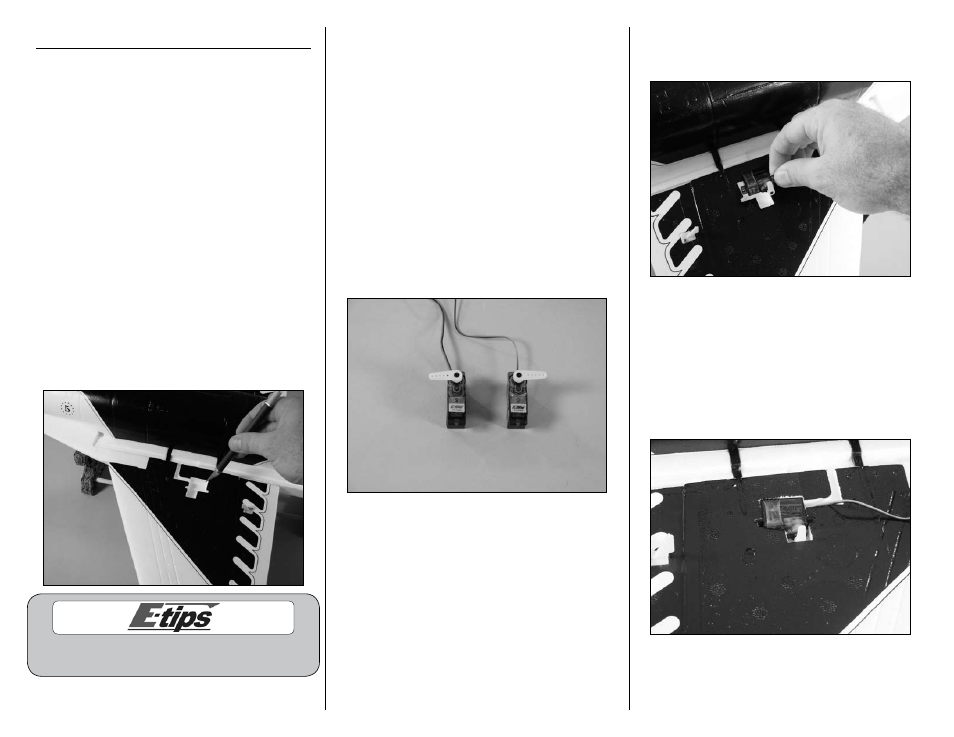
2. Use your radio system to center the servos that
will be used for the ailerons. Remove the stock
servo horns from the servos using a #00 Phillips
screwdriver and install the standard single-sided
servo arm on the servos as shown. Make sure to
prepare a right and left servo as shown.
3. Test fit the aileron servo into the pocket in the
bottom of the wing. Note that the servo output will
face to the front of the aircraft.
4. Remove the servo and scuff the surface of the
servo where it contacts the wing using sandpaper.
Clear any residue left from the sanding process
using a paper towel and rubbing alcohol. Mix a
small amount of 6-minute epoxy. Place a small
amount of epoxy in the servo pocket, then install
the servo, pressing it into the epoxy. This will keep
the servo secure in the wing during the operation
of your model.
5. Repeat Steps 3 and 4 to install the aileron servo
in the opposite wing panel.