Zero meter, Figure 6 zero adjustment, Battery test – Bird Technologies 4412A User Manual
Page 19: Frequency range, Zero meter battery test frequency range
9
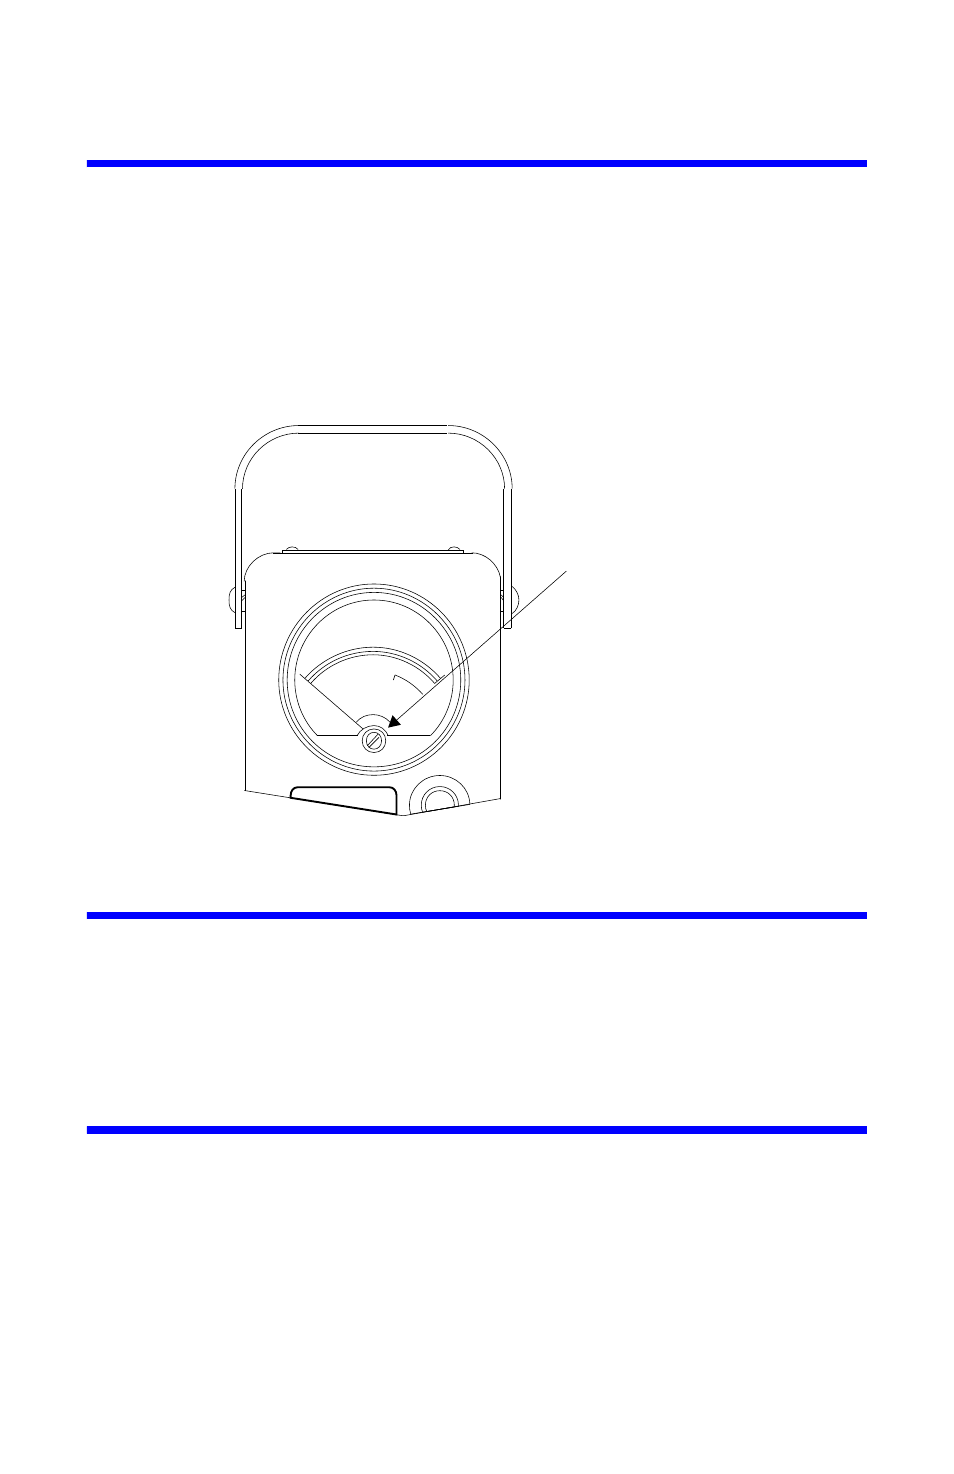
Zero Meter
Before any power measurements are made, be sure the pointer rests on the zero
mark. If not, set range switch to OFF position and adjust the zero adjustment
screw clockwise or counterclockwise until the pointer rests at the zero mark.
This adjusting screw is located at the bottom center of the meter
bezel face, refer
to figure 6.
Figure 6 Zero Adjustment
Battery Test
The accuracy of the unit may be affected by a weak battery. Check the condition
of the battery occasionally with the battery test position on the range switch. If
the pointer on the meter indicates a weak battery, the battery must be replaced.
See Battery Care.
Frequency Range
The elements are selected for the frequency range. Each element is marked with
its frequency range; the transmitter frequency must be within this range. A set
of several elements will cover a very wide frequency range.
OFF
Zero Adjust Screw