Master caddy and screw mounts – Atomos Ninja Blade User Manual
Page 11
Atomos Ninja Blade – User Manual Edition 1: Feb 2014 9
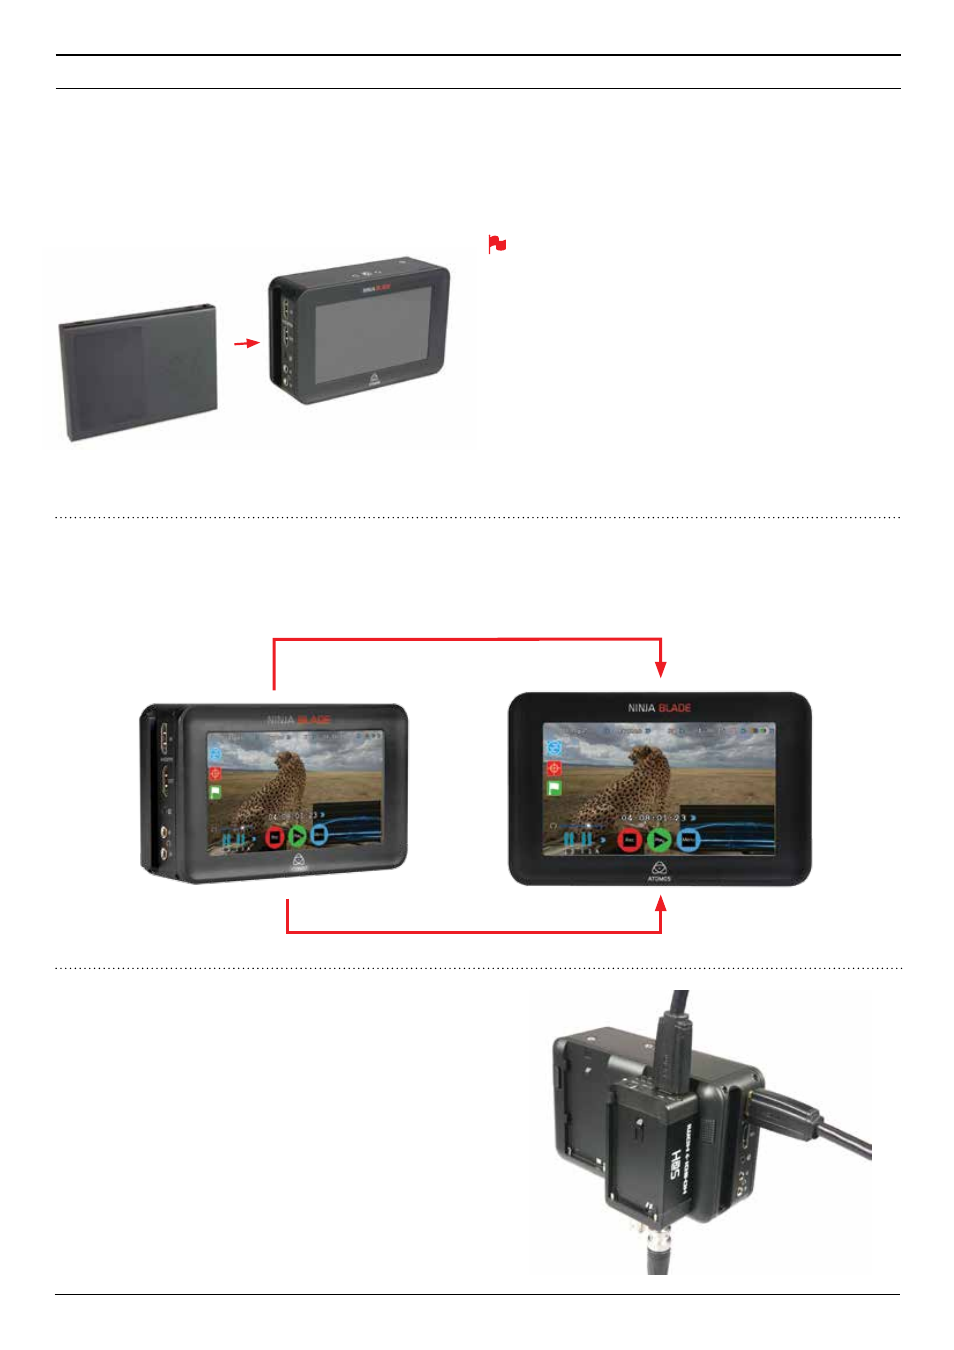
Master Caddy Slot
On the left hand side of the unit (as you face the screen) is a slot
for Ninja Blade Master Disk Caddies. To insert a caddy, gently push until it
clicks into position.
Formatting disks - see page 13
Screw Mounts
The Ninja Blade features standard tripod ¼” screw mounts on the top
and bottom of the unit, allowing you to configure your recording setup
various ways (¼” camcorder mount not included in Ninja Blade kit).
Master Caddy
The Master Caddy is hot-swappable, so you can do this at any time –
even while the unit is turned on. But don’t do it while recording or you will
get a corrupted file that may be unplayable.
Unlike the Ninja-2/Ninja Blade recorders, the Ninja Blade does
NOT have a release latch - it is friction-fit. Simply pull the Master
Caddy out using the top and bottom tabs on the caddy itself.
¼” Screw mount top
¼” Screw mount base
Ninja Blade Modularity
The Ninja Blade was designed to be a flexible and modular system. It
doesn’t need any drivers to connect to a computer, you have a choice of
spinning hard disk storage or solid state, and it will work with any battery
system as long as it connects to the Ninja Blade’s NP-type slots the Canon
and Nikon battery adapters, or via the D-Tap Adaptor.
The Ninja Blade’s battery slots are the key to it’s modularity. They provide
secure attachment and continuous power, through Atomos’ loop-through
power system.
The first of the modular add-ons to be announced by Atomos are the
Connect converters (pictured). More on this in page 34.
6. Master Caddy and Screw Mounts