Installing the kona card in a macpro – AJA KONA LHi User Manual
Page 21
KONA v10.5
www.aja.com
21
Installing the KONA Card in a MacPro
1. Place the computer in a well-lit area, where you will have easy access when opening
the MacPro chassis.
2. Using your hand, touch the outside of the Mac to discharge any static electricity you
have. Remove the power cable from the back of the chassis.
3. Remove the side access door and described in your Apple User Manual. Lay the
machine on its side, motherboard facing up.
4. Remove the KONA card from its protective anti-static bag; place the card on top of
the bag.
5. Visually locate the PCI-Express slots inside the Mac chassis (Mac Pro photo shown on
the following page). The KONA card only requires a x4 lane PCI-Express slot, so any of
the available slots will work correctly—(slot 3 is the preferred slot on the MacPro).
You should configure the slots with the Apple Expansion Slot Utility application for
the MacPro so that the KONA is at x4 or better speed.
6. Remove the card-edge access cover from the desired slot where you will be inserting
the KONA card. The card edge cover is secured by a tie-down bar with two secured
screws on MacPro computers; remove and set them aside for securing the KONA card
after installation.
7. Holding the KONA card by the end plate and an outside edge, carefully insert the
card by rocking it slowly into the slot. Ensure the card edge aligns properly with the
computer's slot opening (where the card edge cover was just removed) and that it is
fully seated in the slot.
8. Secure the card in the slot using the screw removed earlier or with the tie-down bar
found on MacPro machines.
9. Replace the outer access door on the MacPro.
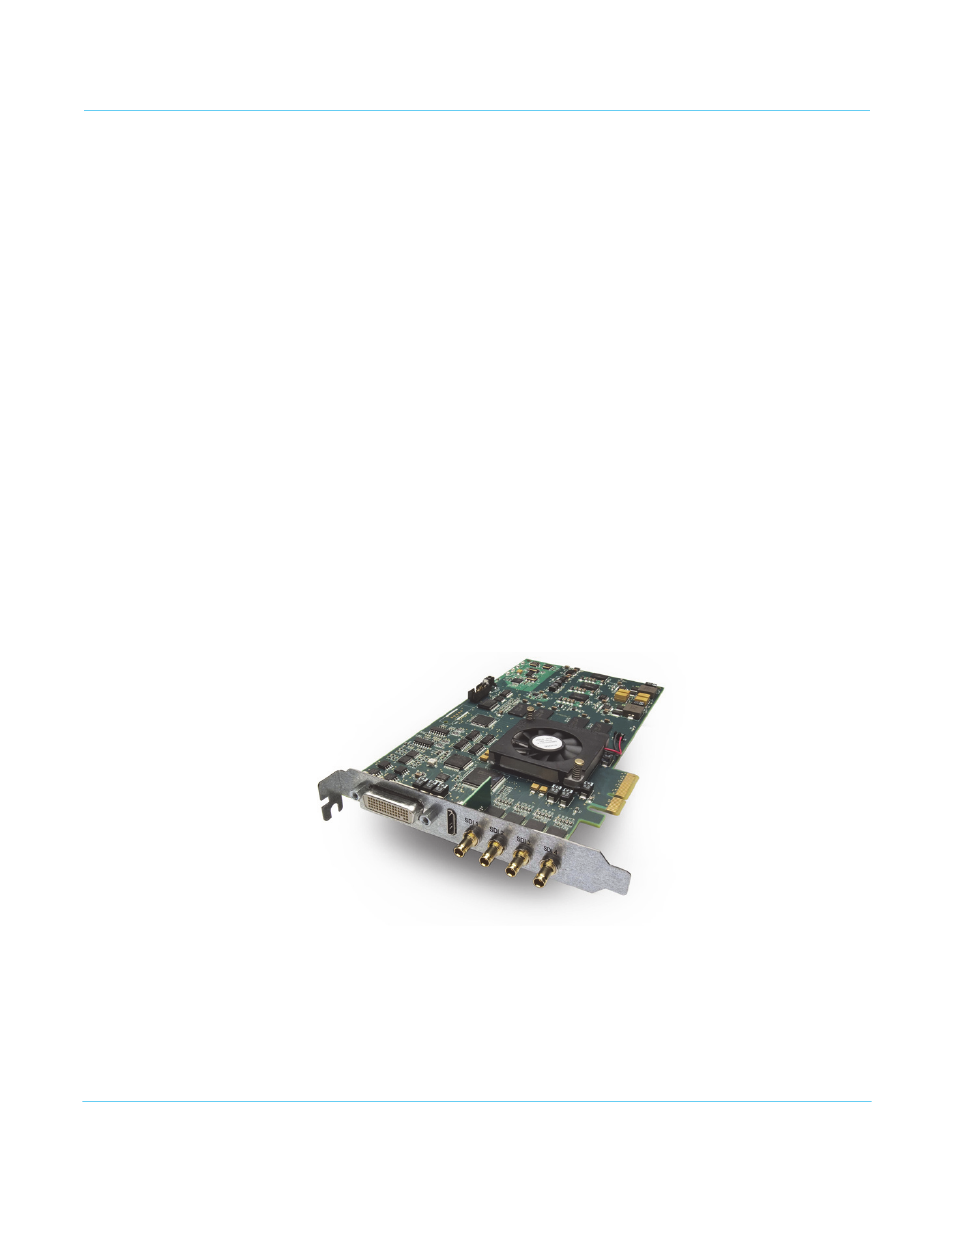
Figure 8. KONA Card (model 3G shown)