Step 3: attaching the hoses – Rockwell Automation 20L PowerFlex 700L Drive Cooling Loop Hose Kit User Manual
Page 2
www.rockwellautomation.com
Americas: Rockwell Automation, 1201 South Second Street, Milwaukee, WI 53204-2496 USA, Tel: (1) 414.382.2000, Fax: (1) 414.382.4444
Europe/Middle East/Africa: Rockwell Automation, Vorstlaan/Boulevard du Souverain 36, 1170 Brussels, Belgium, Tel: (32) 2 663 0600, Fax: (32) 2 663 0640
Asia Pacific: Rockwell Automation, Level 14, Core F, Cyberport 3, 100 Cyberport Road, Hong Kong, Tel: (852) 2887 4788, Fax: (852) 2508 1846
Power, Control and Information Solutions Headquarters
U.S. Allen-Bradley Drives Technical Support - Tel: (1) 262.512.8176, Fax: (1) 262.512.2222, Email: [email protected], Online: www.ab.com/support/abdrives
Publication 20L-IN007A-EN-P – January, 2007
P/N 181738-P01
Copyright © 2007 Rockwell Automation, Inc. All rights reserved. Printed in USA.
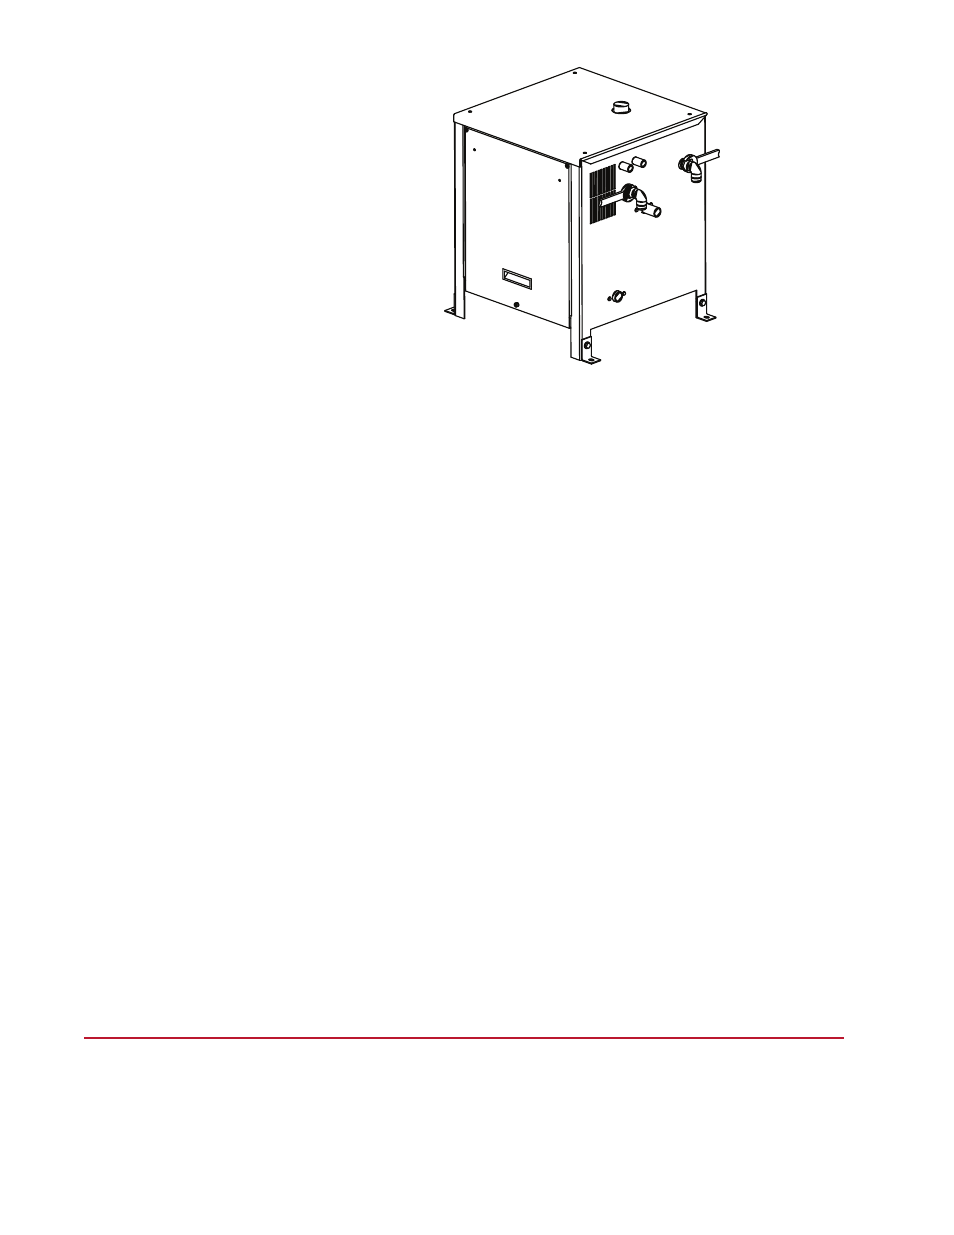
B. Clean off any old thread sealer from inside the pipe nipples on the heat
exchanger.
C. Apply PTFE (Teflon
®
) thread sealing tape or pipe thread sealant
compound to threads on the 1 inch elbows supplied with the kit.
Important: Only apply tape or sealant to the NPTF end. DO NOT apply
tape or sealant to the 37° flare end.
Teflon is a registered trademark of the DuPont Company.
D. Use a 1-5/16 inch or adjustable wrench to secure the 1 inch elbows to the
heat exchanger at the "TO DRIVE INLET" and "FROM DRIVE
OUTLET" connections. (There is no need to use a backup wrench on the
pipe nipple.) The elbows should be installed in a vertical down pipeline.
Step 3: Attaching the
Hoses
Please refer to the instructions in the PowerFlex 700L Liquid-to-Liquid
Heat Exchanger User Manual (Publication 20L-UM002…) in the Chapter 1
section titled “Connecting Hoses to the Heat Exchanger.”