Standard installation manual – Yamato Scientific DG400 Drying Ovens for Laboratory Tools User Manual
Page 40
38
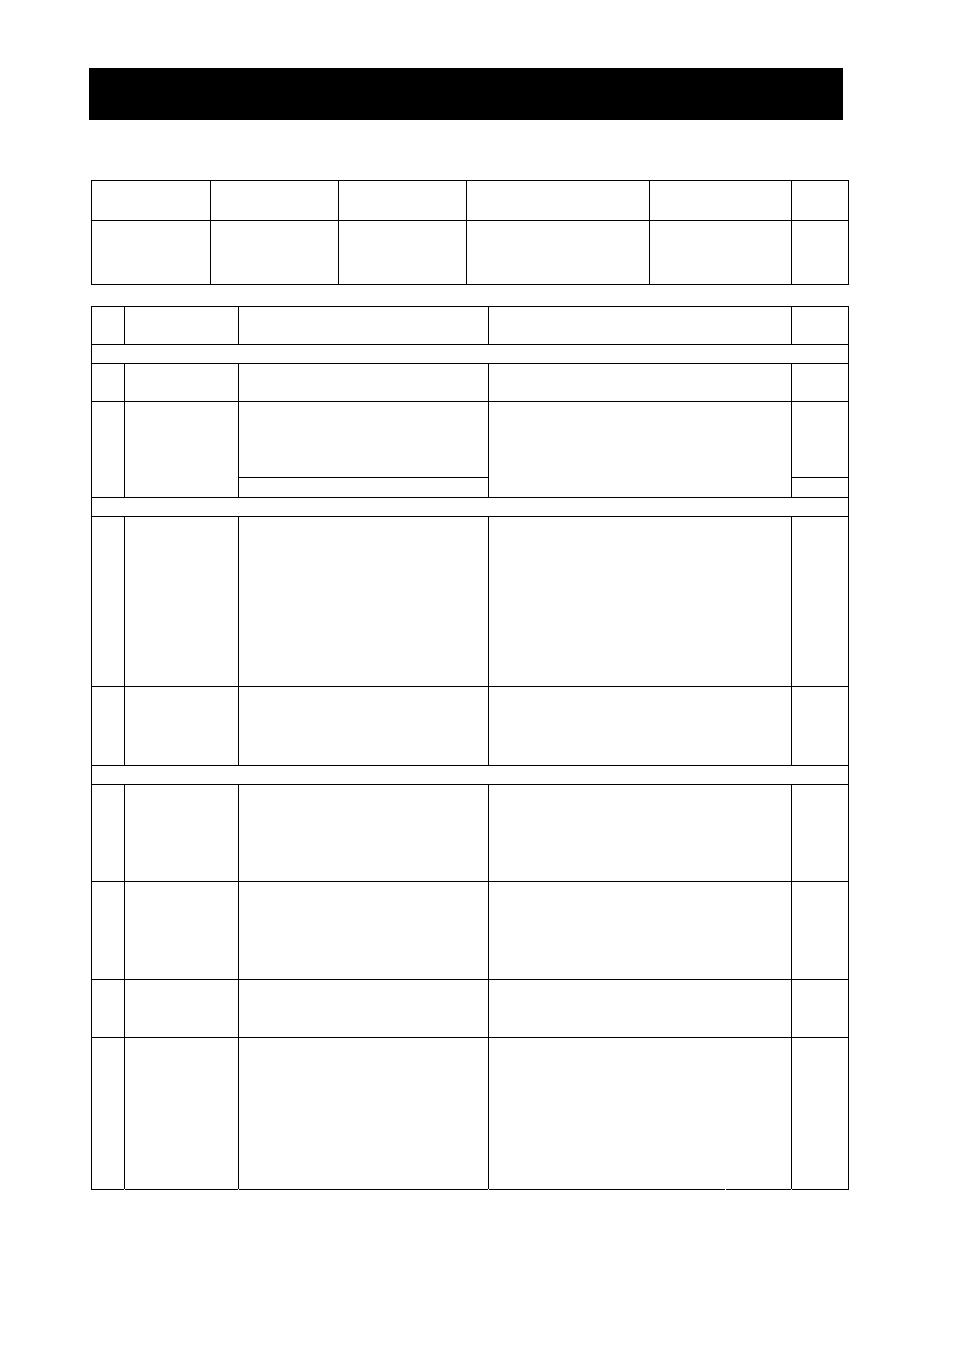
14. Standard installation manual
*Install the product according to the following: (Confirm separately for optional items or special
specifications)
Model
Serial number
Date
Installation
mgr.(company name)
Installation mgr.
Judg
ment
№
Item Implementation
method
TOC No. Reference page of the
operating instruction manual
Judg
ment
Specifications
1
Included
items
Check for number of staffs
against the included item field
10.Specifications field
P.34
• Visual check of environmental
conditions
Caution: Take care for
environment
2 Installation
• Securing a space
2. Before operating the unit
• On the installation site
P.4
Operation-related matters
1
Source
voltage
• Measure the user side voltage
(outlet) with a tester
•
Measure voltage during
operation
(shall meet the specifications)
Caution: Always use a plug
that meets the
specification for
attaching to the ELB.
2. Before operating the unit
• Be sure to connect the
ground wire.
• Power supply is ….
10.Specifications
• Specification-power
supply
P.6
P.6
P.34
2
Operation
start
• Starts operation
Performs fixed value opera-
tion, auto stop operation or
auto start operation
2. Before operating the unit
• Installation procedures…
4. Operating procedures
P.7~
8
P.12~
25
Description
1
Operational
descriptions
Explain operations of each
component according to the
operational instructions
4. Operating procedures
• Operating procedures
1. Safety precautions
~
13. List of dangerous
materials
P.12
25
P.1
~
37
8. Troubleshooting
~
9. After sales service and
warranty
2 Error
codes
Explain the customer about error
codes and procedures for
release according to the opera-
tional instructions
P.31~
33
3
Maintenance
and
inspection
Explain operations of each
component according to the
operational instructions
6. Maintenance procedures
• Daily inspection/
maintenance
P.29
9. After sales service and warranty
4
Completion
of installation
Entries
• Fill in the installation date and
the installation mgr. on the
nameplate of the main unit
• Fill in necessary information to
the warranty card and hand it
over to the customer
• Explanation of the route for
after-sales service
P.33