Maintenance – Multiquip HHN34TVD User Manual
Page 41
HHN34TVD RIDe-ON TROWeL • OpeRaTION maNuaL — ReV. #2 (01/10/11) — page 41
Maintenance
ReaSSemBLy
1. Clean and examine the upper/lower wear plates and
thrust collar. Examine the entire spider assembly. Wire
brush any concrete or rust build-up. If any of the spider
components are found to be damaged or out of round,
replace them.
2. Make sure that the bronze trowel arm bushing is not
damage or out of round. Clean the bushing if necessary.
If the bronze bushing is damaged or worn, replace it.
3. Reinstall bronze bushing onto trowel arm.
4. Repeat steps 2–3 for each trowel arm.
5. Make sure that the spring tensioner is in the correct
position to exert tension on the trowel arm.
6. Insert all trowel arms with levers into spider plate (with
bronze bushing already installed) using care to align
grease hole on bronze bushing with grease hole fitting
on spider plate.
7. Lock trowel arms in place by tightening the hex head
bolt with zerk grease fitting and jam nut.
8. Re-install the blades onto the trowel arms.
9. Install stabilizer ring onto spider assembly.
10. Lubricate all grease points (zerk fittings) with premium
“Lithum 12” based grease, conforming to NLG1 Grade
#2 consistency.
INSTaLLINg paNS ONTO FINISHeR BLaDeS
These round discs sometimes referred to as "pans" attach
to the spiders arms and allow early floating on wet concrete
and easy movement from wet to dry areas. They are also
very effective in embedding large aggregates and surface
hardeners.
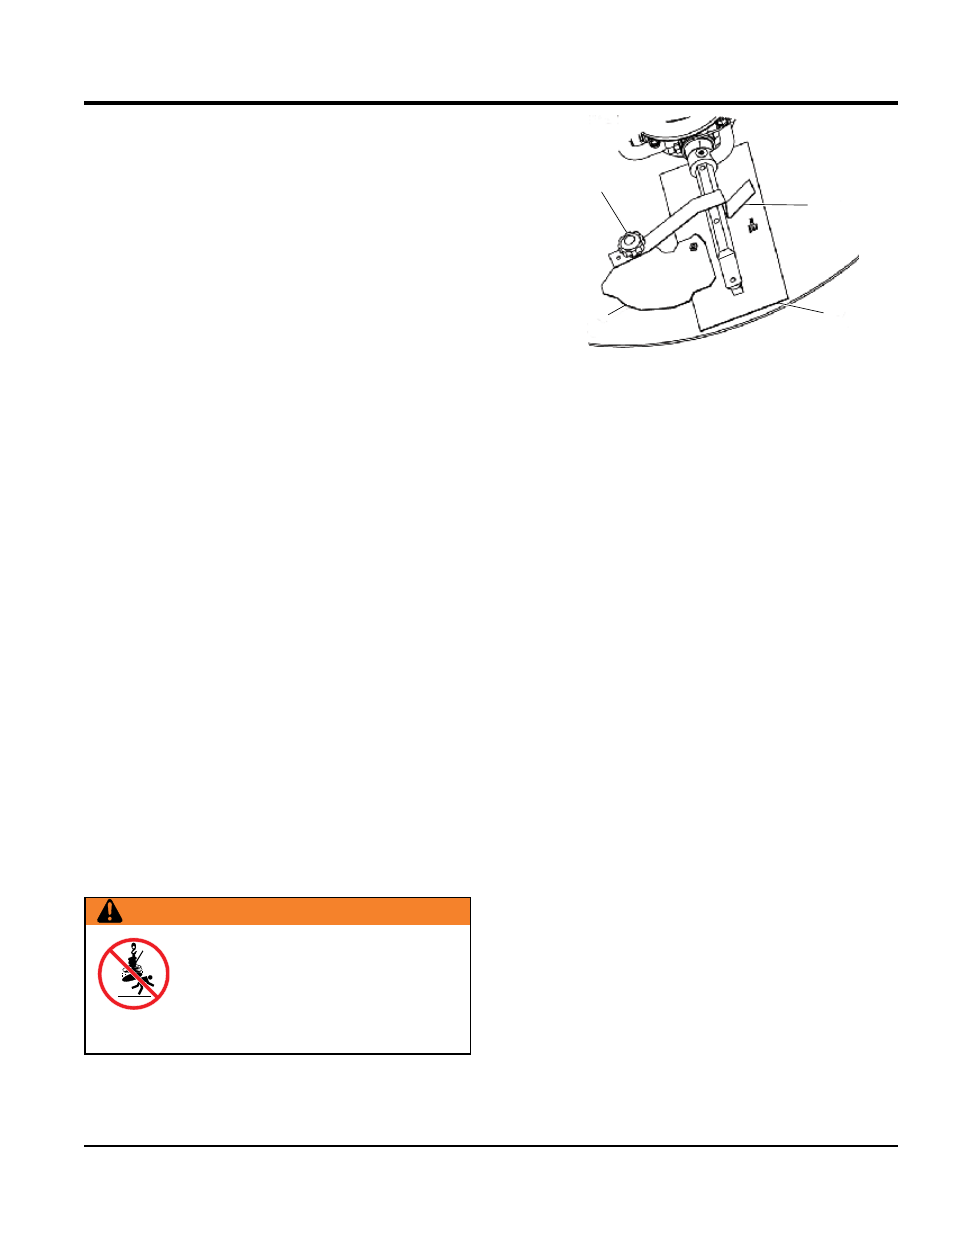
Refer to Figure 43 when installing pans onto finisher blades.
WaRNINg
DO NOT lift the trowel when the pans are
attached.
aLWayS install pans either on the work area
or on an area that is next to and level with
the work area.
Figure 46. Z-Clip Finisher Pan Installation
1. Lift trowel just enough to slide pan under blades. Lower
finisher onto pan with blades adjacent to Z-Clips.
2. Rotate blades into position under Z-Clips. Ensure that
the blades are rotated in the direction of travel when
the machine is in operation or use the engine to rotate
the blades into position.
3. Attach the blade tie-downs to the far side of the Z-Clip
brackets with tie-down knobs as shown in Figure 46.
4. Check to make certain that the blade edges are
secured under the Z-Clips and the tie-downs are
secured completely over the edges of the blade bar
before the machine is put back into operation.
DeCOmmISSIONINg TROWeL/COmpONeNTS
Decommissioning is a controlled process used to safely
retire a piece of equipment that is no longer serviceable.
If the equipment poses an unacceptable and unrepairable
safety risk due to wear or damage or is no longer cost
effective to maintain, (beyond life-cycle reliability) and is
to be decommissioned, (demolition and dismantlement),
the following procedure must take place:
1. Drain all fluids completely. These may include oil,
gasoline, hydraulic oil and antifreeze. Dispose of
properly in accordance with local and governmental
regulations. Never pour on ground or dump down
drains or sewers.
2. Remove battery and bring to appropriate facility for lead
reclamation. Use safety precautions when handling
batteries that contain sulfuric acid.
3. The remainder can be brought to a salvage yard or
metal reclamation facility for further dismantling.
BLADE
ASSEMBLY
KNOB, TIE-DOWN
Z-CLIP PANS
TIE-DOWN,
BLADE
Z-CLIP,
PAN