Operation, Steering – Multiquip HHN34TVD User Manual
Page 24
page 24 — HHN34TVD RIDe-ON TROWeL • OpeRaTION maNuaL — ReV. #2 (01/10/11)
STeeRINg
Two control levers located in front of the operator’s seat
provide directional control for the HHN34TVD trowel. Table
3 illustrates the various directional positions of the joysticks
and their effect on the ride-on trowel.
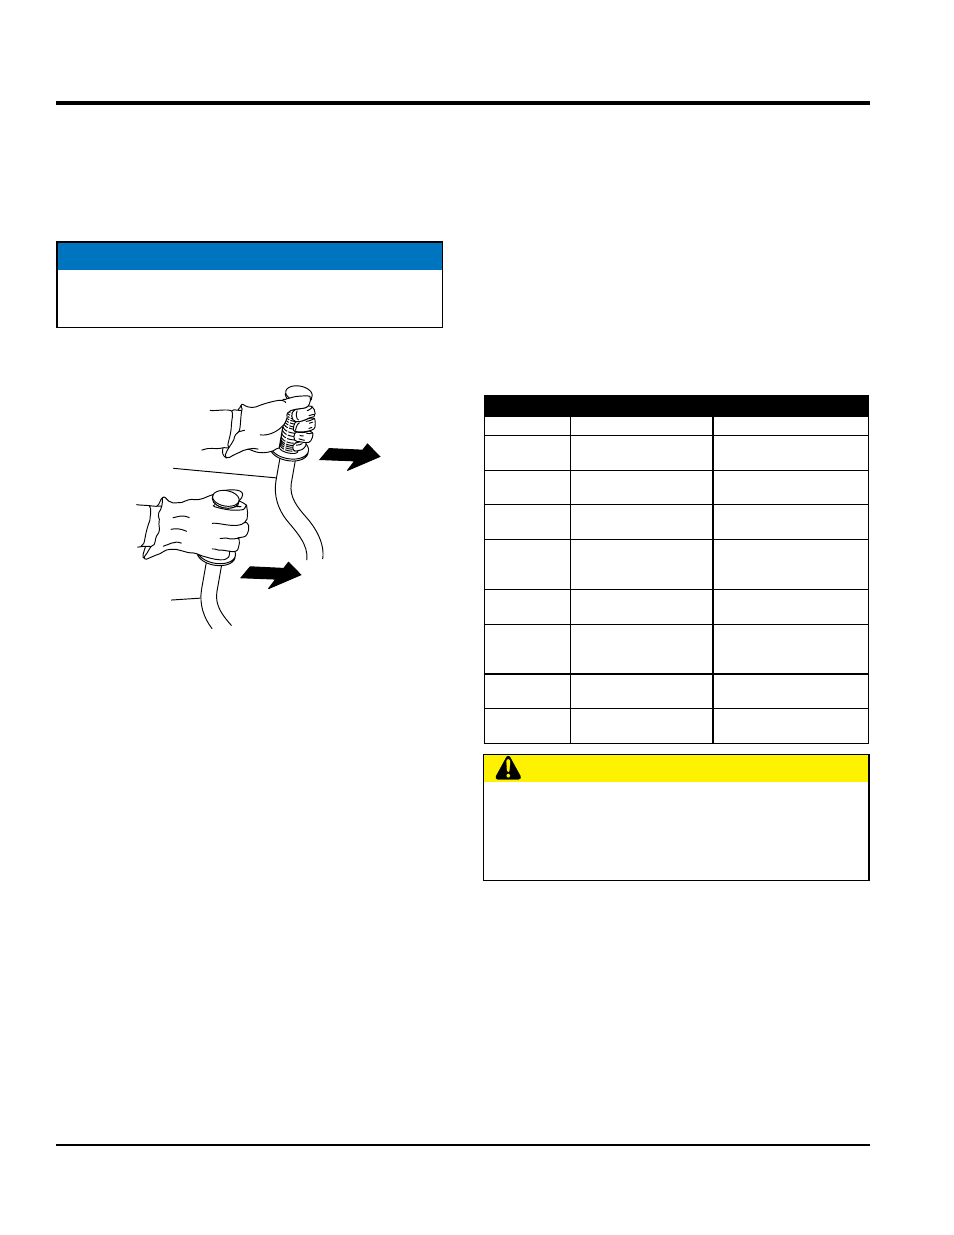
1. Push both the left and right control levers forward. See
Figure 11.
Figure 11. Left and Right Control Levers
2. With your right foot, quickly depress the right foot
pedal halfway. Notice that the ride-on power trowel
begins to move in a forward direction. Return both
joystick controls to their neutral position to stop forward
movement, then remove your right foot from the right
foot pedal.
3. Practice holding the machine in one place as you
increase blade speed. When about 75% of maximum
blade speed has been reached, the blade will be
moving at proper finishing speed. The machine may be
difficult to keep in one place. Trying to keep the ride-on
trowel stationary is a good practice for operation.
NOTICE
All directional references with respect to the steering
control levers are from the operator’s seat position.
LEFT
CONTROL
LEVER
FORWARD
DIRECTION
RIGHT
CONTROL
LEVER
4. Practice maneuvering the ride-on trowel using the
information listed inTable 3. Try to practice controlled
motions as if you were finishing a slab of concrete.
Practice edging and covering a large area.
5. Try adjusting the pitch of the blades. This can be done
with the ride-on trowel stopped or while the trowel is
moving, whatever feels comfortable. Test the operation
of optional equipment like retardant spray and lights
if equipped.
6. Push both the left and right joysticks backward and
repeat steps 3 through 6 while substituting the word
reverse for forward.
Table 3. Control Lever Directional positioning
Control Lever
Direction
Results
Left
Move Control Lever
Forward
Causes the ride-on trowel to
move forward and to the right.
Left
Move Control Lever
Backward
Causes the ride-on trowel to
move backward and to the left.
Right
Move Control Lever
Forward
Causes the ride-on trowel to
move forward and to the left.
Right
Move Control Lever
Backward
Causes the ride-on trowel to
move backward and to the
right.
Left and Right
Move Both Control Levers
Forward
Causes the ride-on trowel to
move forward in a straight line.
Left and Right
Move Both Control Levers
Backward
Causes the ride-on trowel to
move backward in a straight
line.
Left and Right
Move Both Control Levers
to the Right
Causes the ride-on trowel to
move to the right.
Left and Right
Move Both Control Levers
to the Left
Causes the ride-on trowel to
move to the left
CauTION
Trowel arms can be damaged by rough handling or by
striking exposed plumbing or forms while in operation.
aLWayS look-out for objects which might cause
damage to the trowel arms.
OperatiOn