Wrs-5200 — assembly instructions – Multiquip WRS5200 User Manual
Page 19
WRS 5200 RIDE-ON ROLLER SCREED — PARTS MANUAL— REV. 1# (08/09/02) — PAGE 19
WRS-5200 — ASSEMBLY INSTRUCTIONS
Task 4.
If another middle bracket is not required, go to the next paragraph. Two middle brackets are required for three strike tubes,
one for two strike tubes. If another middle bracket is required, insert the middle strike tube into the splined shaft of the
middle bracket mentioned above. Assemble the truss sections and middle bracket using the ½ X 1-3/4 bolts. Working your
way across, take the next middle bracket and insert the splined shaft into the middle strike tube as shown in Figure 9 & 10.
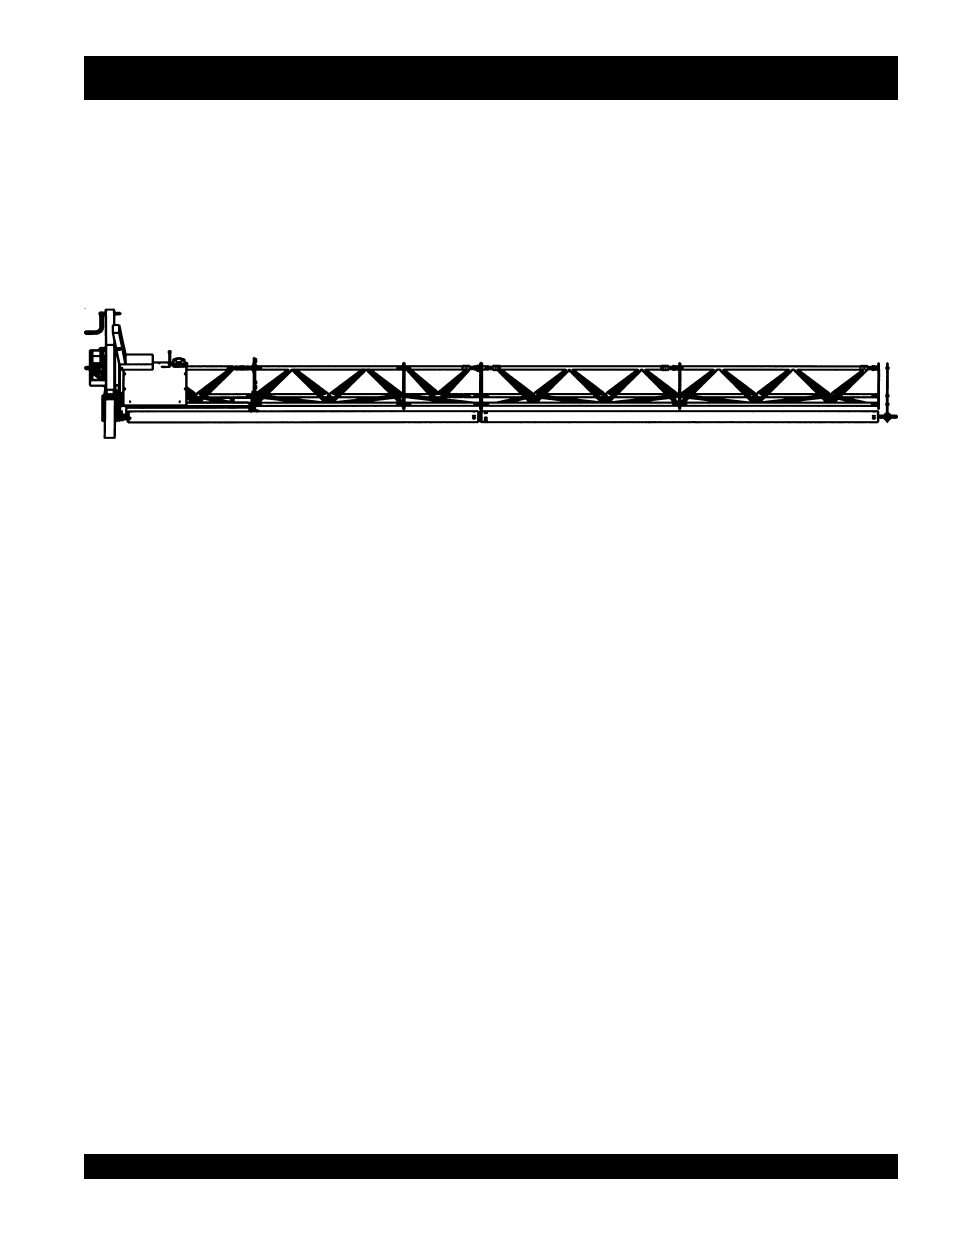
Figure 10. Middle Section
Task 5
Now go to the other end of the roller screed, take the strike
tube there and insert it into the second middle bracket’s
splined shaft. As you pull the last 14’ section (Figure 7) into
place, insert the end of the strike tube into the bearing as
you did in Figure 7. Use ½ x 1-3/4 bolts to bolt the two truss
sections and the middle bracket together.
Task 6.
Once the truss sections are together, string the four long
hydraulic hoses through the middle of the trusses. Two male
and two female quick connects are required at the other
end, one male and female of the 5/8” hose and the same for
the ½” hose.
Task 7.
Put the tarps on the appropriate section. The section of the
tarp where two nylon straps are close together should fit
over a truss joint. All tarps were made to full length per
section.
The tarp for the right section (13’11”) will have two places for
the truss joint. It will have a 4 foot section (which for this
set-up will be folded back under the next section of tarp) and
a 6 and 3 foot section
.
The middle tarp (16’) has a place for the truss joint right in
the middle.
The left tarp (13’5”) has one truss joint located 4 foot in from
the end. For this set-up, the 4 foot section will be folded
back under the 9 foot.
The buckles on the tarp should be on the back side (strike
tube is on front side) and the tarp drain hole on the bottom
when finished.
Task 8.
Two more items need to be added on the outside of the
tarps. These are the 50 foot electric cord and the pump
lever cable. Before buckling the tarp, put the cable and cord
behind enough buckles to hold them in place.
Task 9.
Adjust the 1-5/8” nuts on the strike tubes next to the outer
plates so the other end of the strike tube next to the middle
bracket is spaced from 1/16 to 1/8.”