Leica Biosystems Bond Oracle HER2 IHC System User Manual
Page 7
Page 7 of 23
English
Leica Biosystems Bond Oracle HER2 IHC System Instructions for Use TA9145 EN-CE-Rev_E 18/06/2013
English
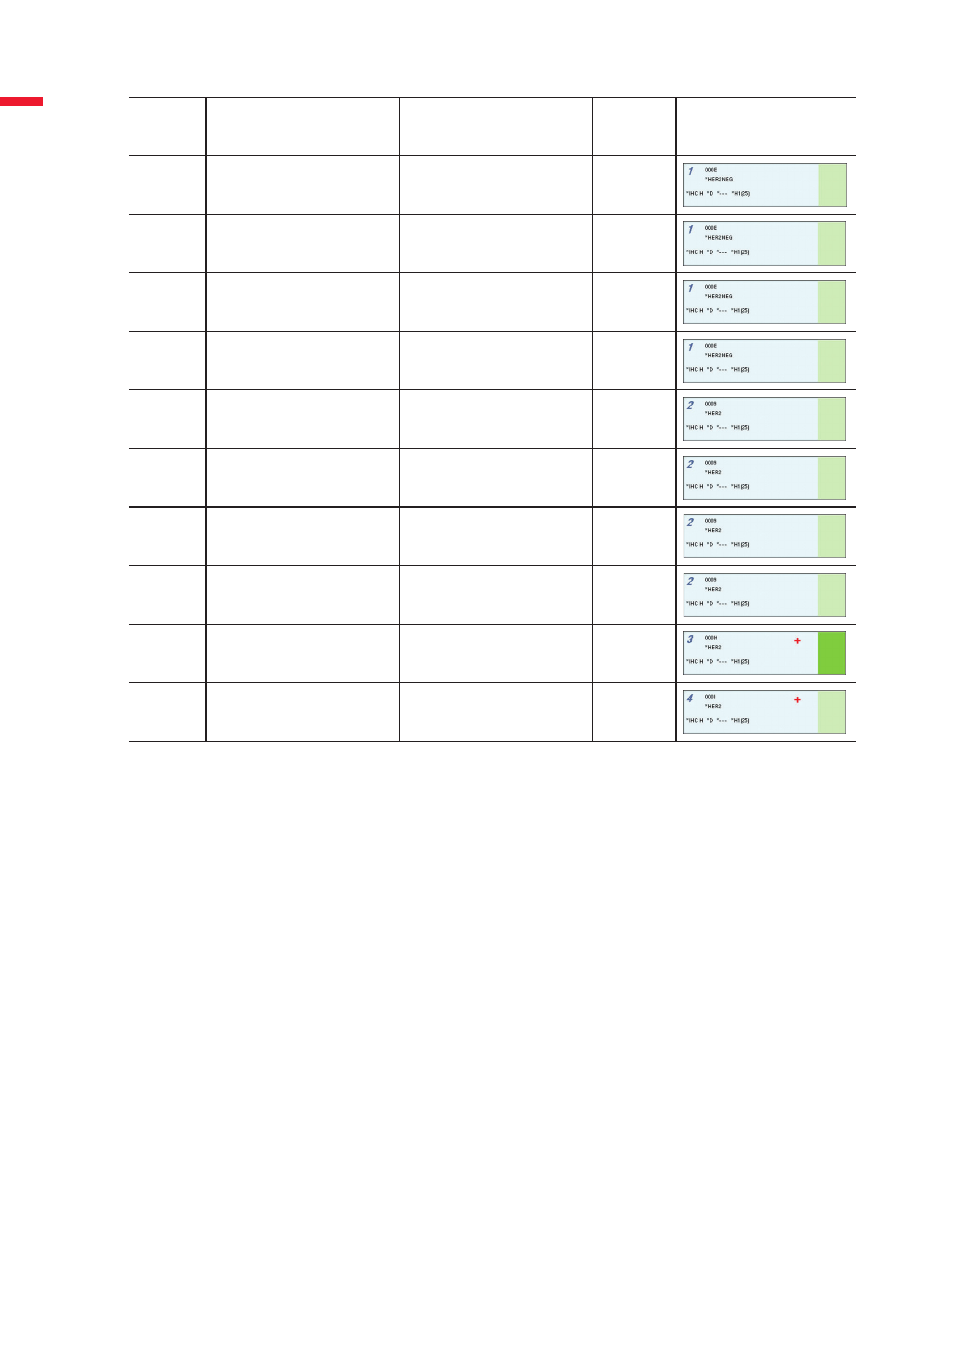
Slide
Position
Slide Description
Reagent
Tissue
Type
Slide Icon
1
Case 1
*HER2 Negative Control
Test
2
Case 2
*HER2 Negative Control
Test
3
Case 3
*HER2 Negative Control
Test
4
Case 4
*HER2 Negative Control
Test
5
Case 1
*HER2 Primary Antibody
Test
6
Case 2
*HER2 Primary Antibody
Test
7
Case 3
*HER2 Primary Antibody
Test
8
Case 4
*HER2 Primary Antibody
Test
9
HER2 Control Slide
*HER2 Primary Antibody
Positive
10
In-house Tissue Control
*HER2 Primary Antibody
Positive
Table 2. Slide tray layout, showing tissue type and reagent
E. Procedure Steps
Follow the steps below to set up a slide tray with the layout described in Table 2. These
instructions should be read in conjunction with the BOND System User Manual.
1. On the BOND instrument, ensure the bulk and hazardous waste containers have enough
capacity to perform the required staining runs.
2. Ensure there is adequate alcohol, distilled or de-ionized water, BOND Dewax Solution
(supplied as ready-to-use), BOND Epitope Retrieval Solution 1 (supplied as ready-to-use)
and BOND Wash Solution (supplied as x10 concentrate) in the bulk reagent containers to
perform the required staining runs.
3. Ensure that a clean BOND Mixing Station is installed.
4. Turn on the BOND fully automated, advanced staining system.
5. Turn on the BOND Controller attached to the BOND fully automated, advanced staining
system.
6. Open the BOND software.
7. For a new Bond Oracle HER2 IHC System, scan the reagent tray barcodes with the
handheld scanner to enter the system into the BOND reagent inventory.
8. Go to the Slide setup screen and click Add case.